April 2014:
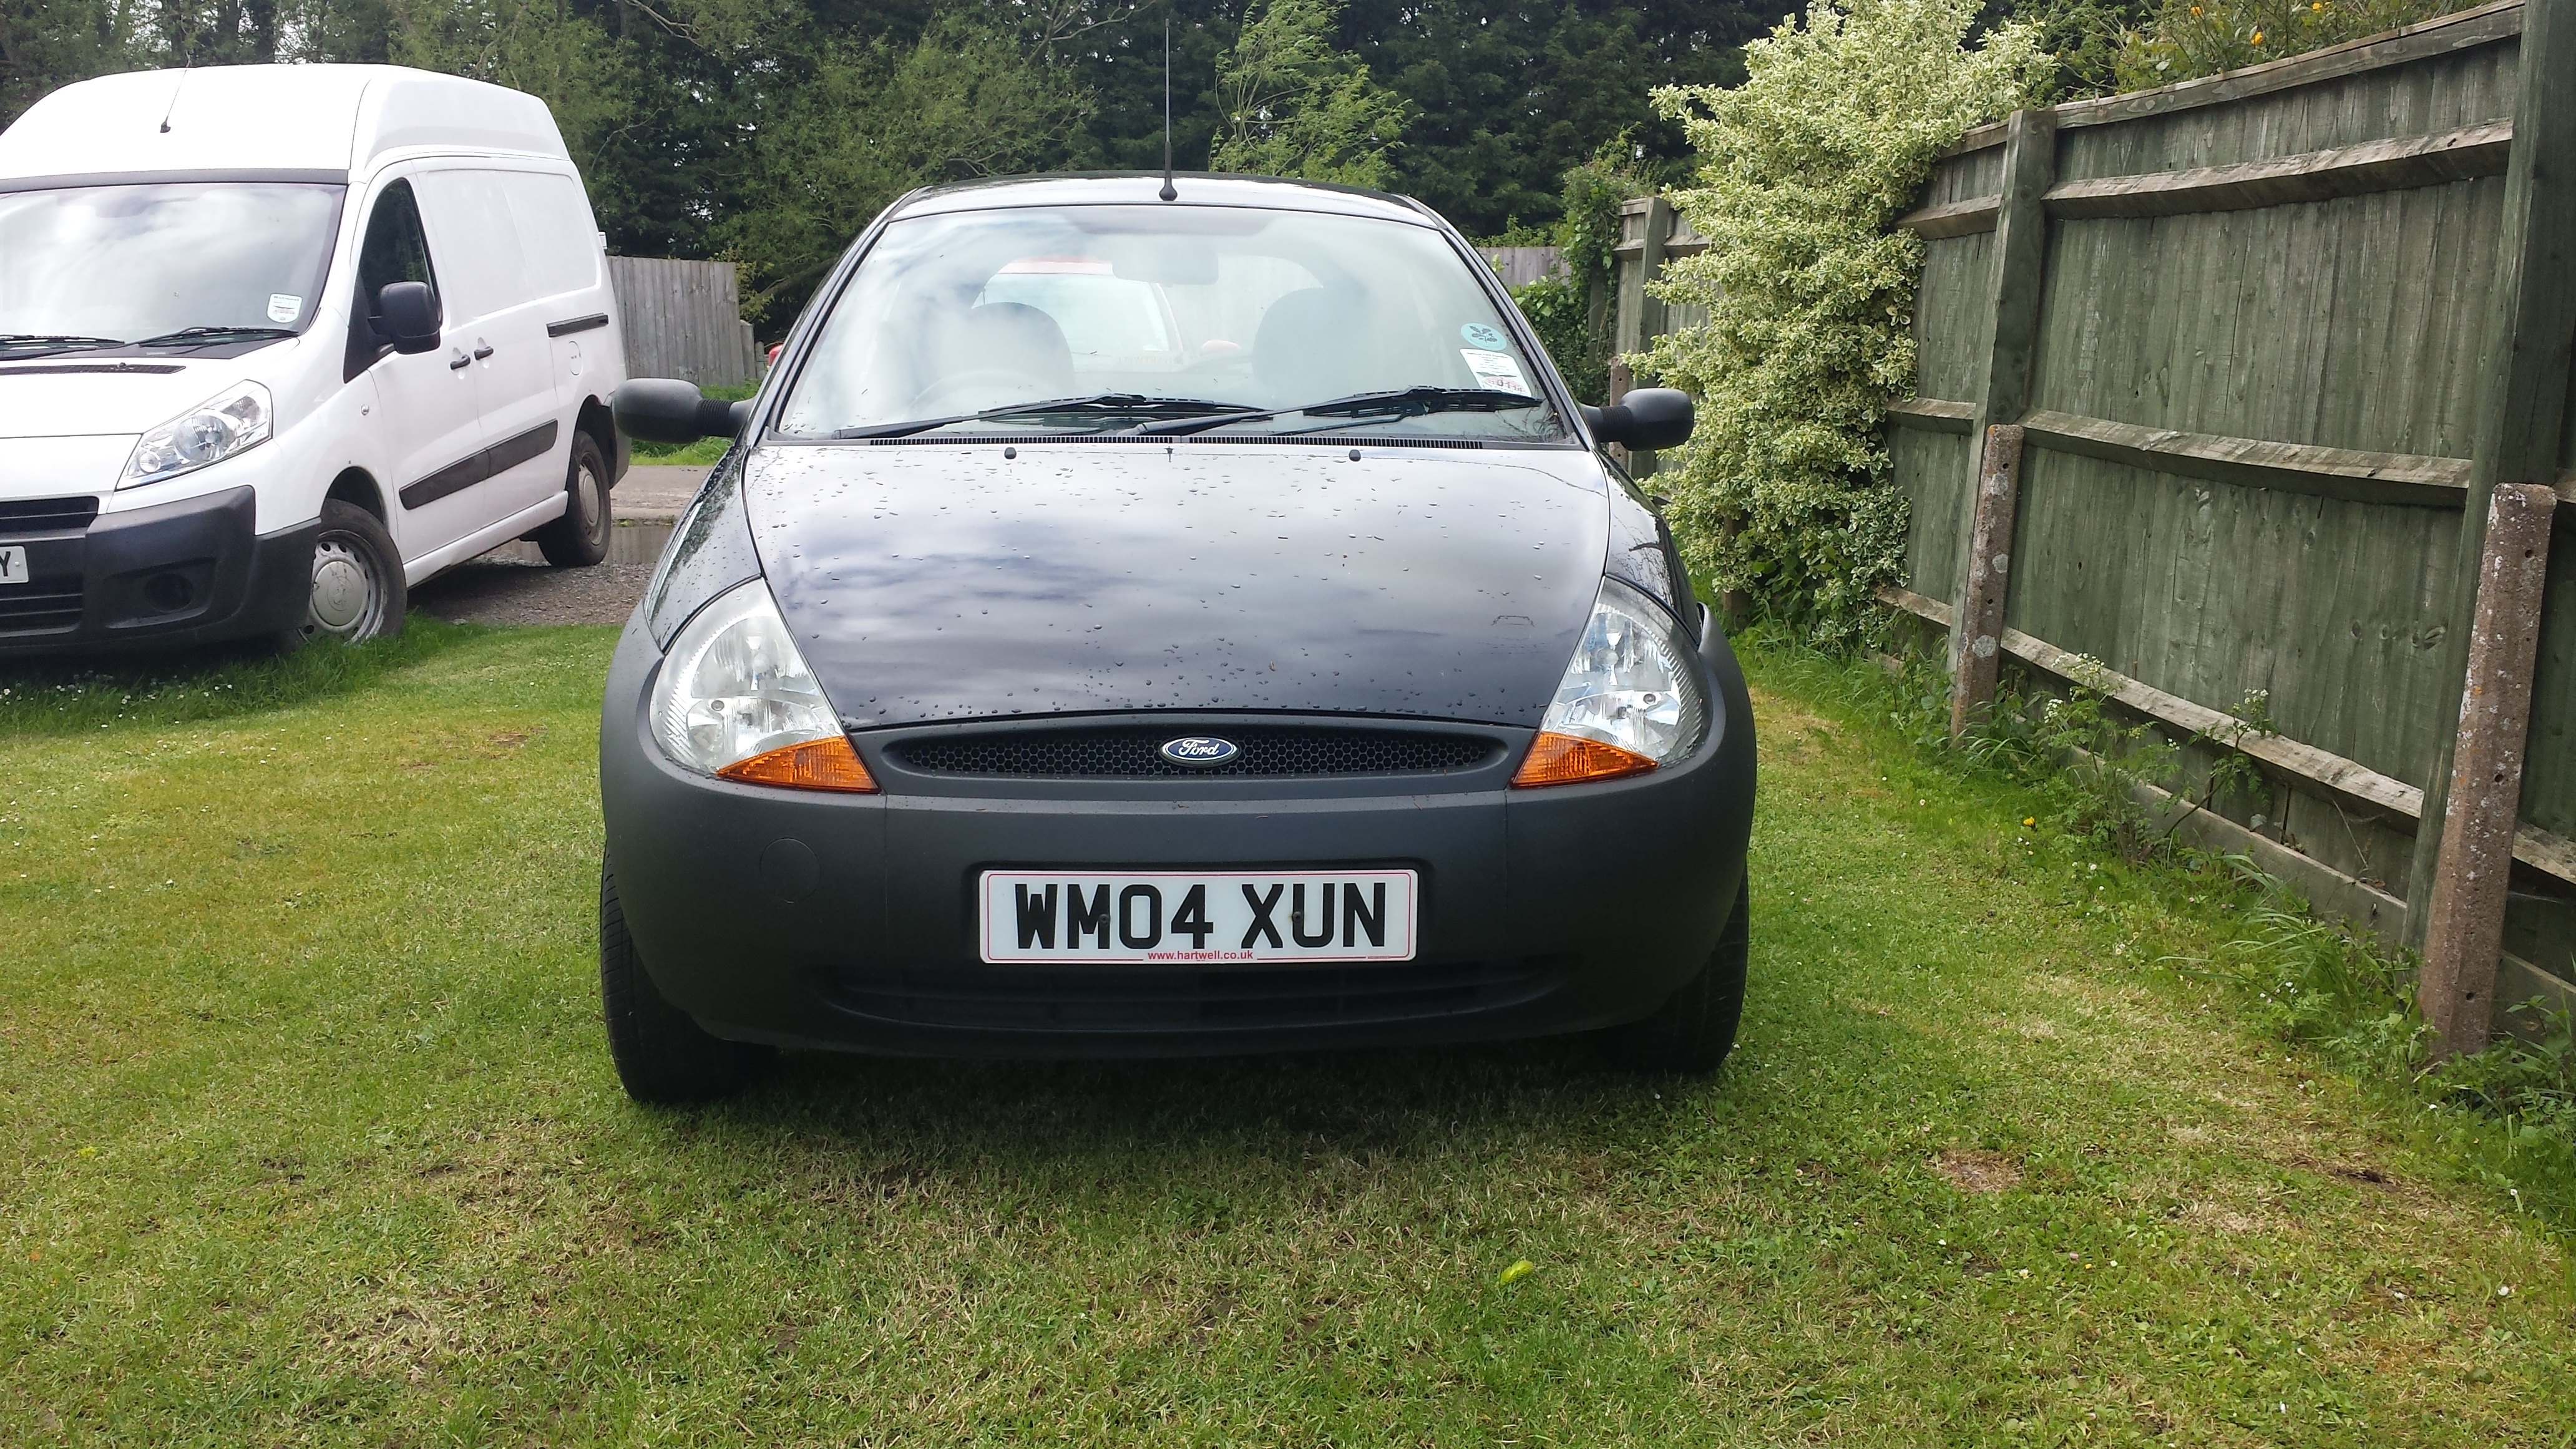
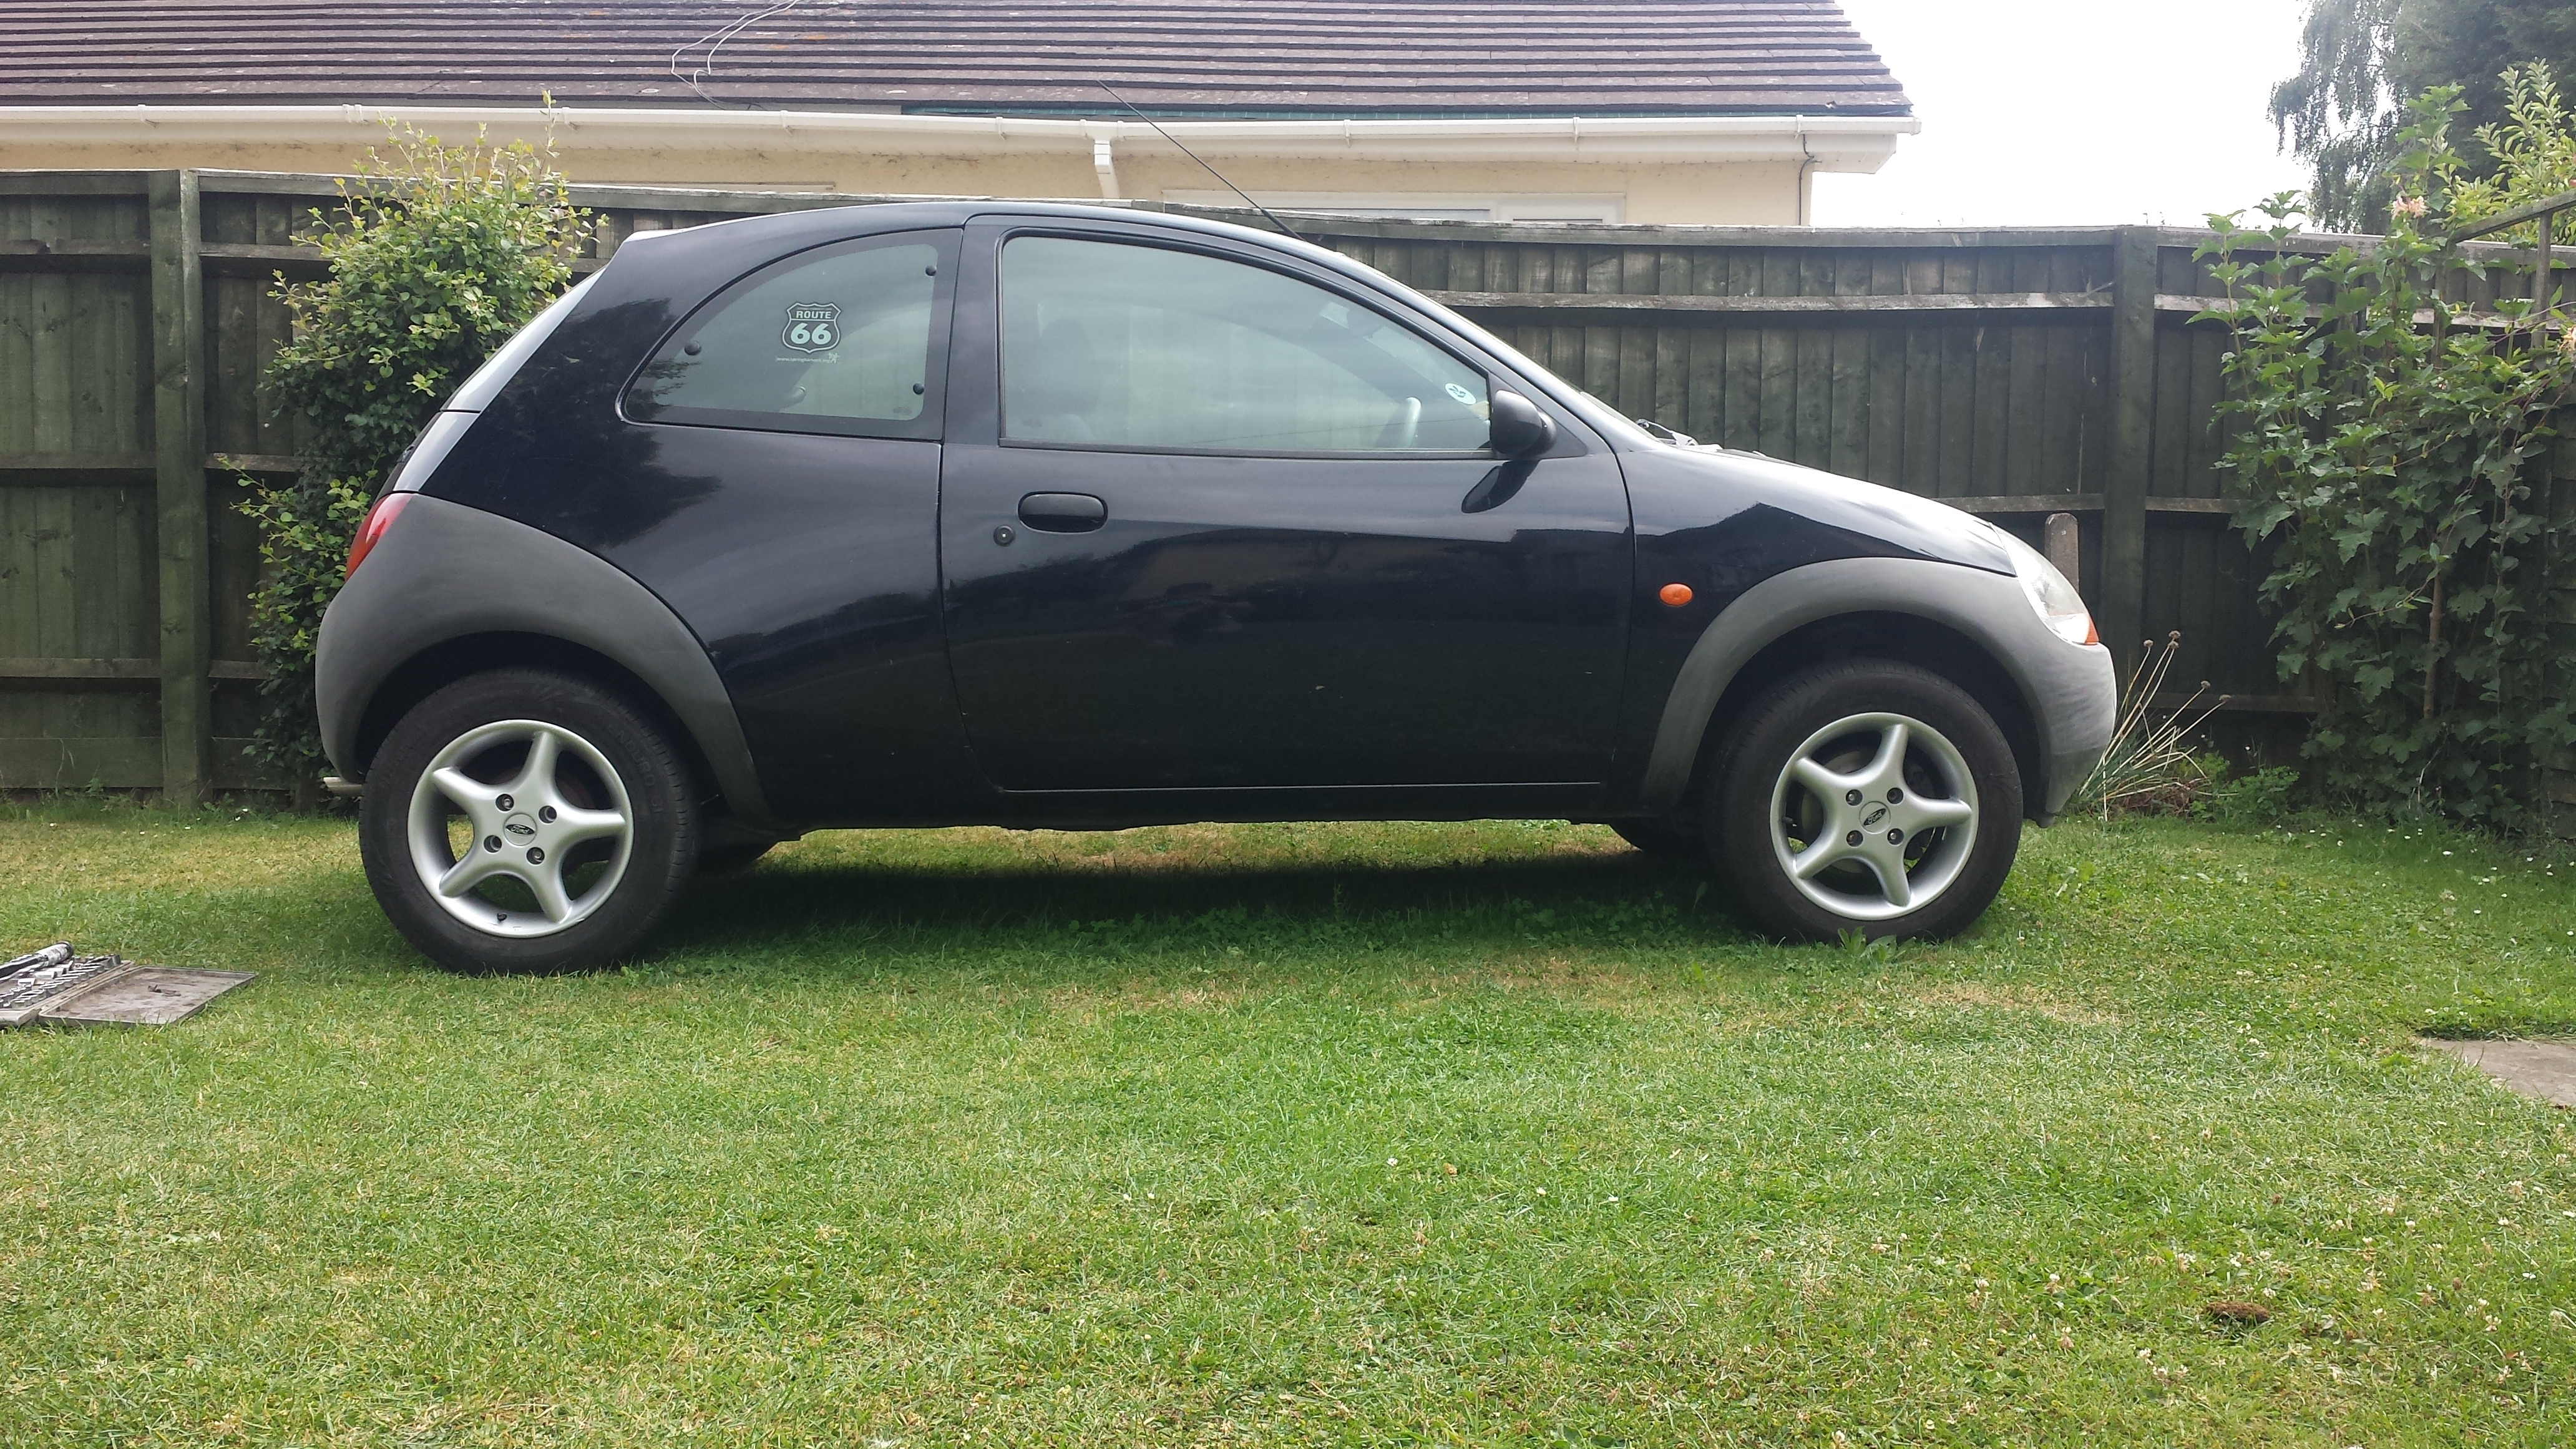
12 April 2014: My mum bought a new Fiat Panda and the Ford KA being her old one, it came to me. It was originally registered on the 13th August 2004 which makes it almost 10 years old. It’s the no-thrills model with manual windows, locks and a tape player (that doesn’t even reverse). It has the later 1.3 litre Ford SOHC Duratec engine making 70HP. It’s only had three previous owners in it’s 10 year life, the last being my mum who owned it since late 2011. One of the best things about it is it’s low mileage for the age (61,000) and it’s in looks to be in good condition…
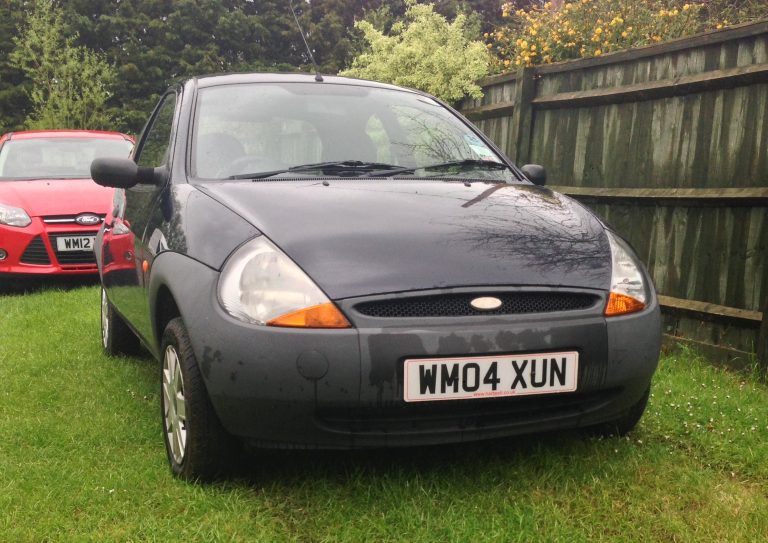
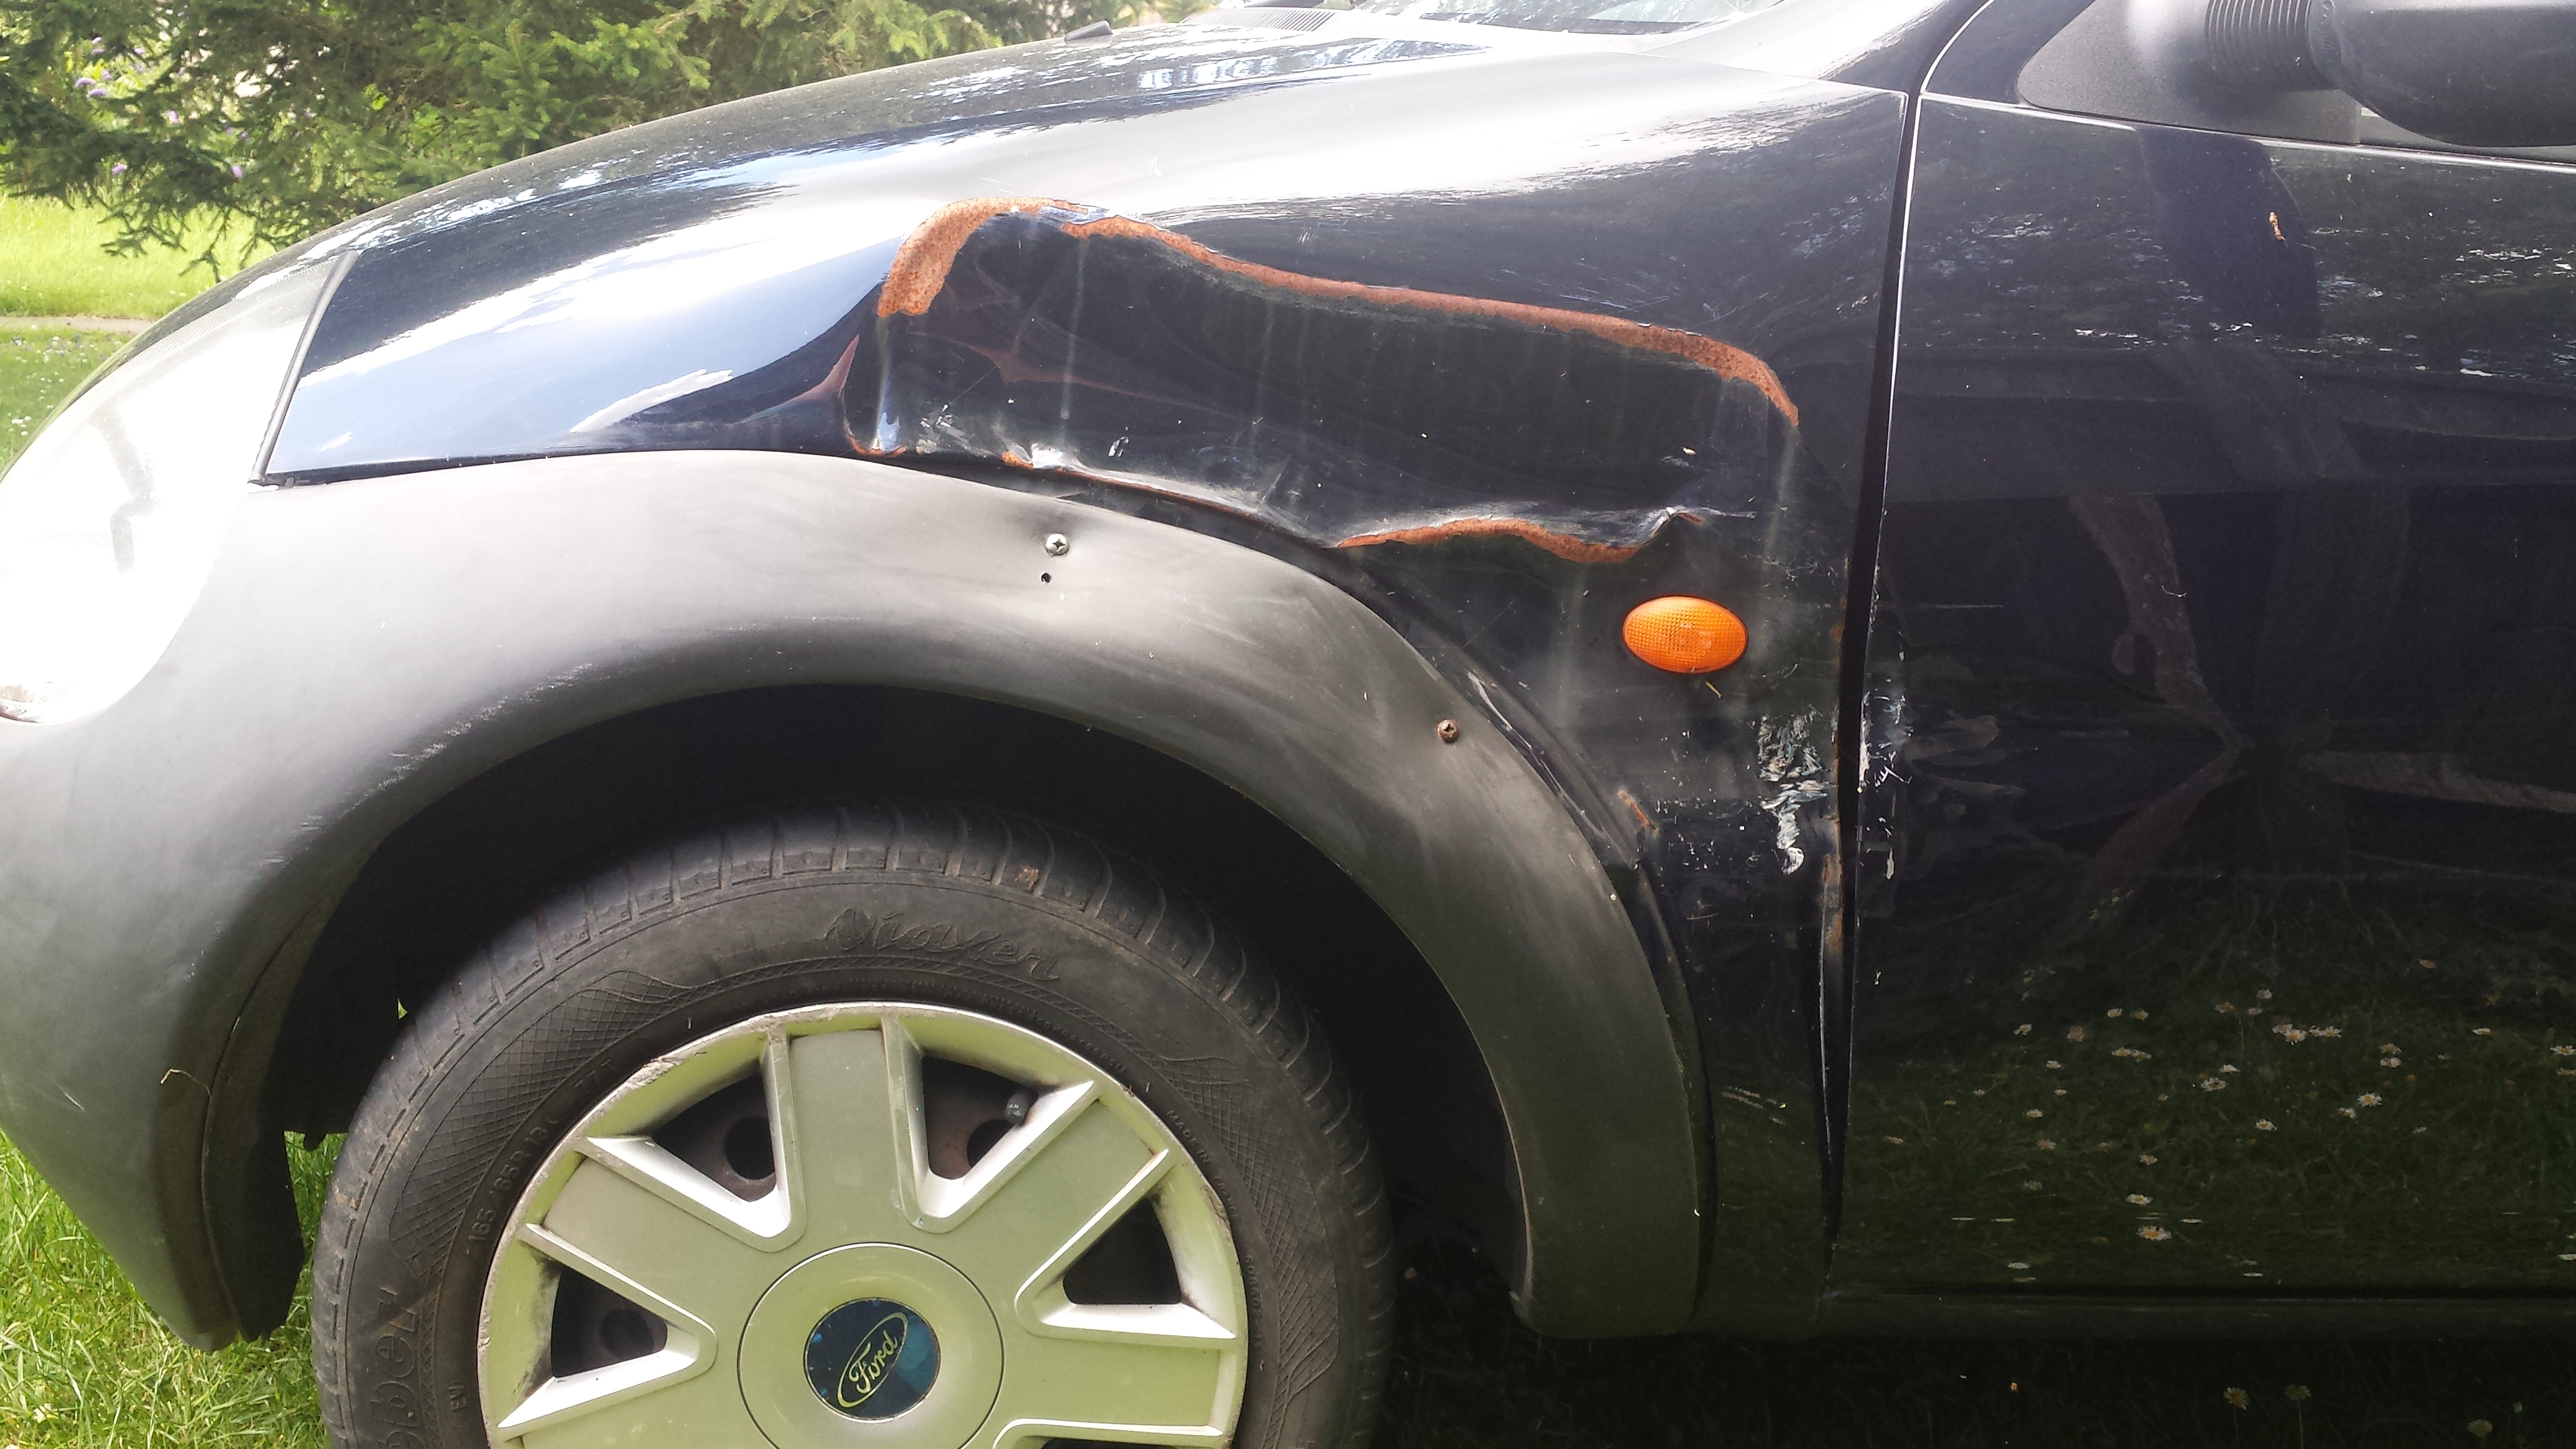
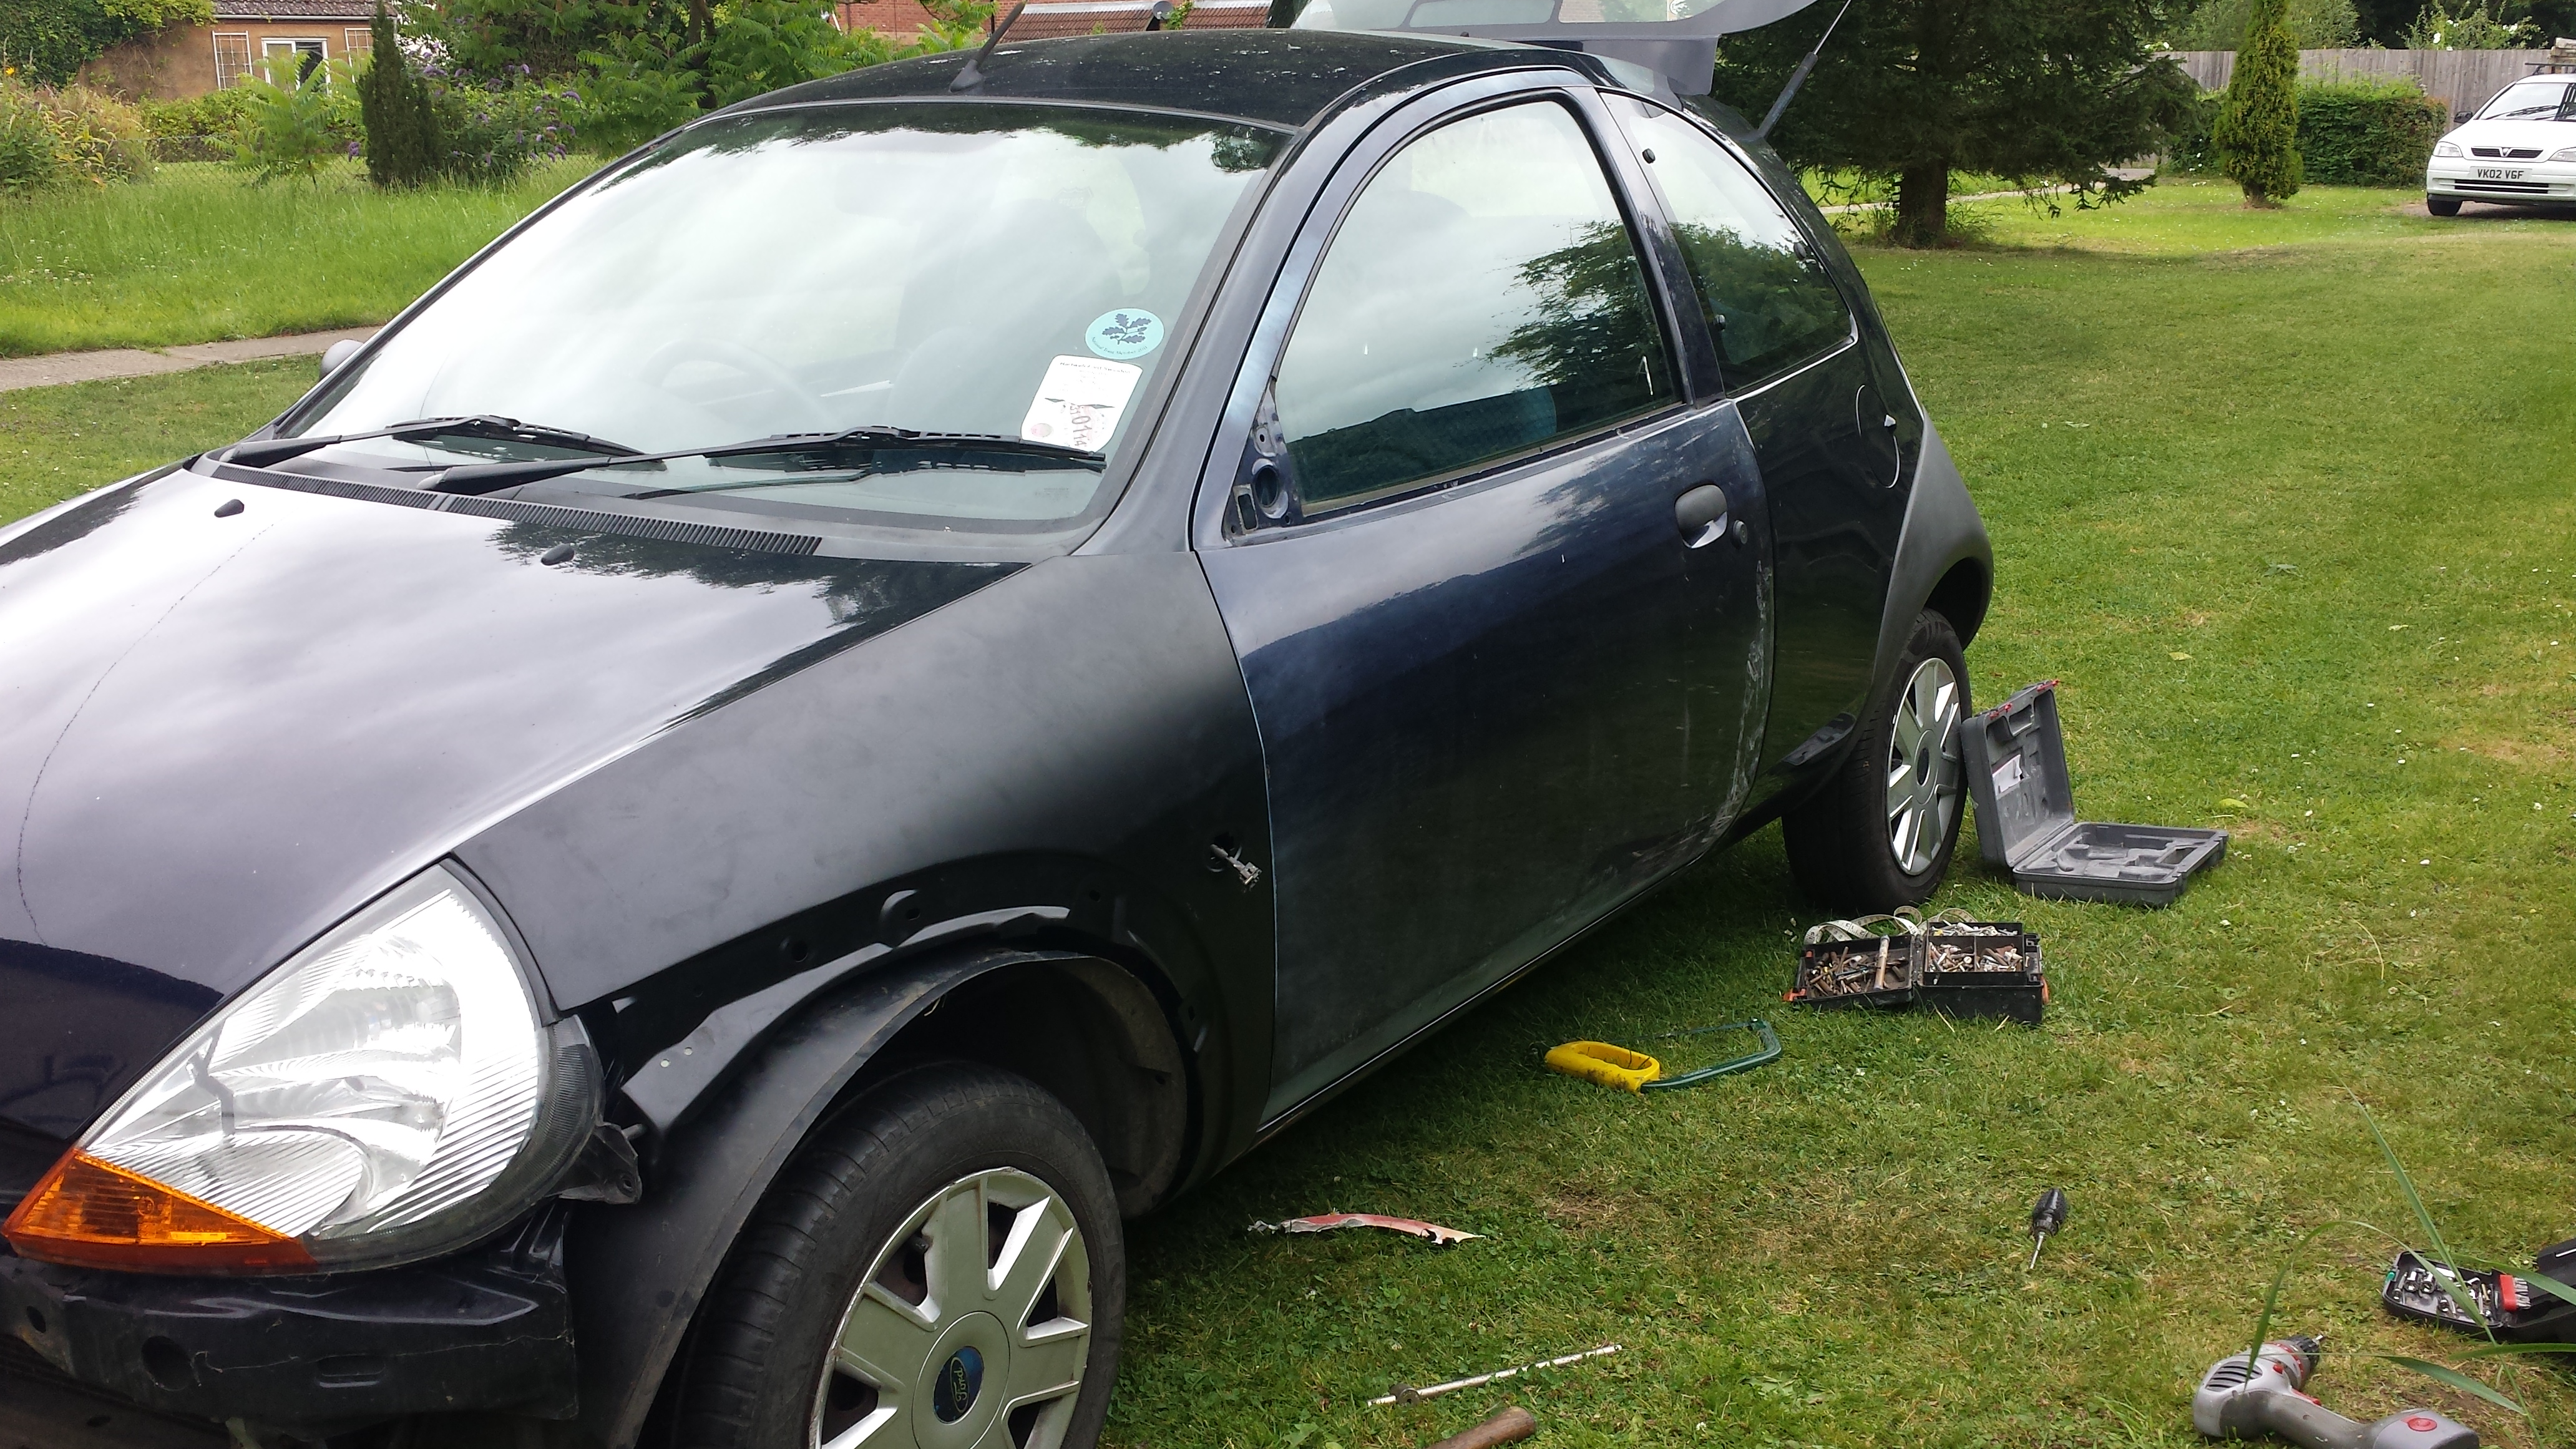
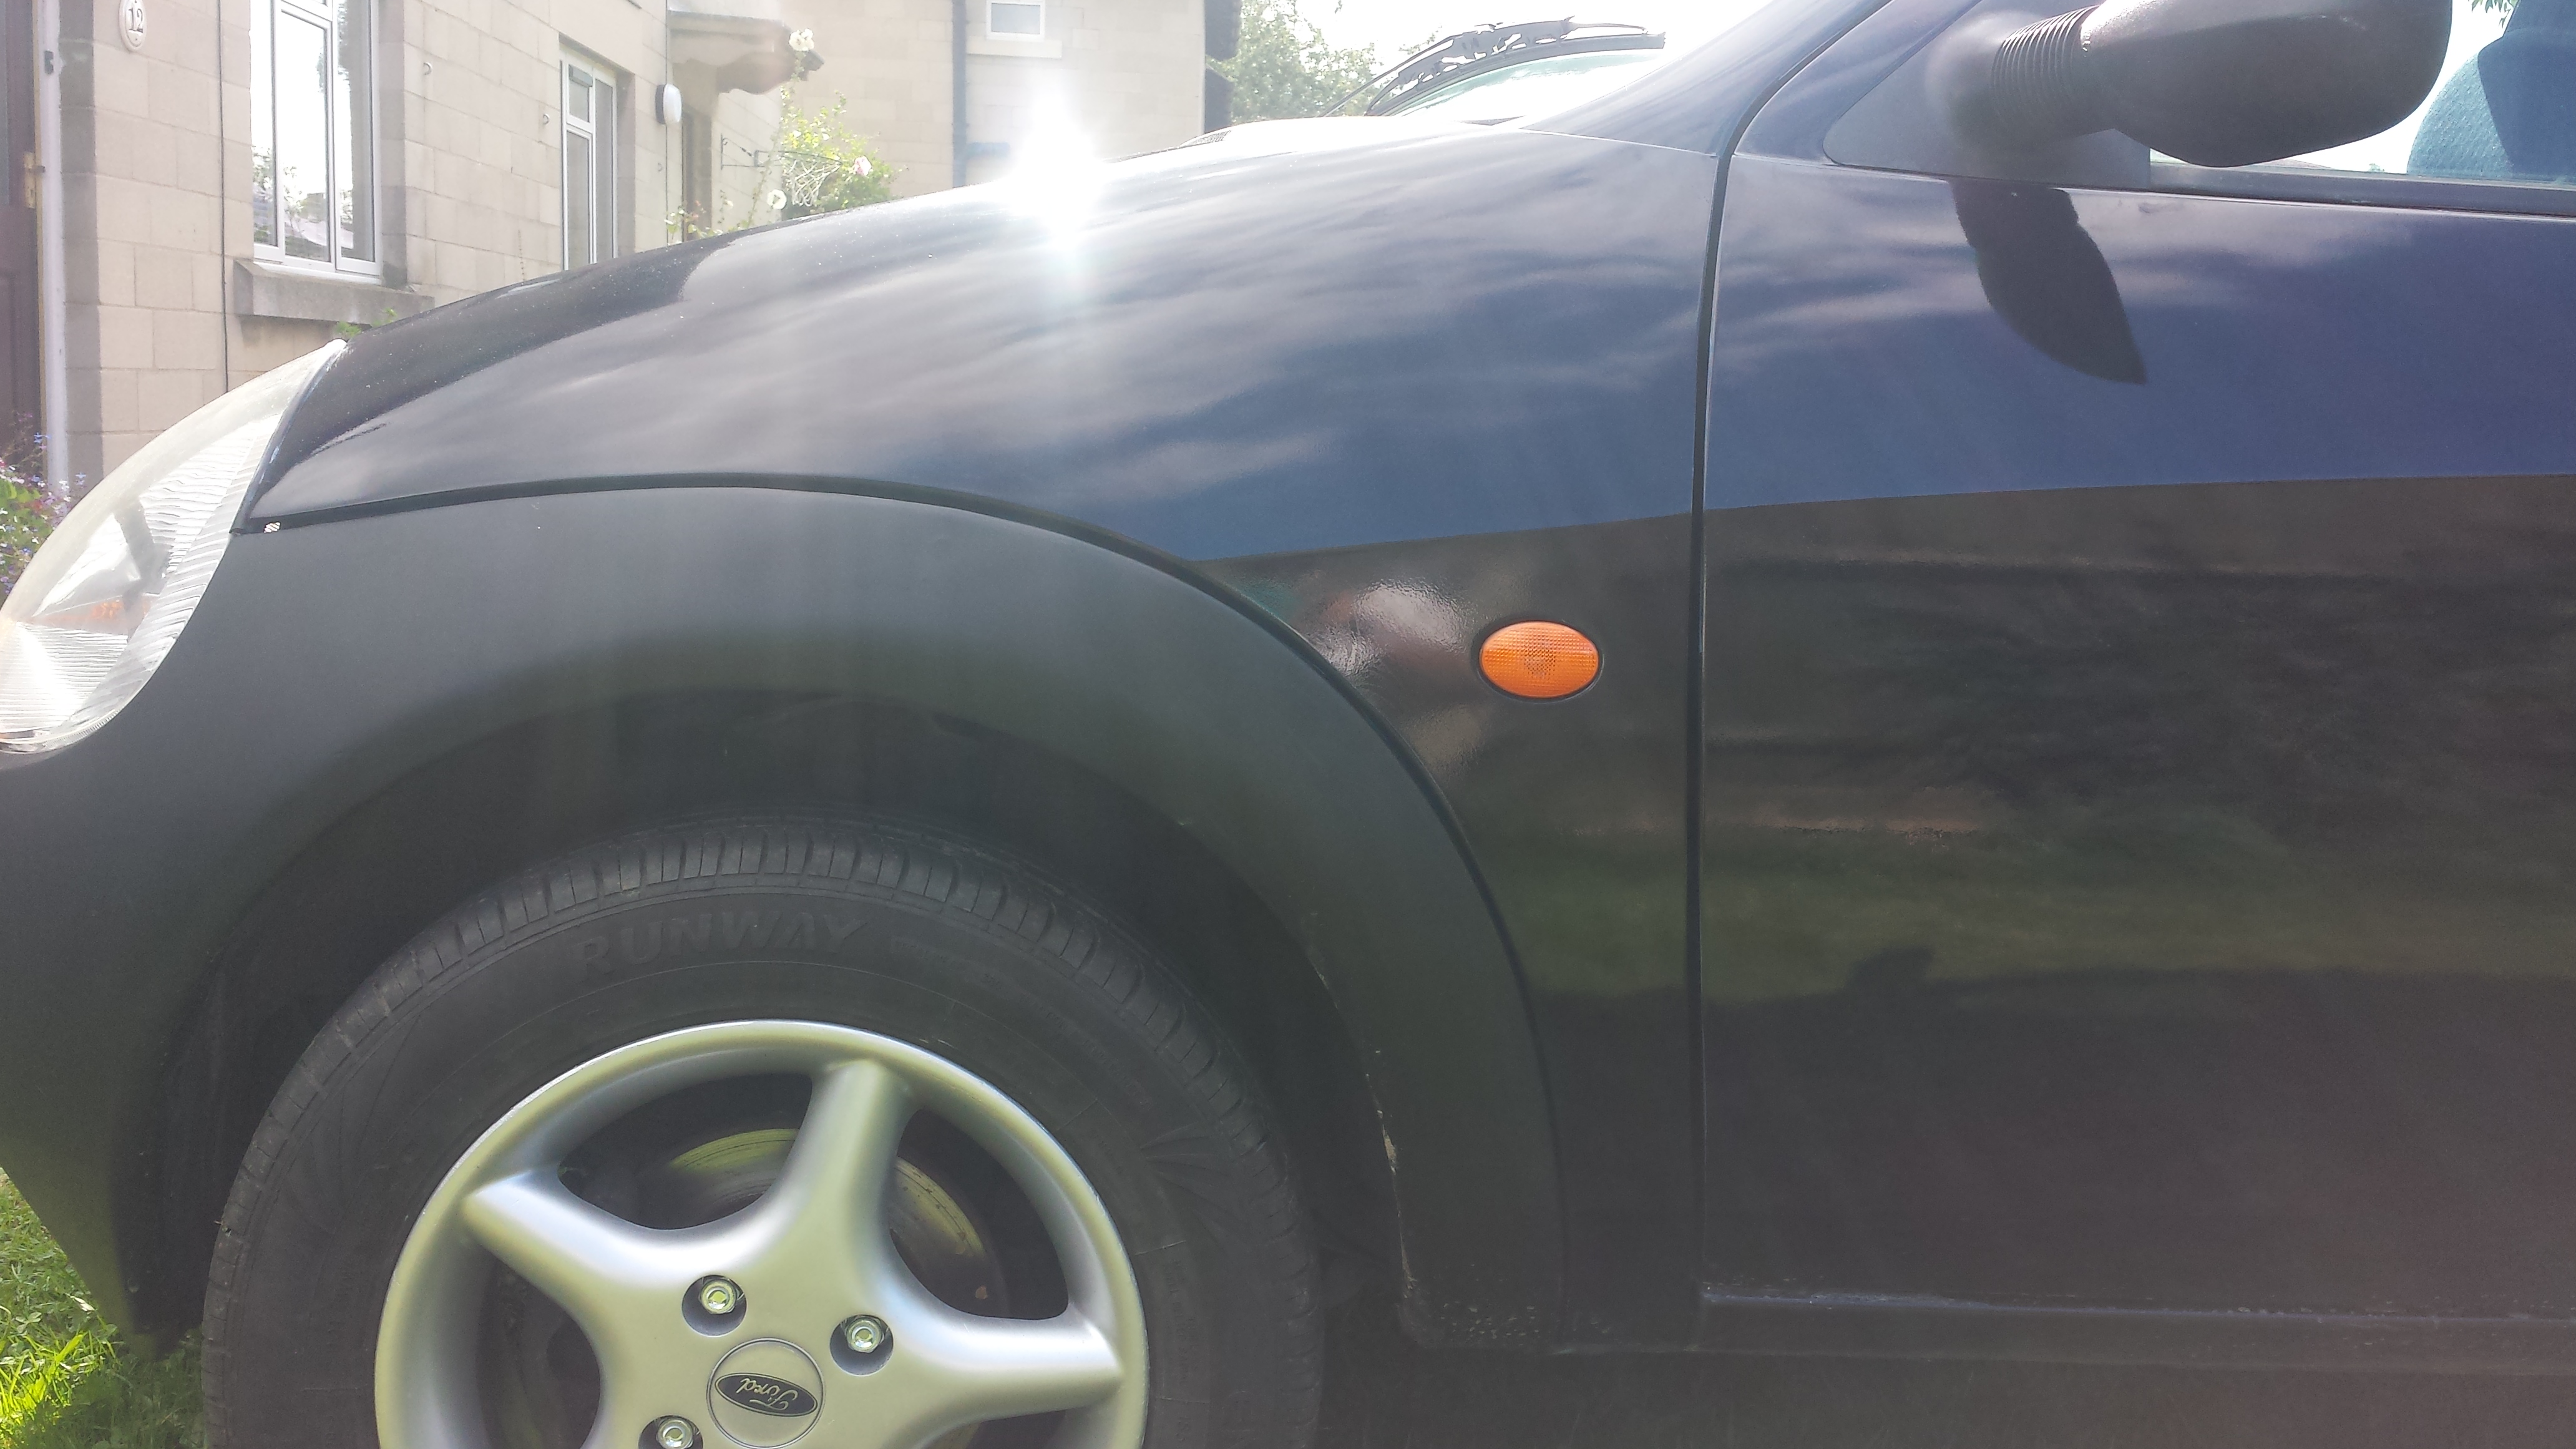
The whole car in general is in good condition, until you walk around to the passenger side where you are greeted by a fair sized dent in the passenger wing and a slightly damaged door. My mum caused the damage in August 2013, not too far from a year ago. During that time, the passenger door only opened half way, the window only rolled down half way and every time you were to drive over a bump big enough, even the tiniest speed bumps at about 0.01MPH then you would hear a loud “clunk” coming from the front suspension. This was because the plastic cover in the top of the wheel arch was being pushed into the spring due to the wing being pushed in.
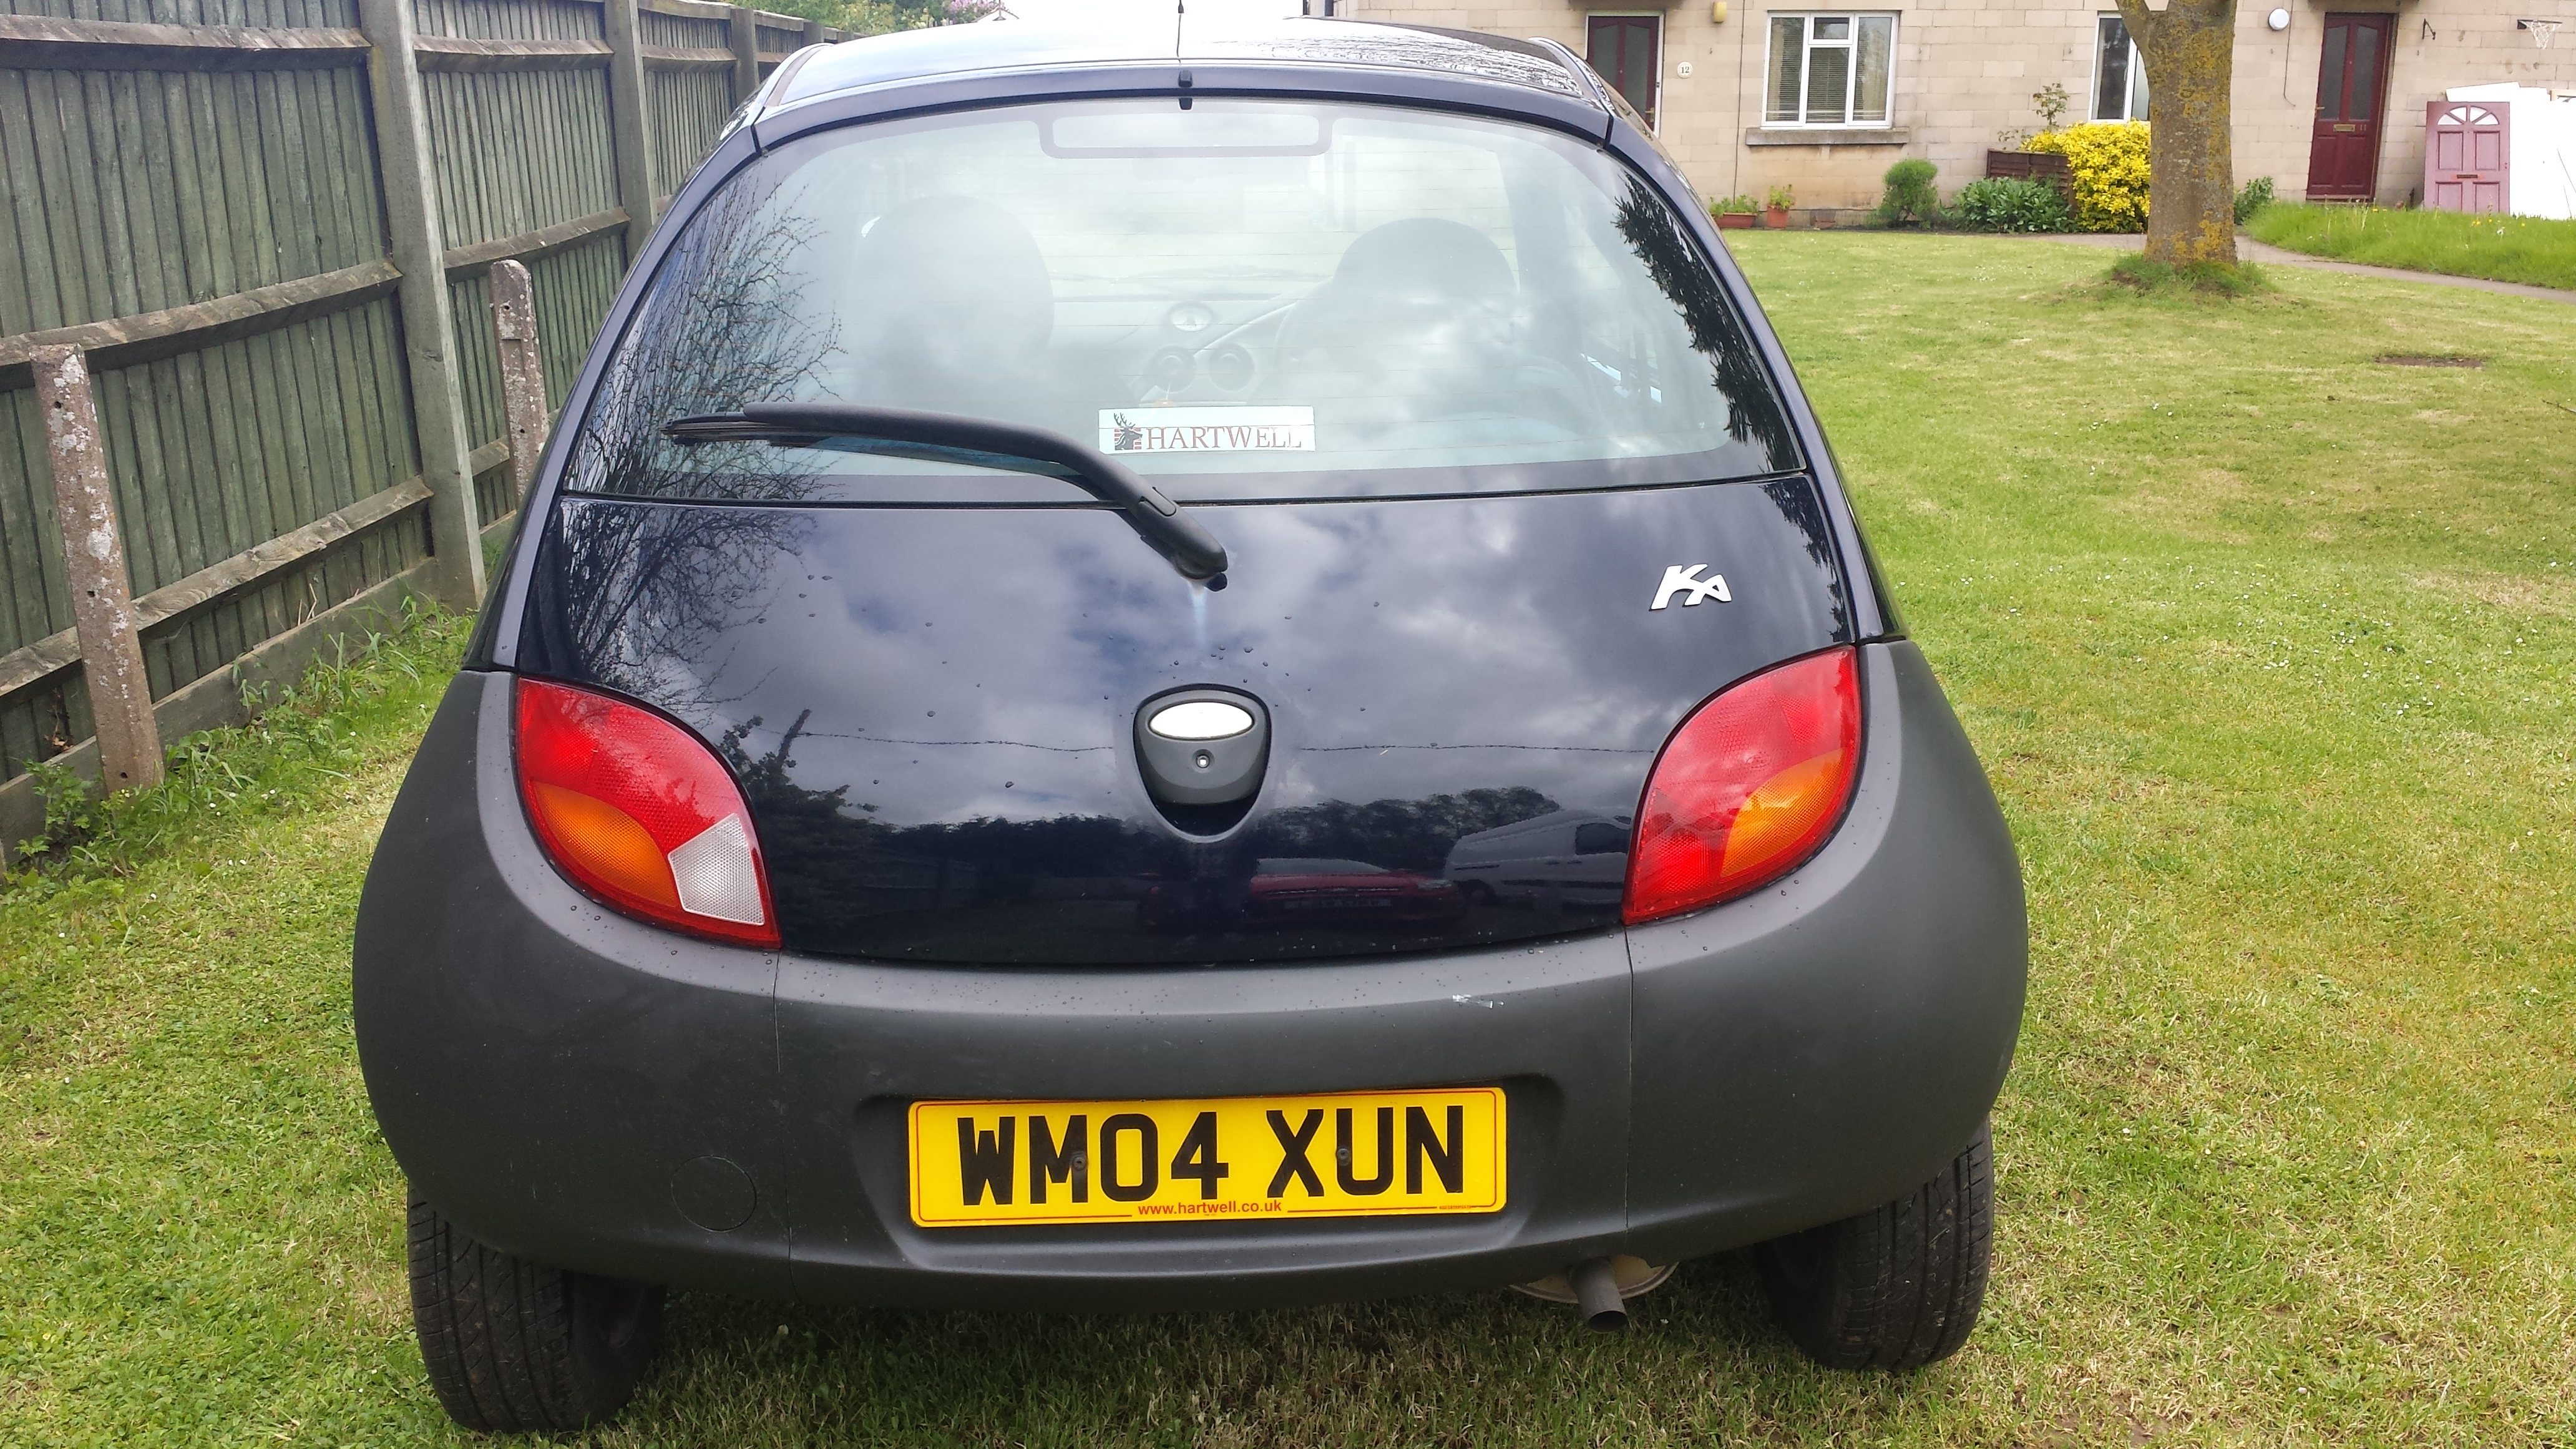
26th April 2014: This was the first item I bought to bring a part of the car back to life. A brand new Ford badge costing £15, but it does make a hell of a difference to the look of the car. These badges are simply stuck on with VERY sticky, and thick double sided tape, it took quite some effort to get it off without damaging the plastic surround. I did also replace the rear badge for the same cost.
May 2014:
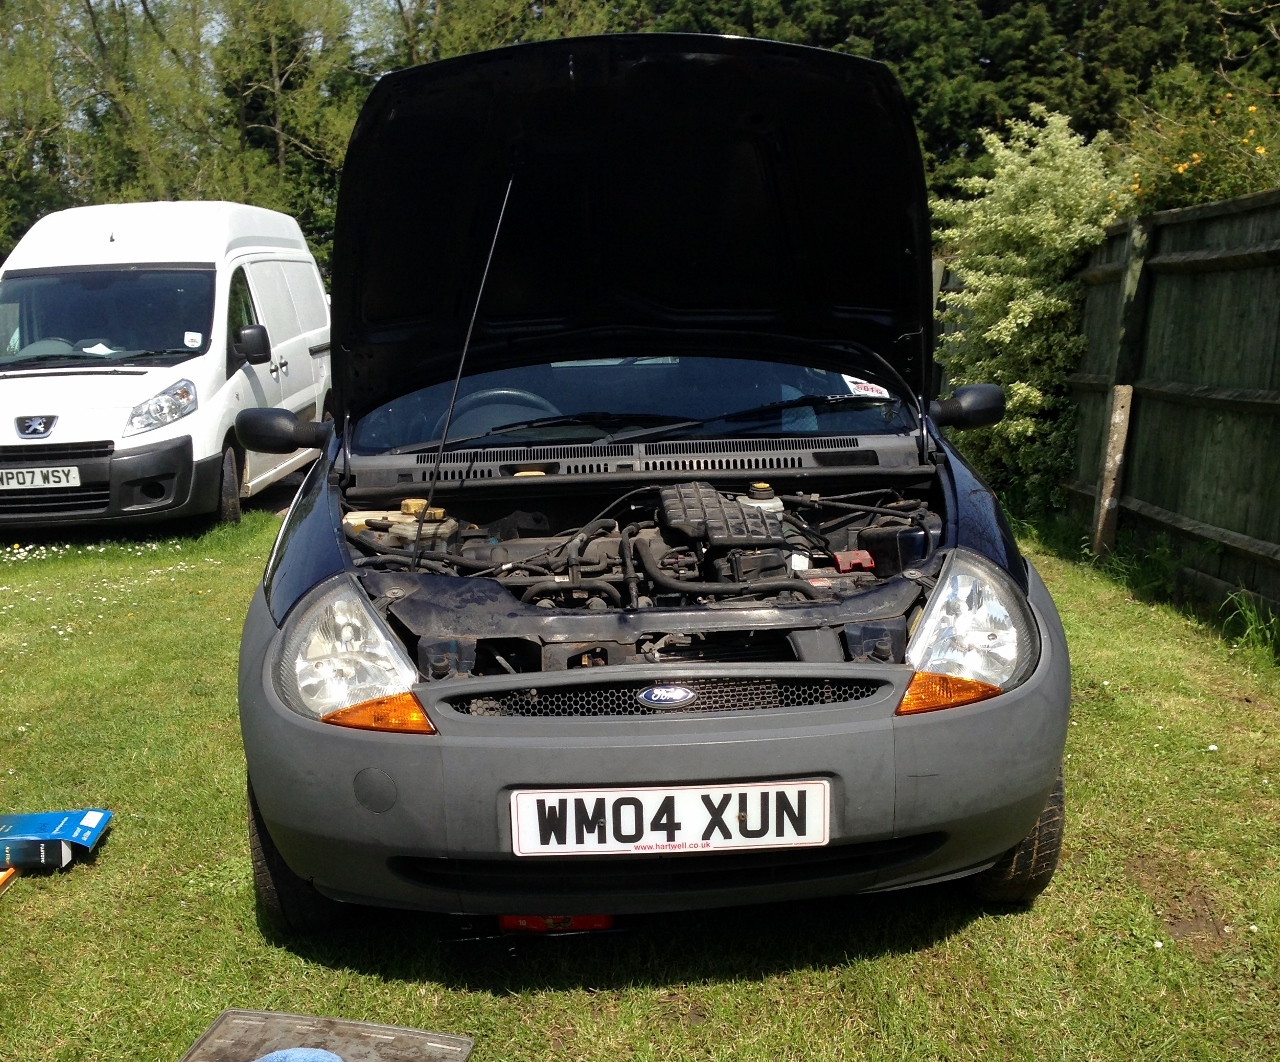
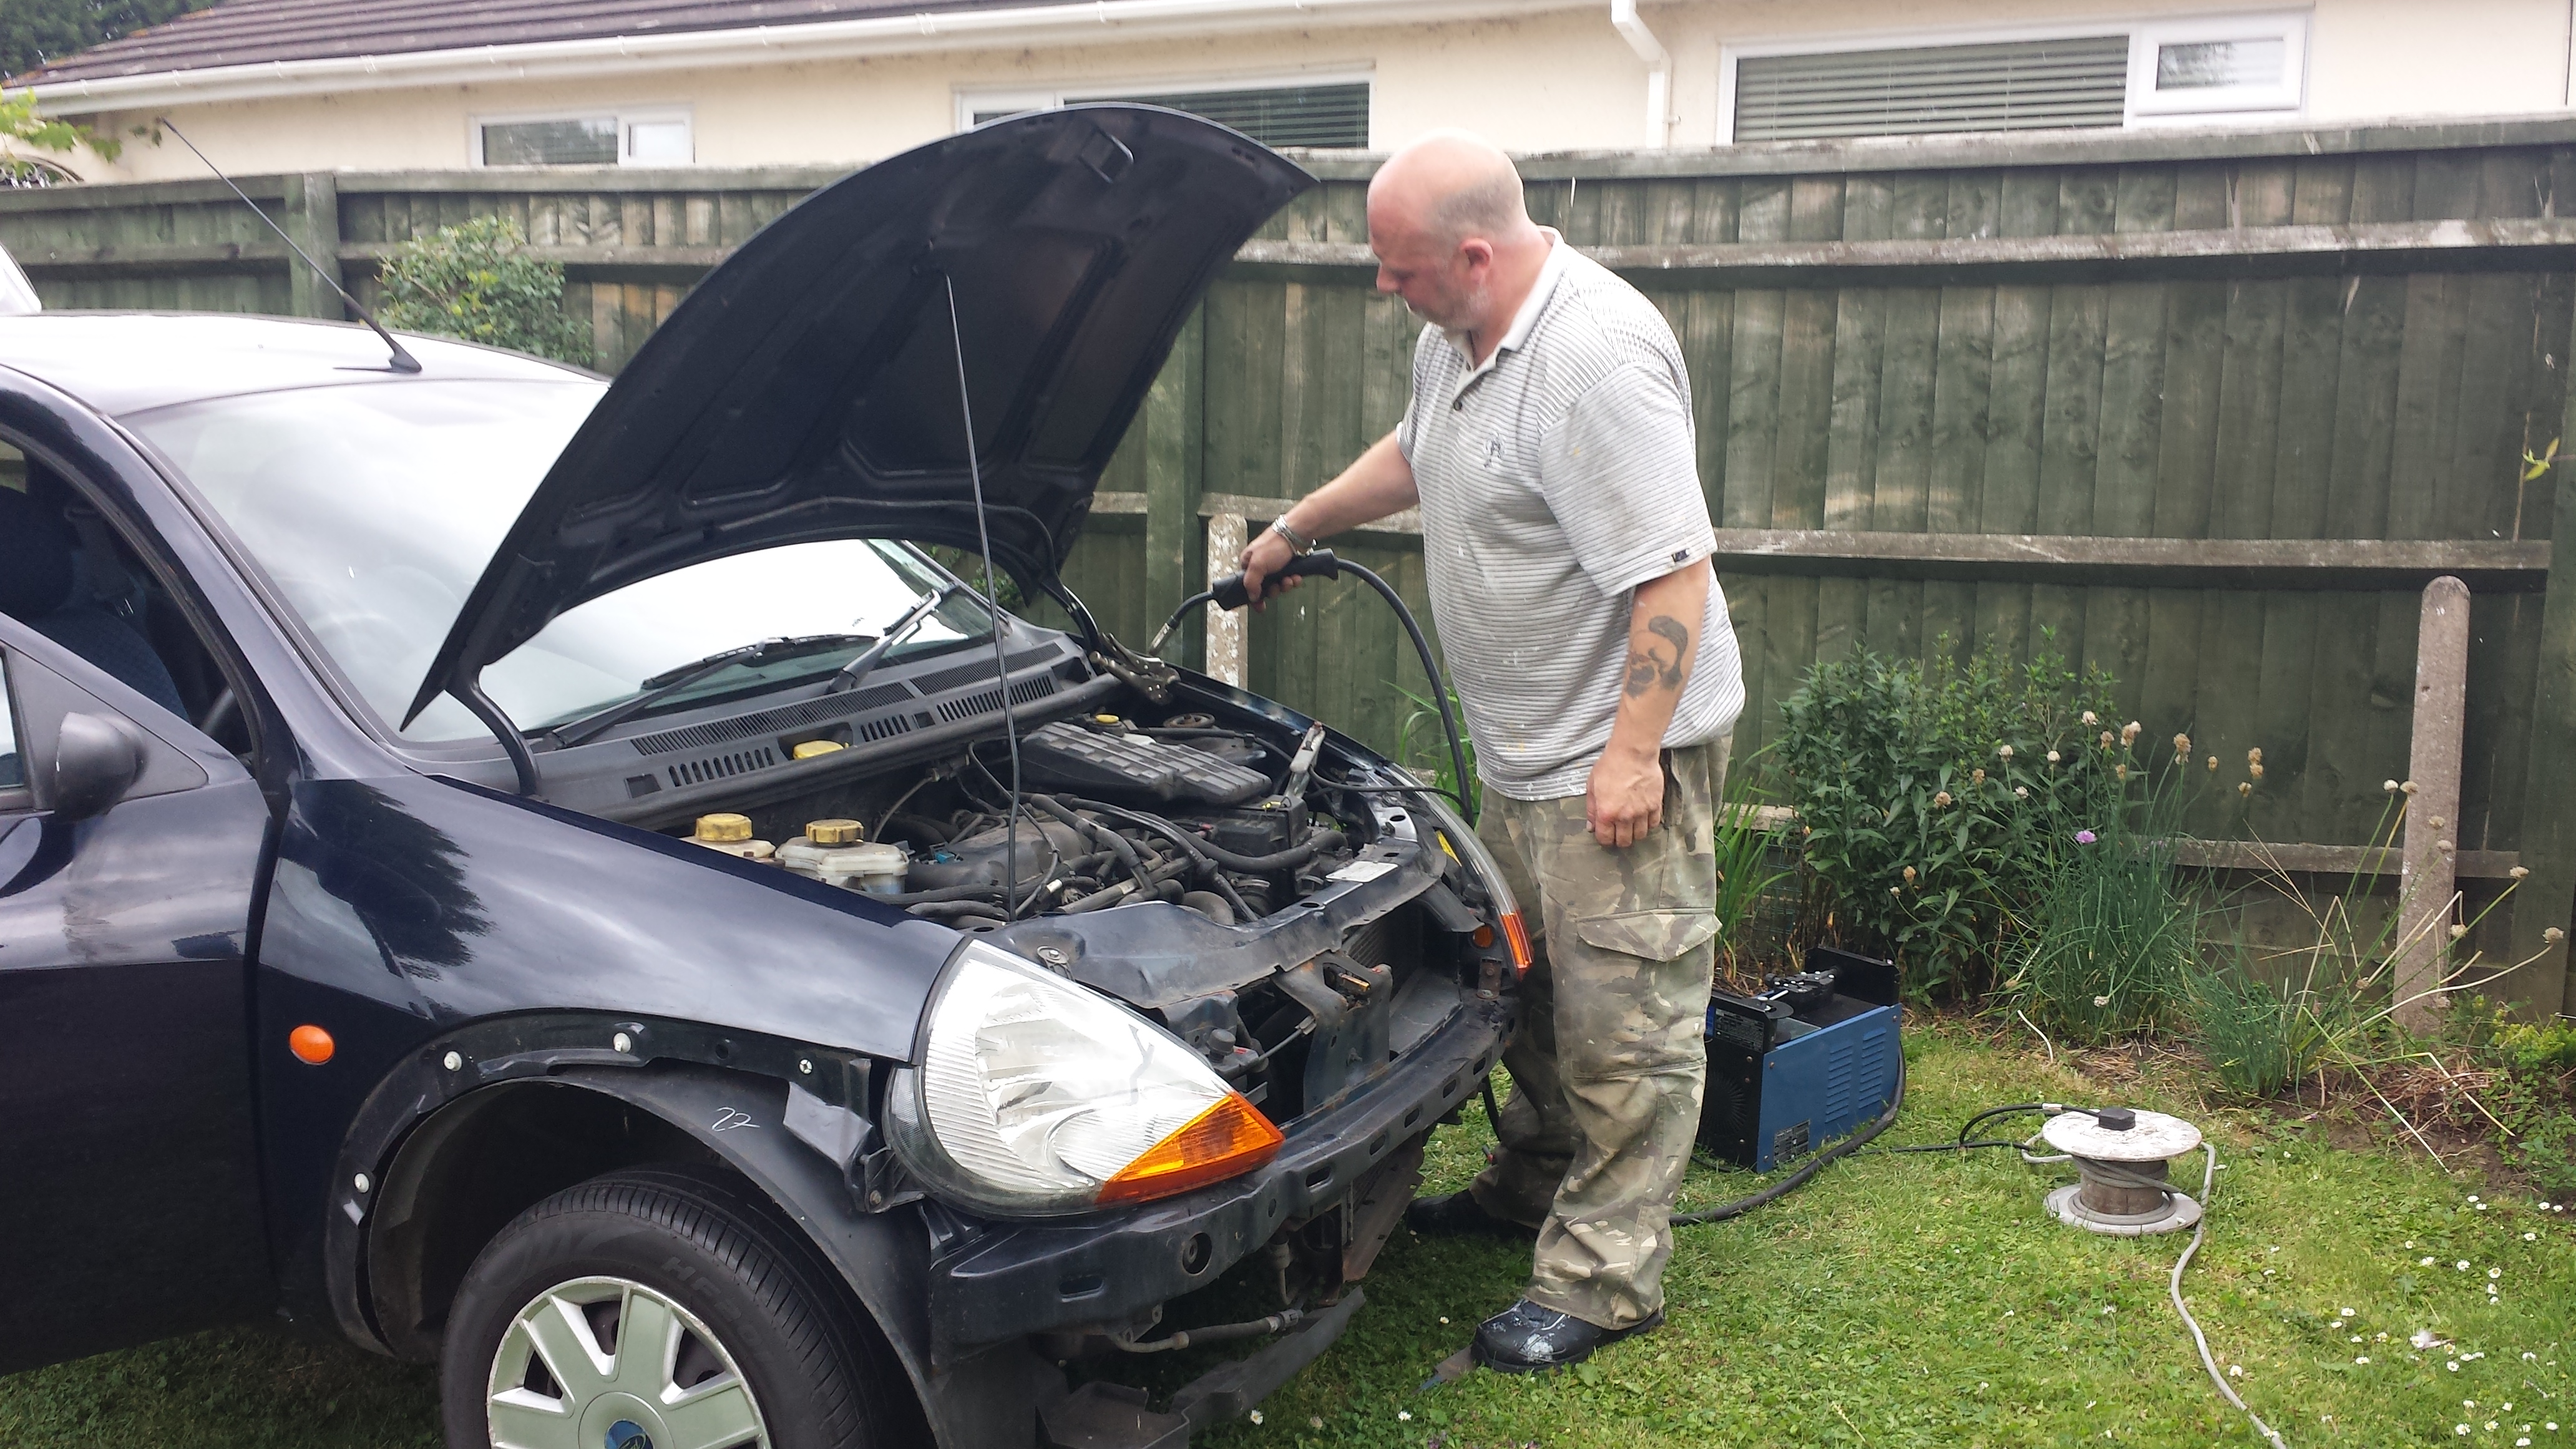
4th May 2014: The car was crying out for a service. It hadn’t been serviced for about 30,000 miles and it ran pretty poorly too, with rough and slow starting, poor idling, sluggish pulling away and frequent stuttering when accelerating. I changed the oil with semi-synthetic 5W-30 as Ford recommends, oil filter, air filter and spark plugs. Replacing all these have transformed the way the car runs and drives.
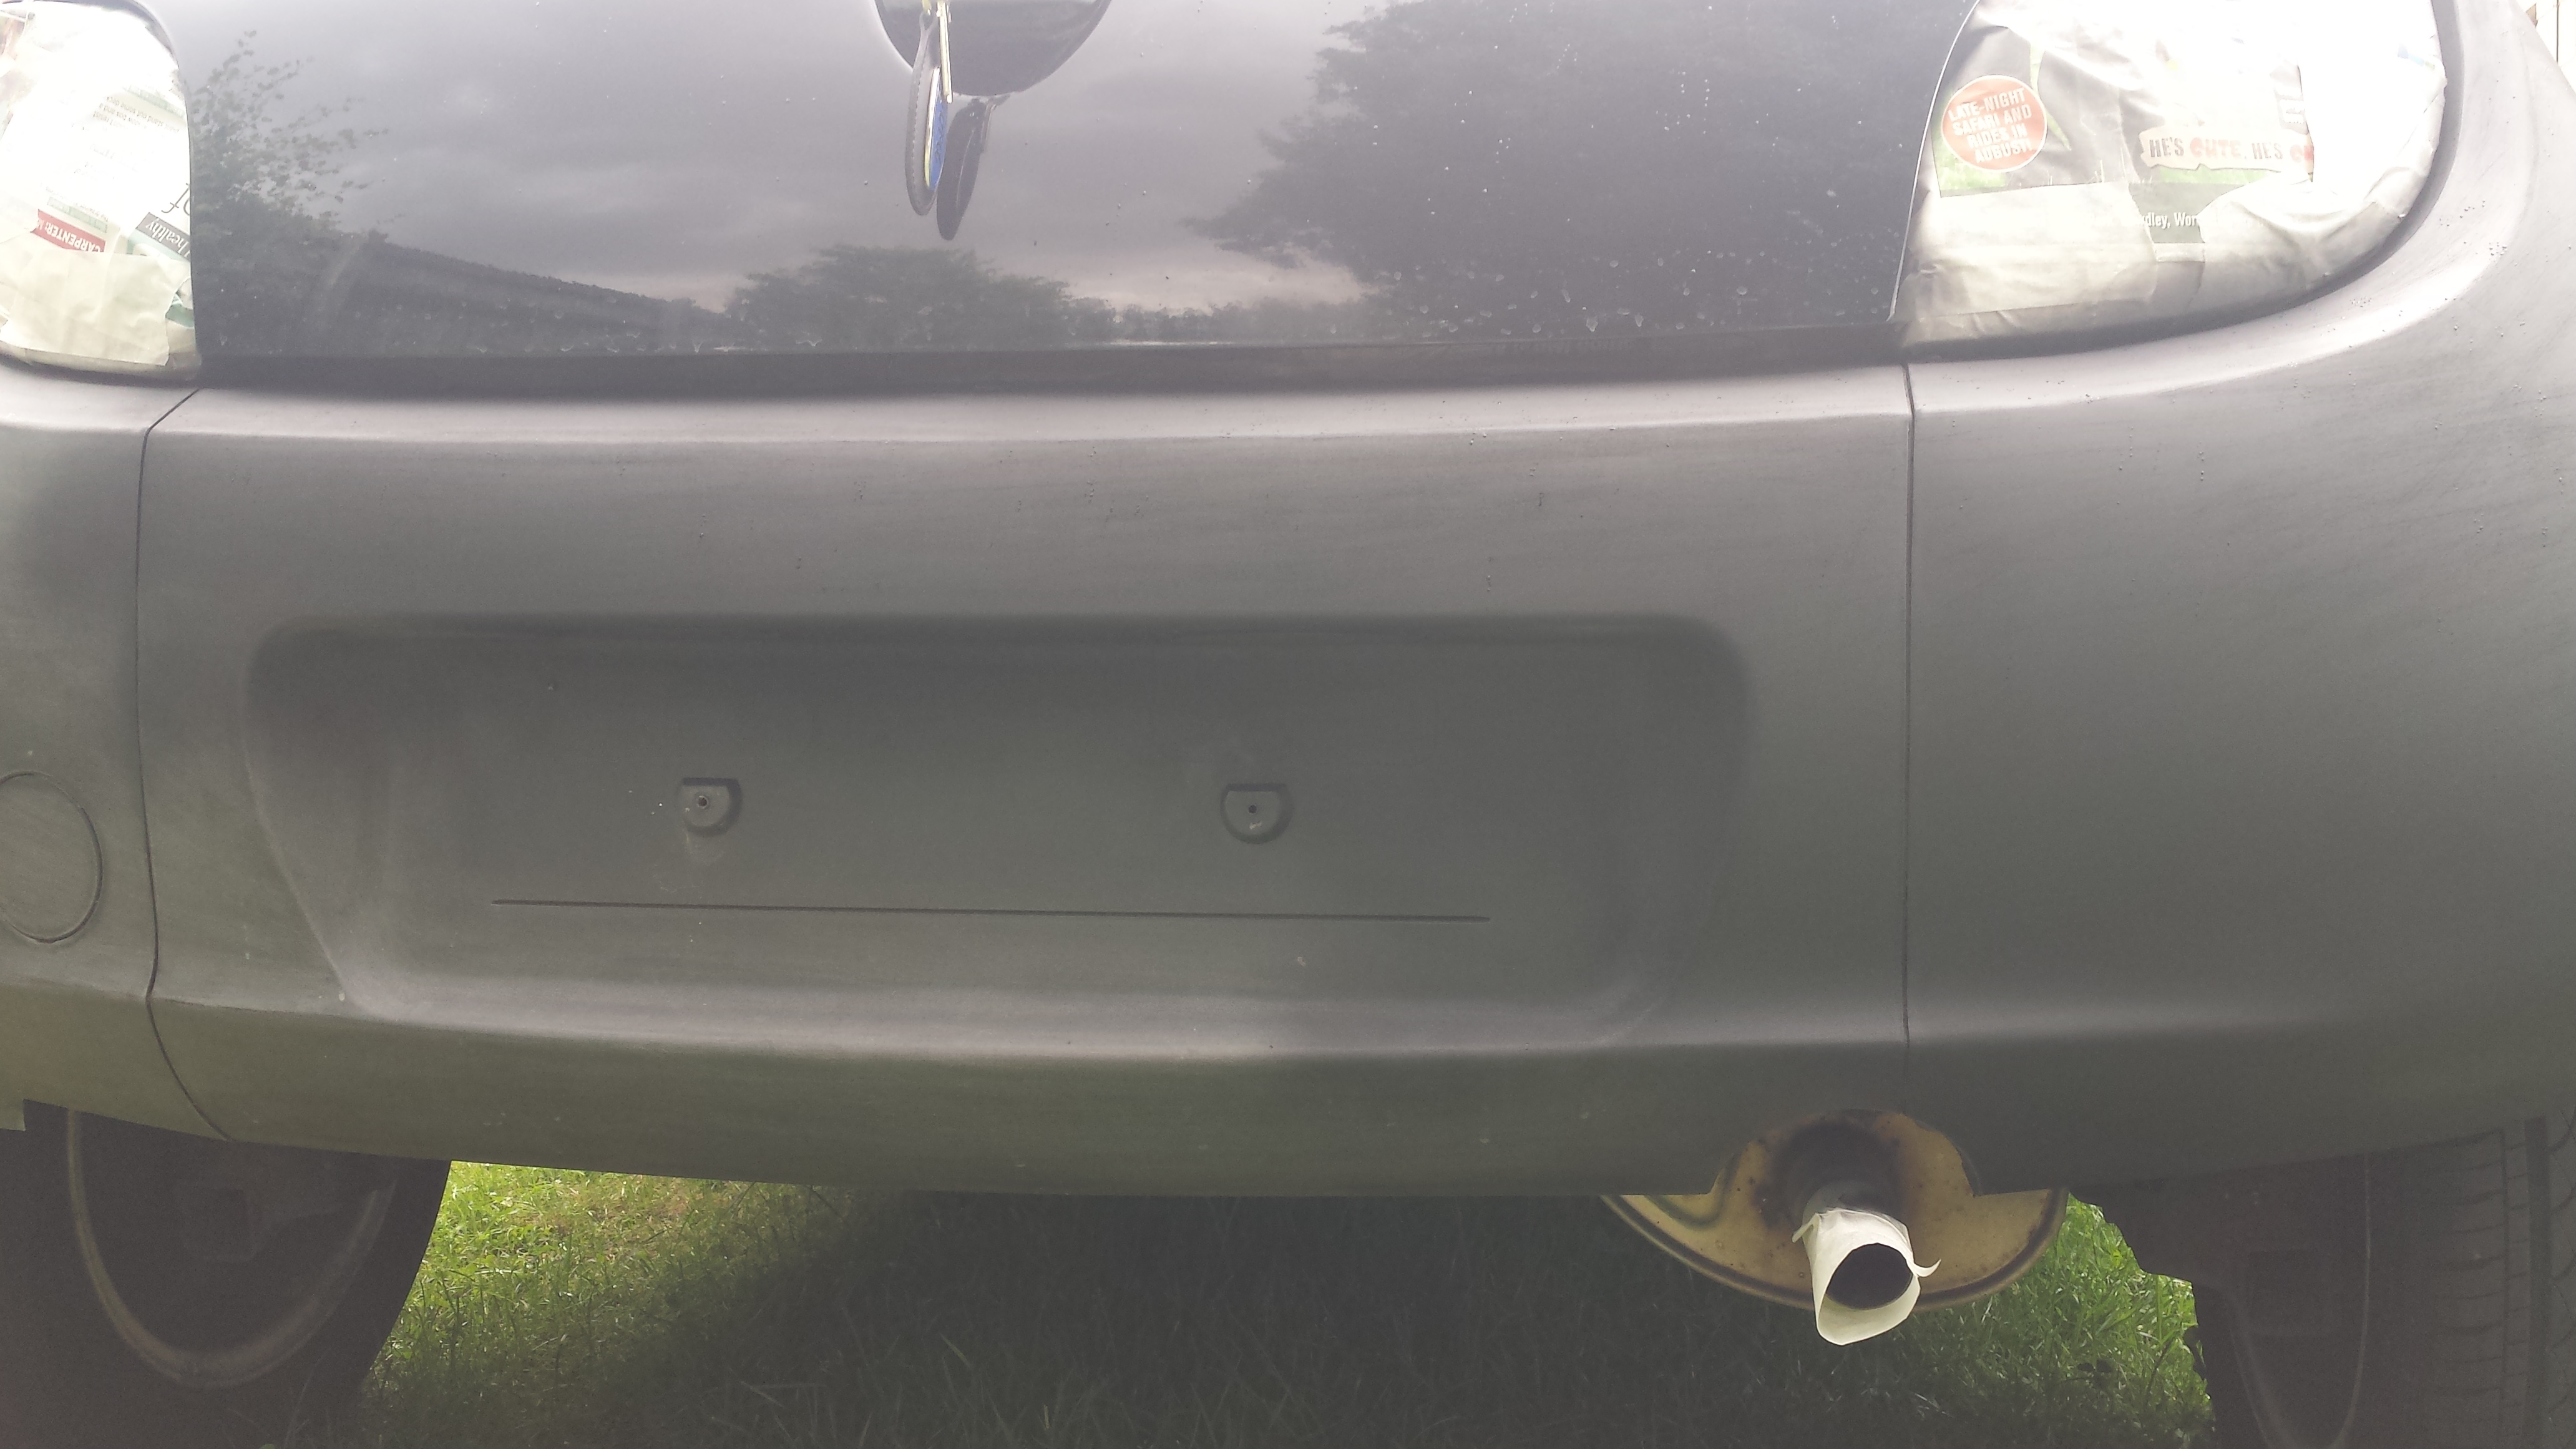
9th May 2014: As you can see, just like many others KA’s, it’s bumpers colour has faded dramatically. To improve the look of the bumpers I decided to try out Autoglym Bumper Care to restore them back to their factory condition.
Autoglym Bumper Care is a gel. It does repel water, but not forever obviously. Here’s an after shot when the bumper care has been applied. It does a very good job of restoring the bumpers to like new condtion. It does however need to be re applied every three weeks or so, and being a KA it has a lot of bumper so it takes time!
July 2014:
8th July 2014:
Nothing was done for two months until now. From here on is where the real work starts.
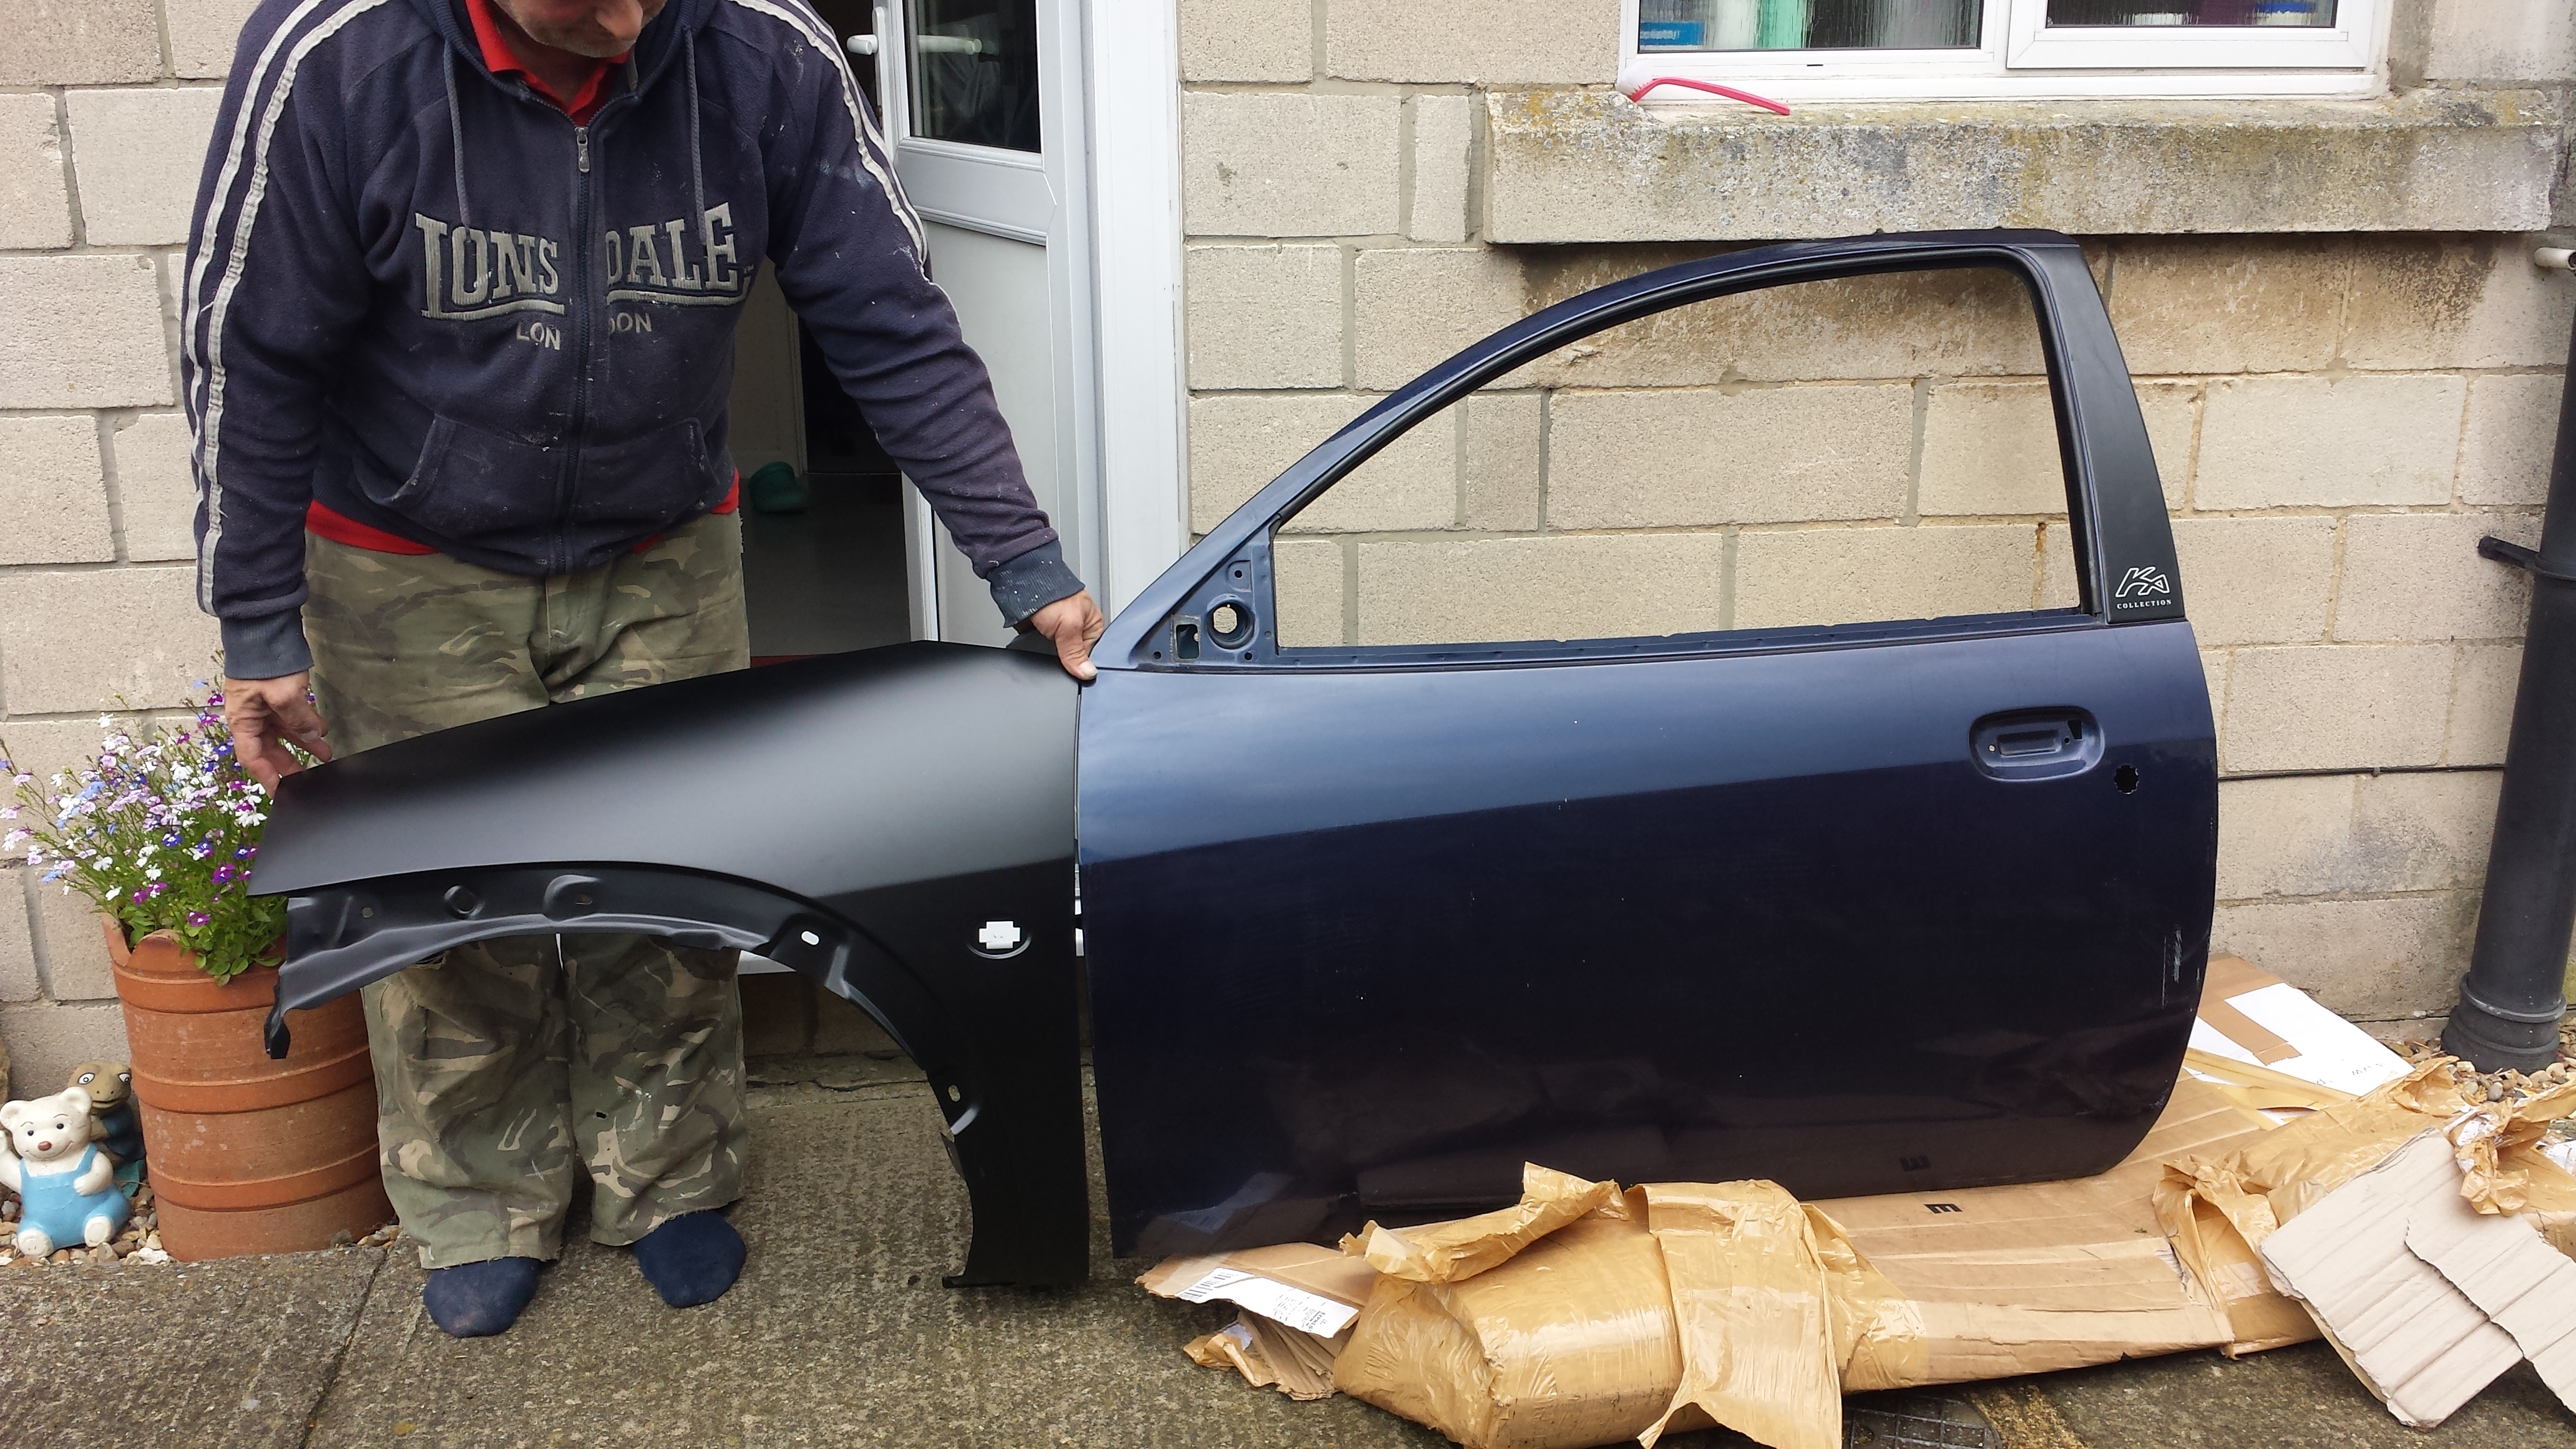
On the 8th July 2014 I took delivery of my new wing and door! The wing being a copy from Taiwan and the door being from a 1999 KA. The door was a very deep metallic blue which I wish I could have kept and sprayed the whole car in!
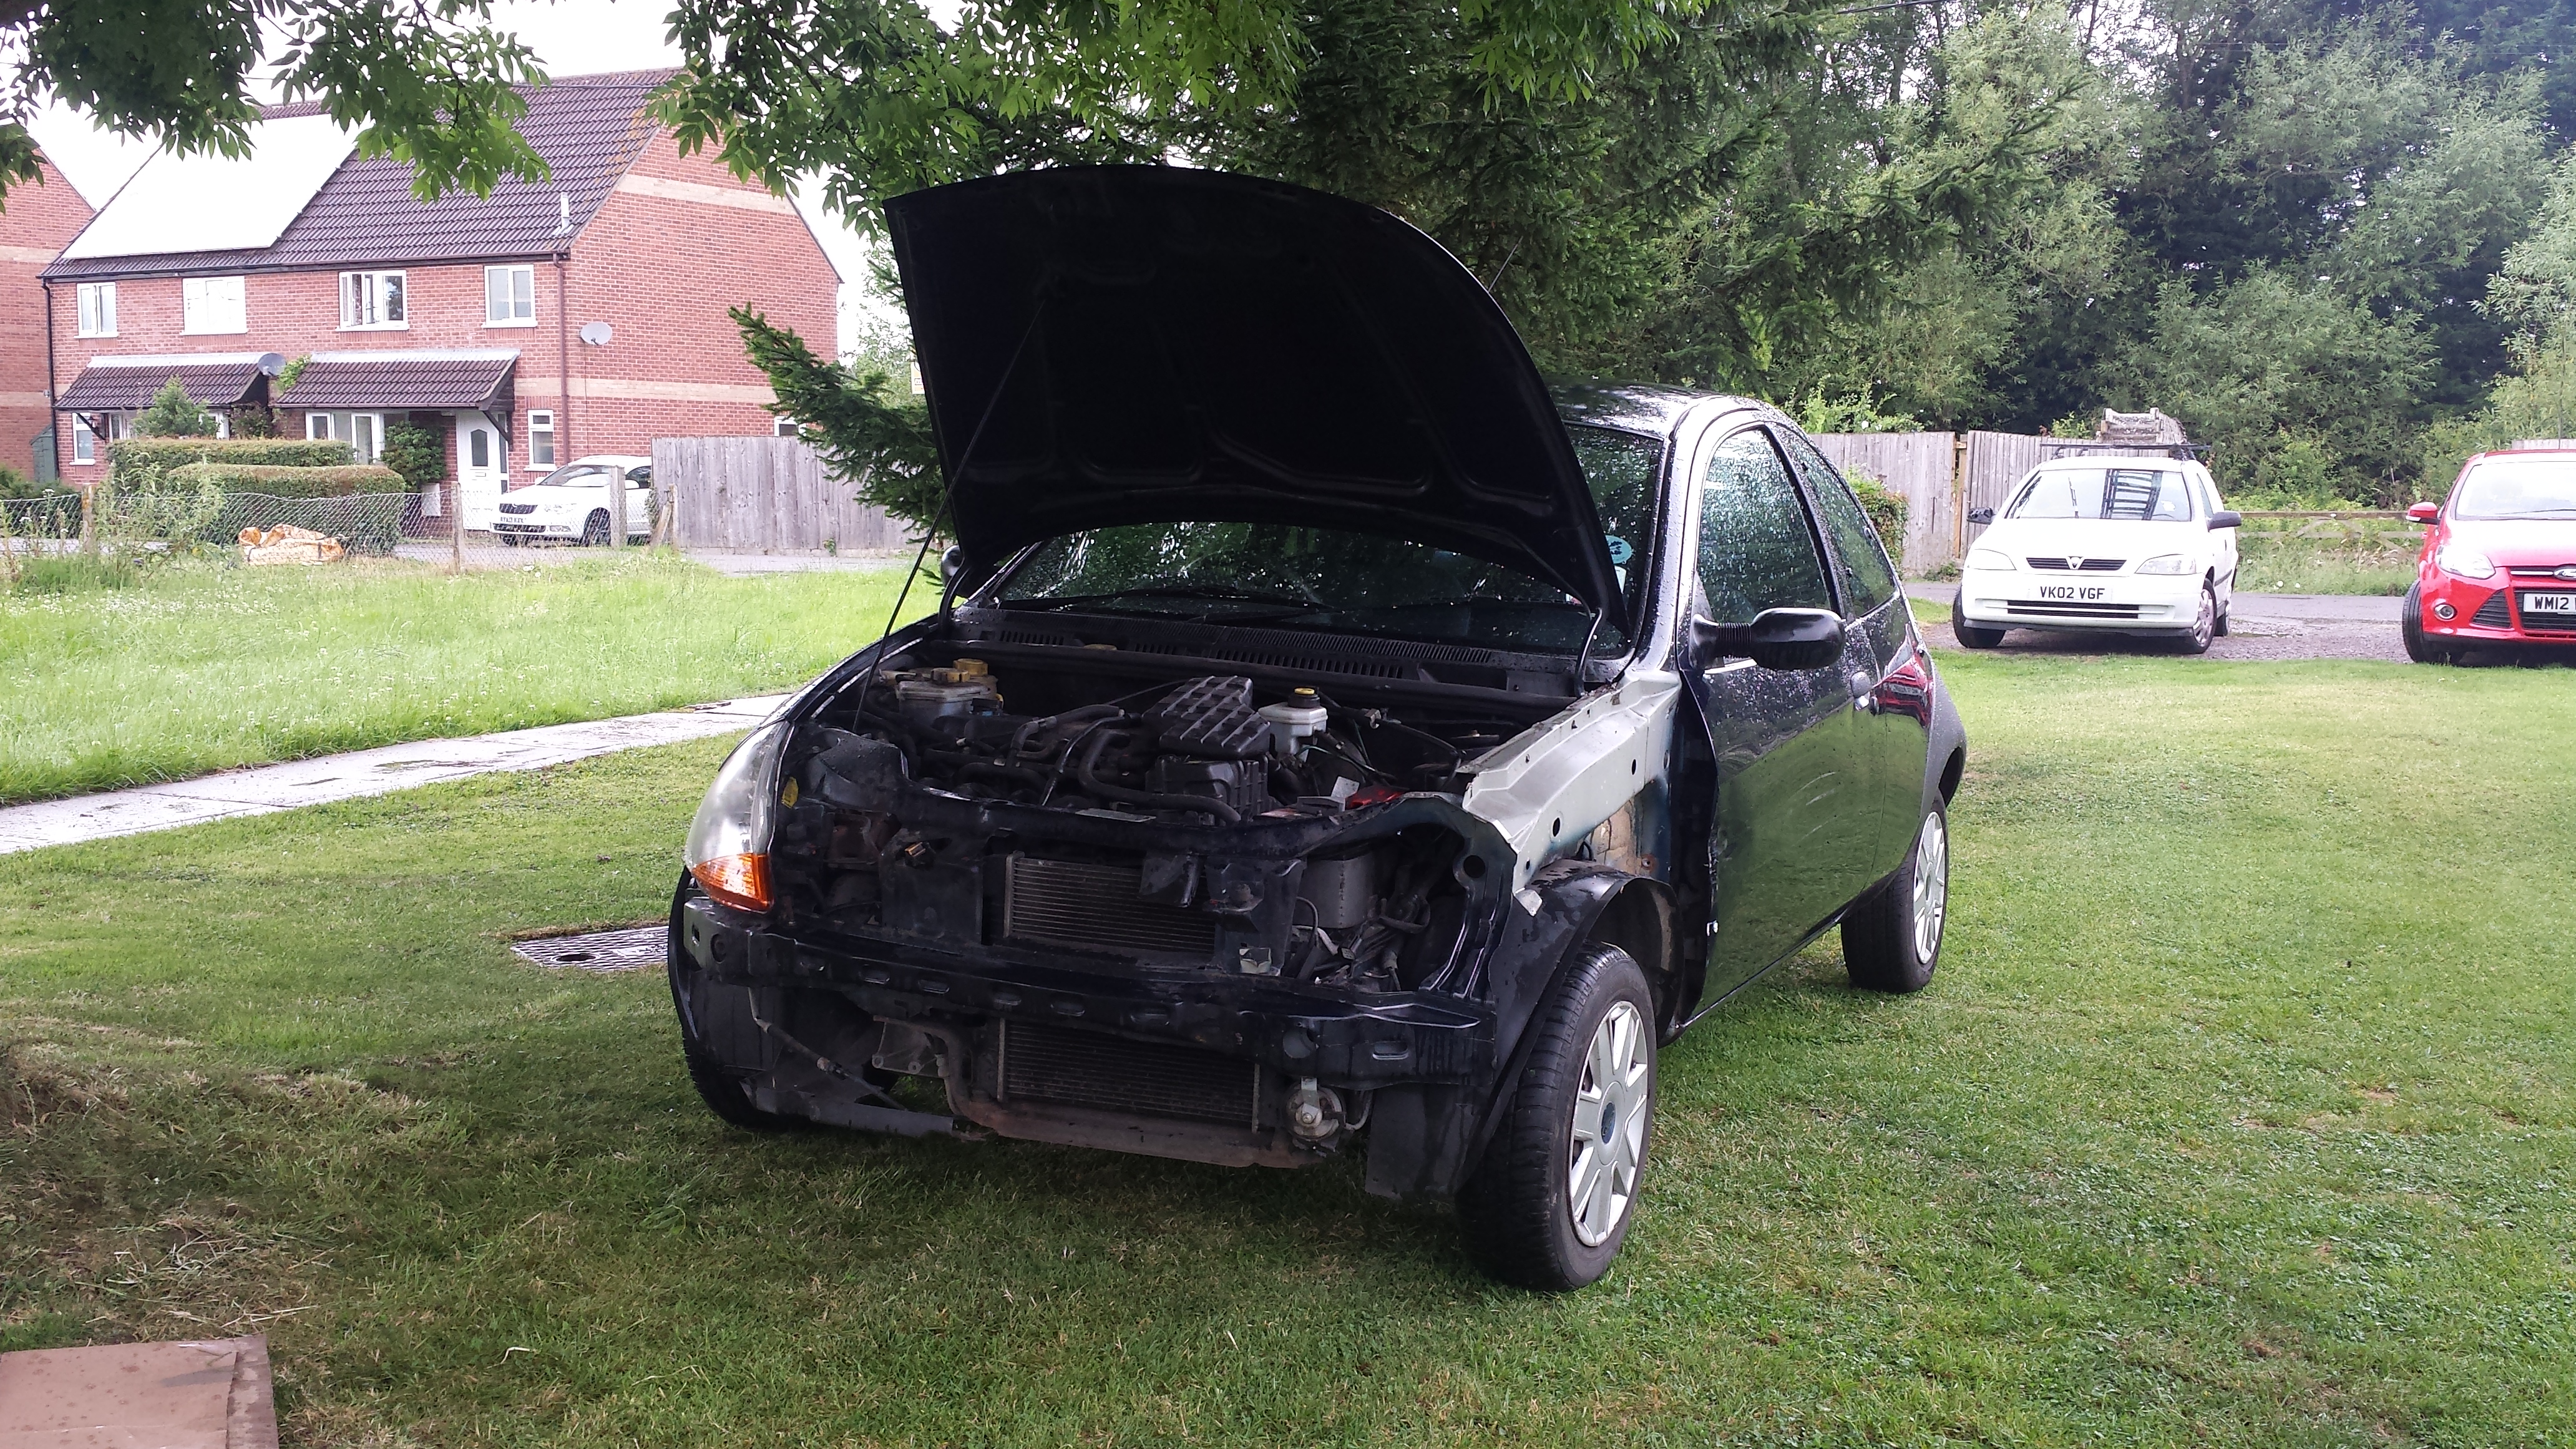
Less than ten minutes later the front of the car is being dismantled.
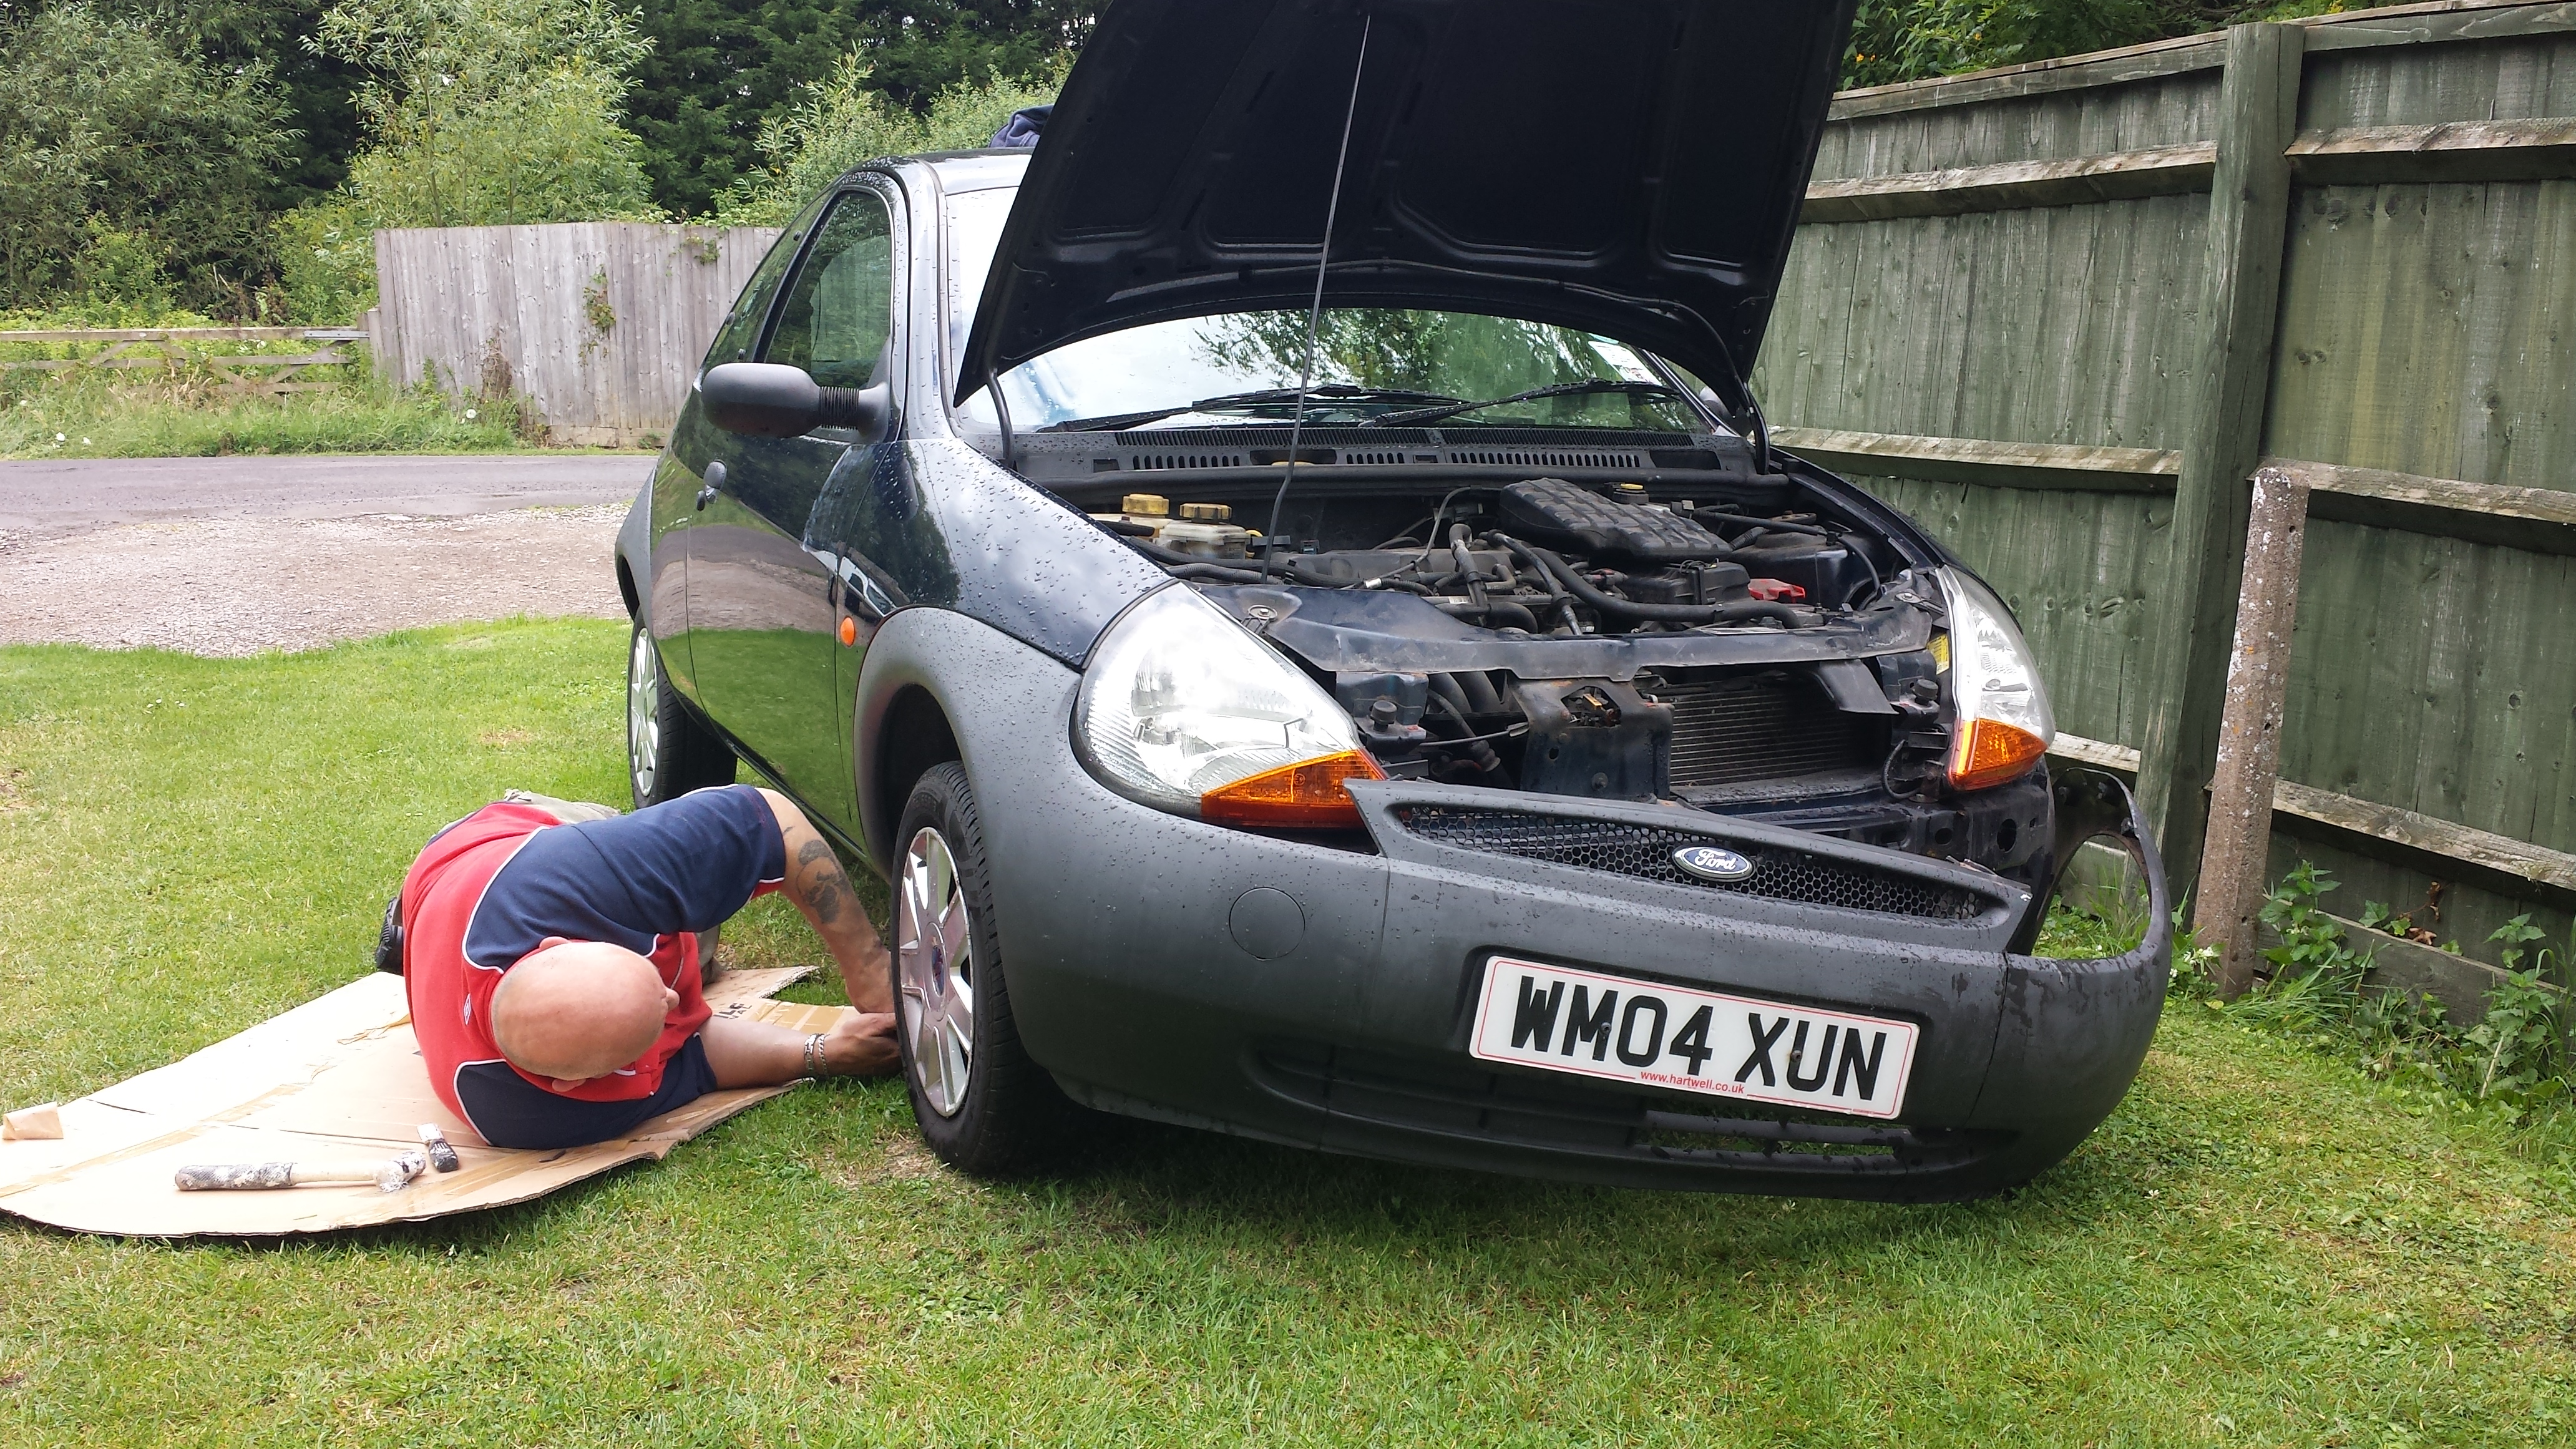
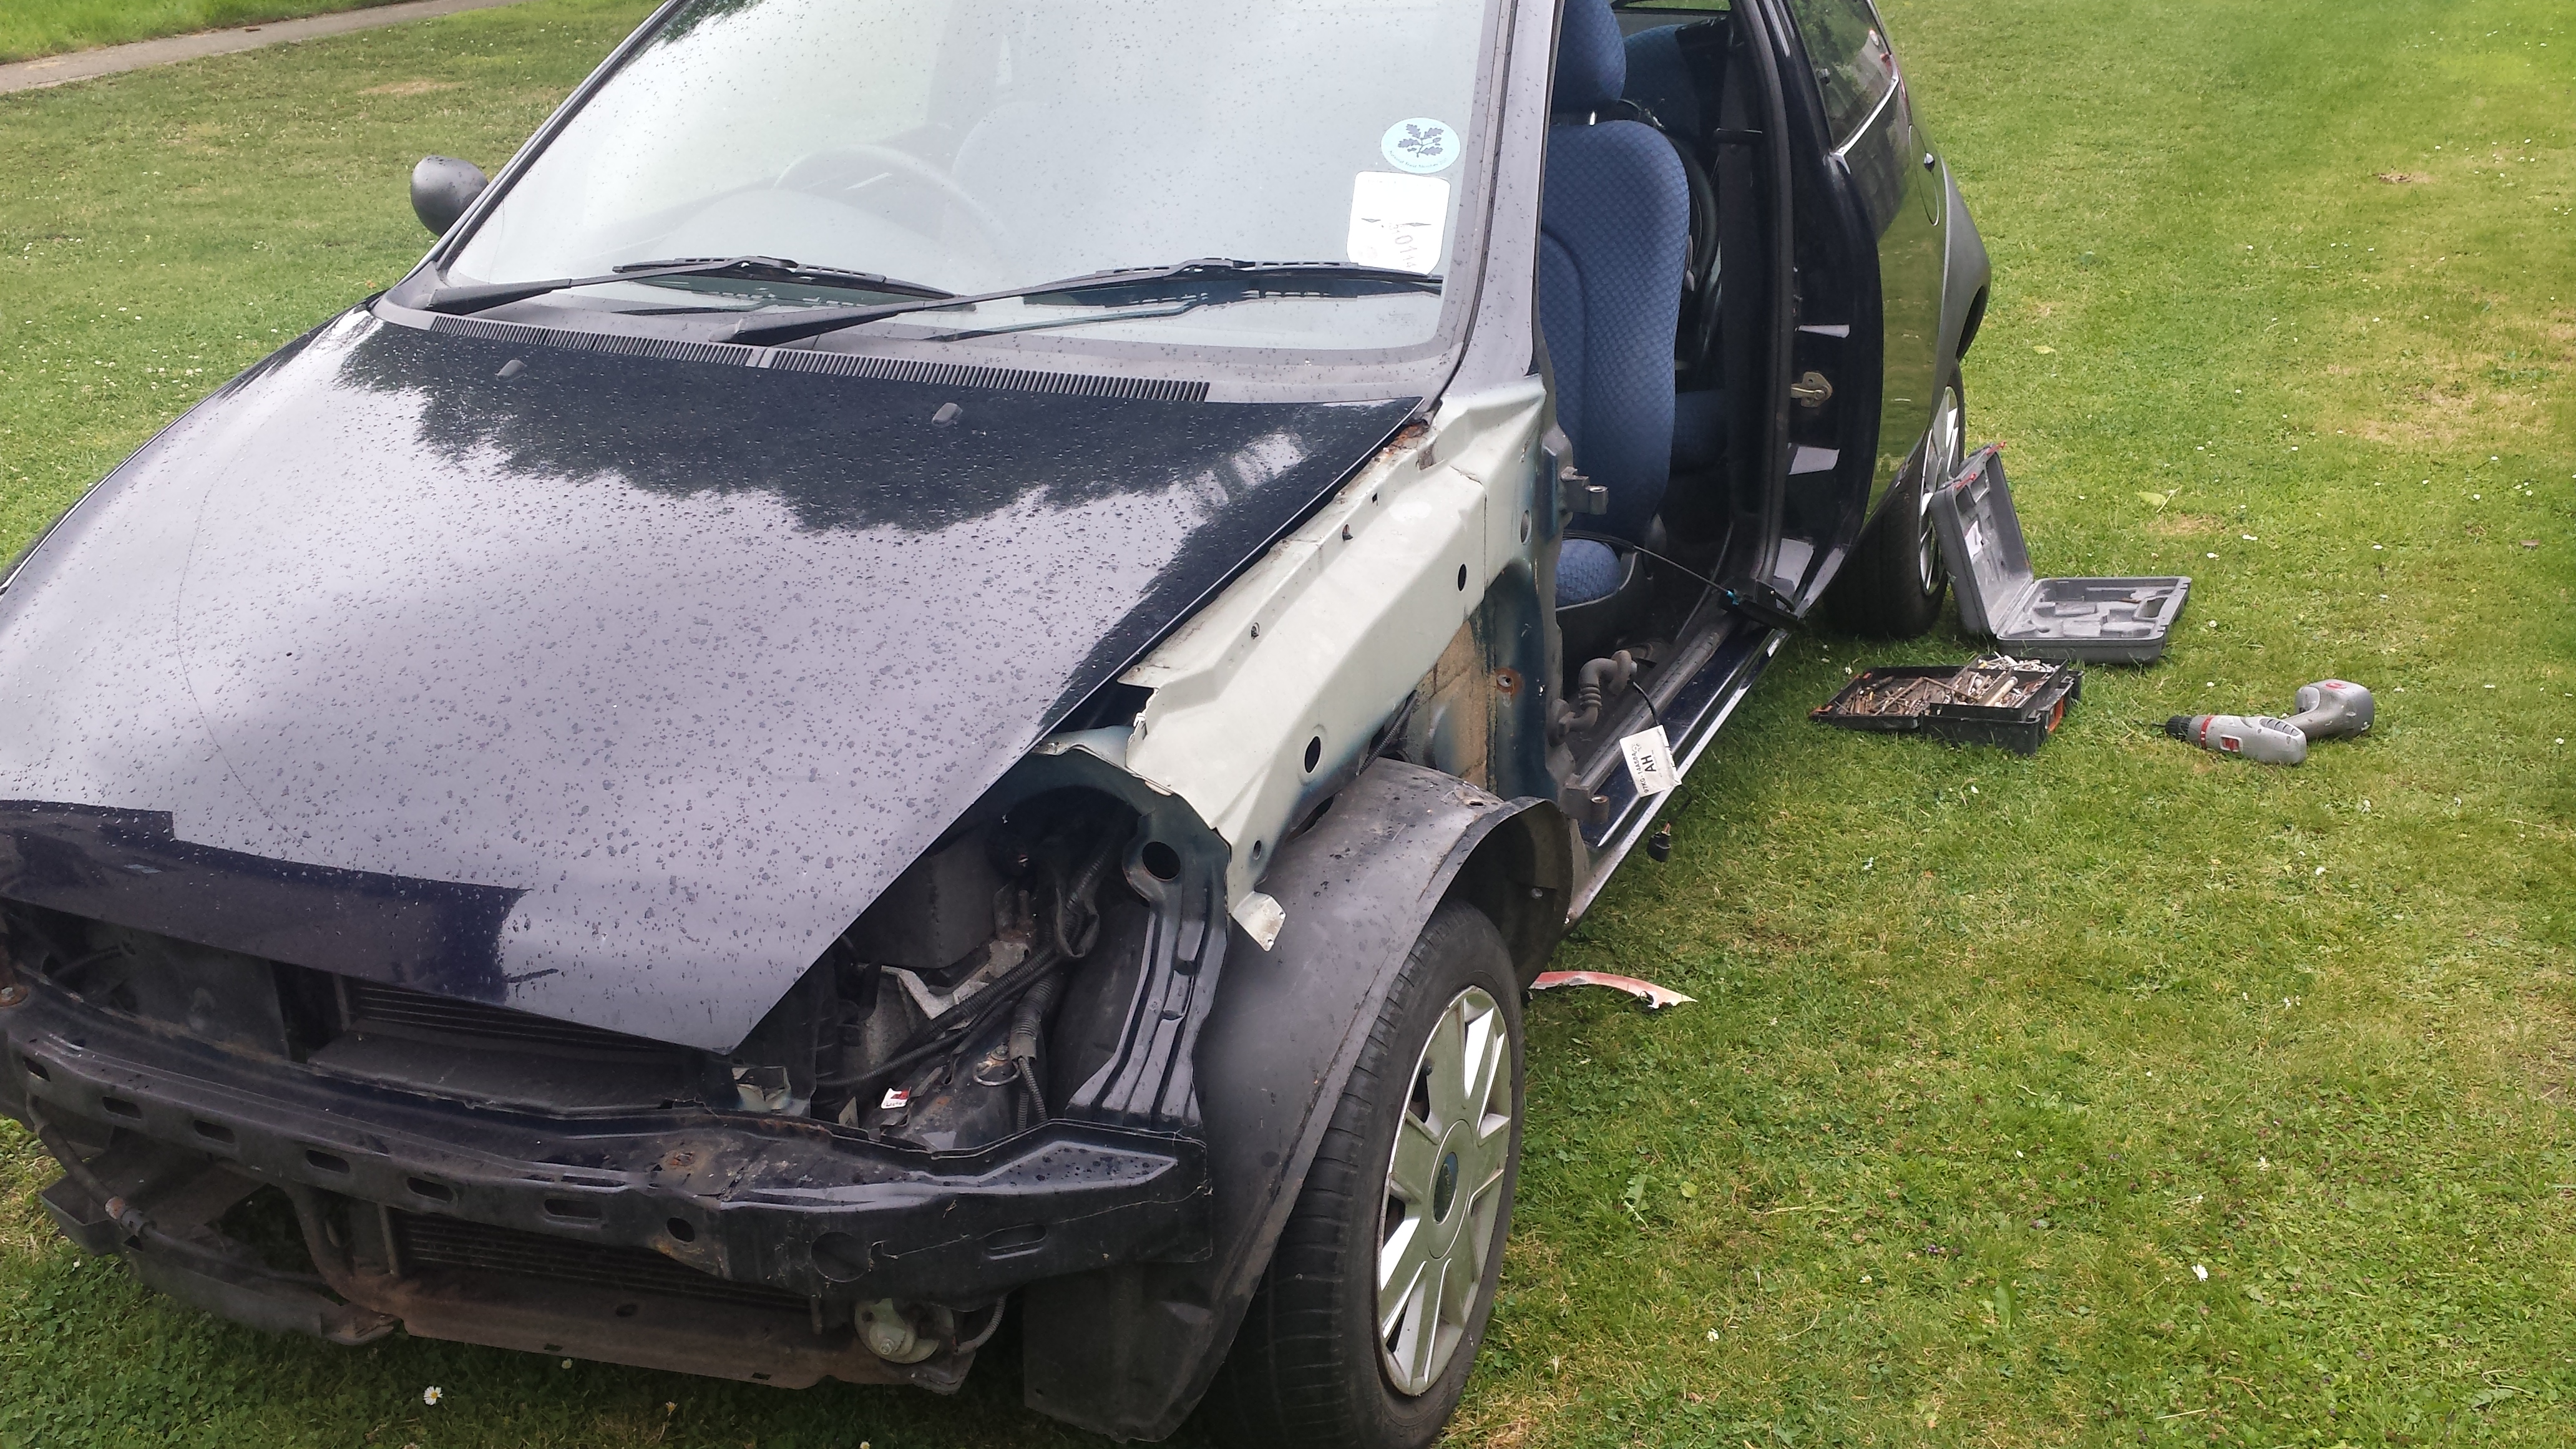
Ready for the new wing to be welded on with the front bumper, headlight, and old wing removed.
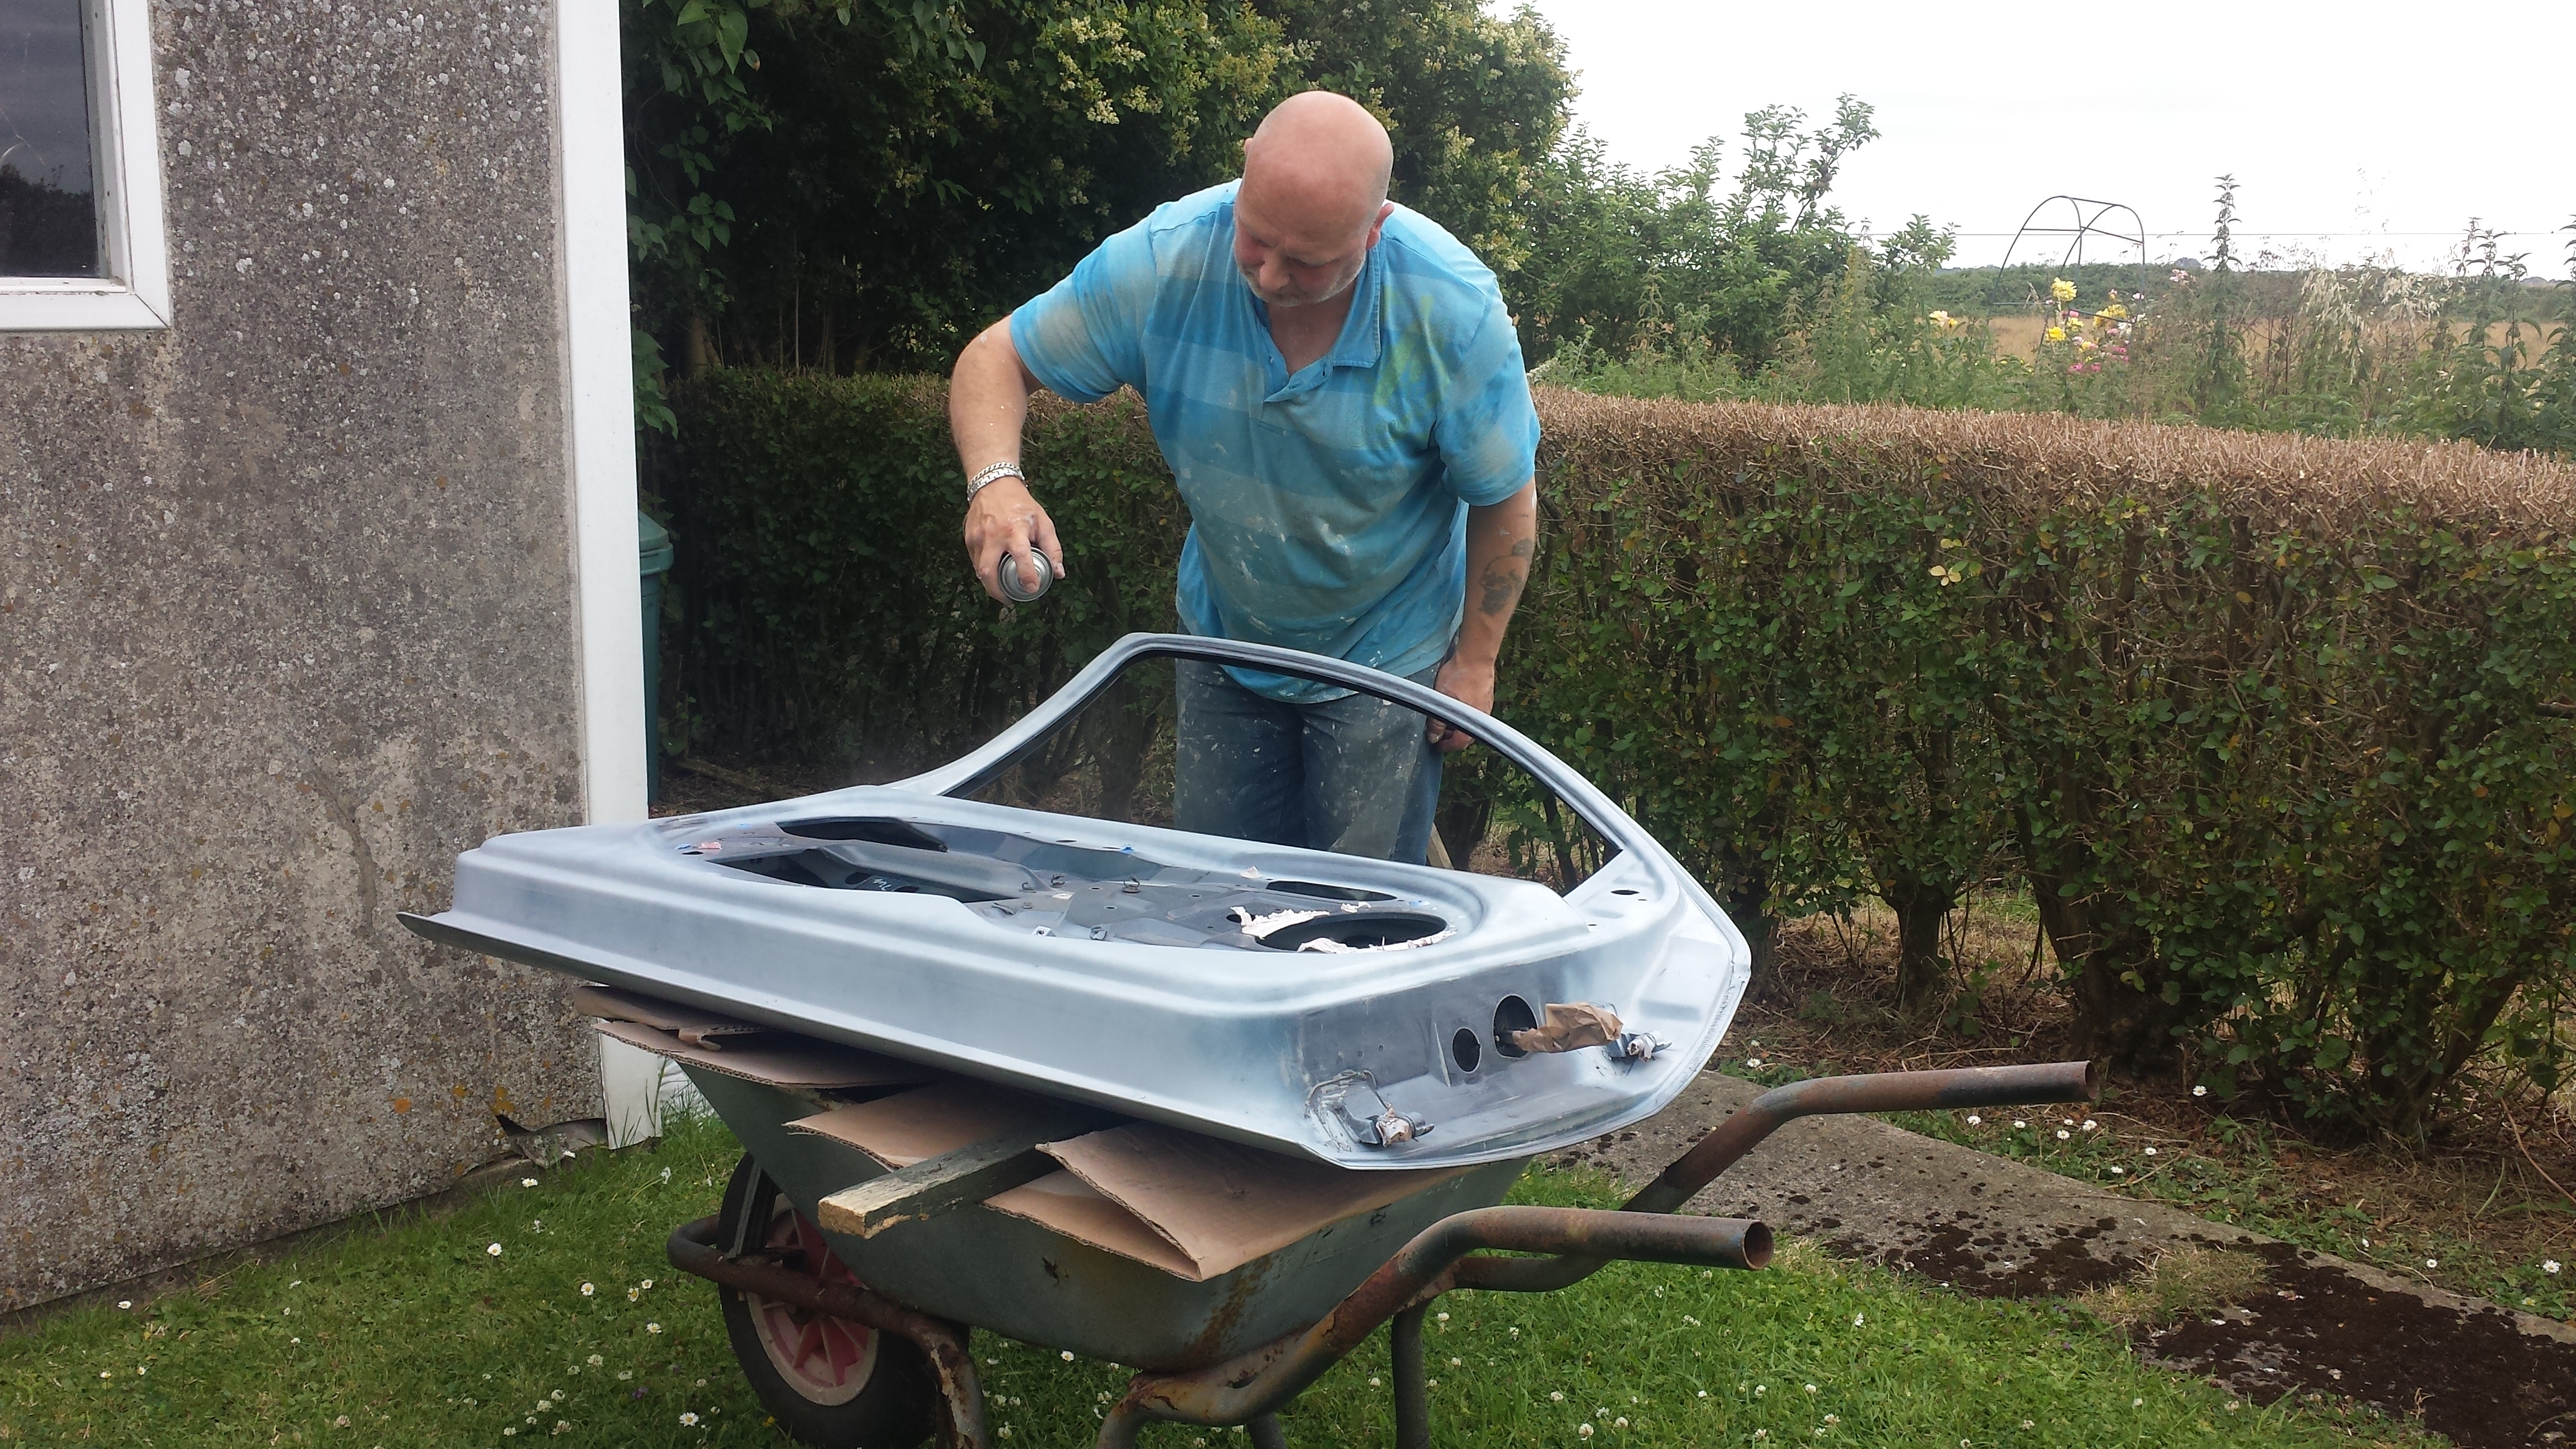
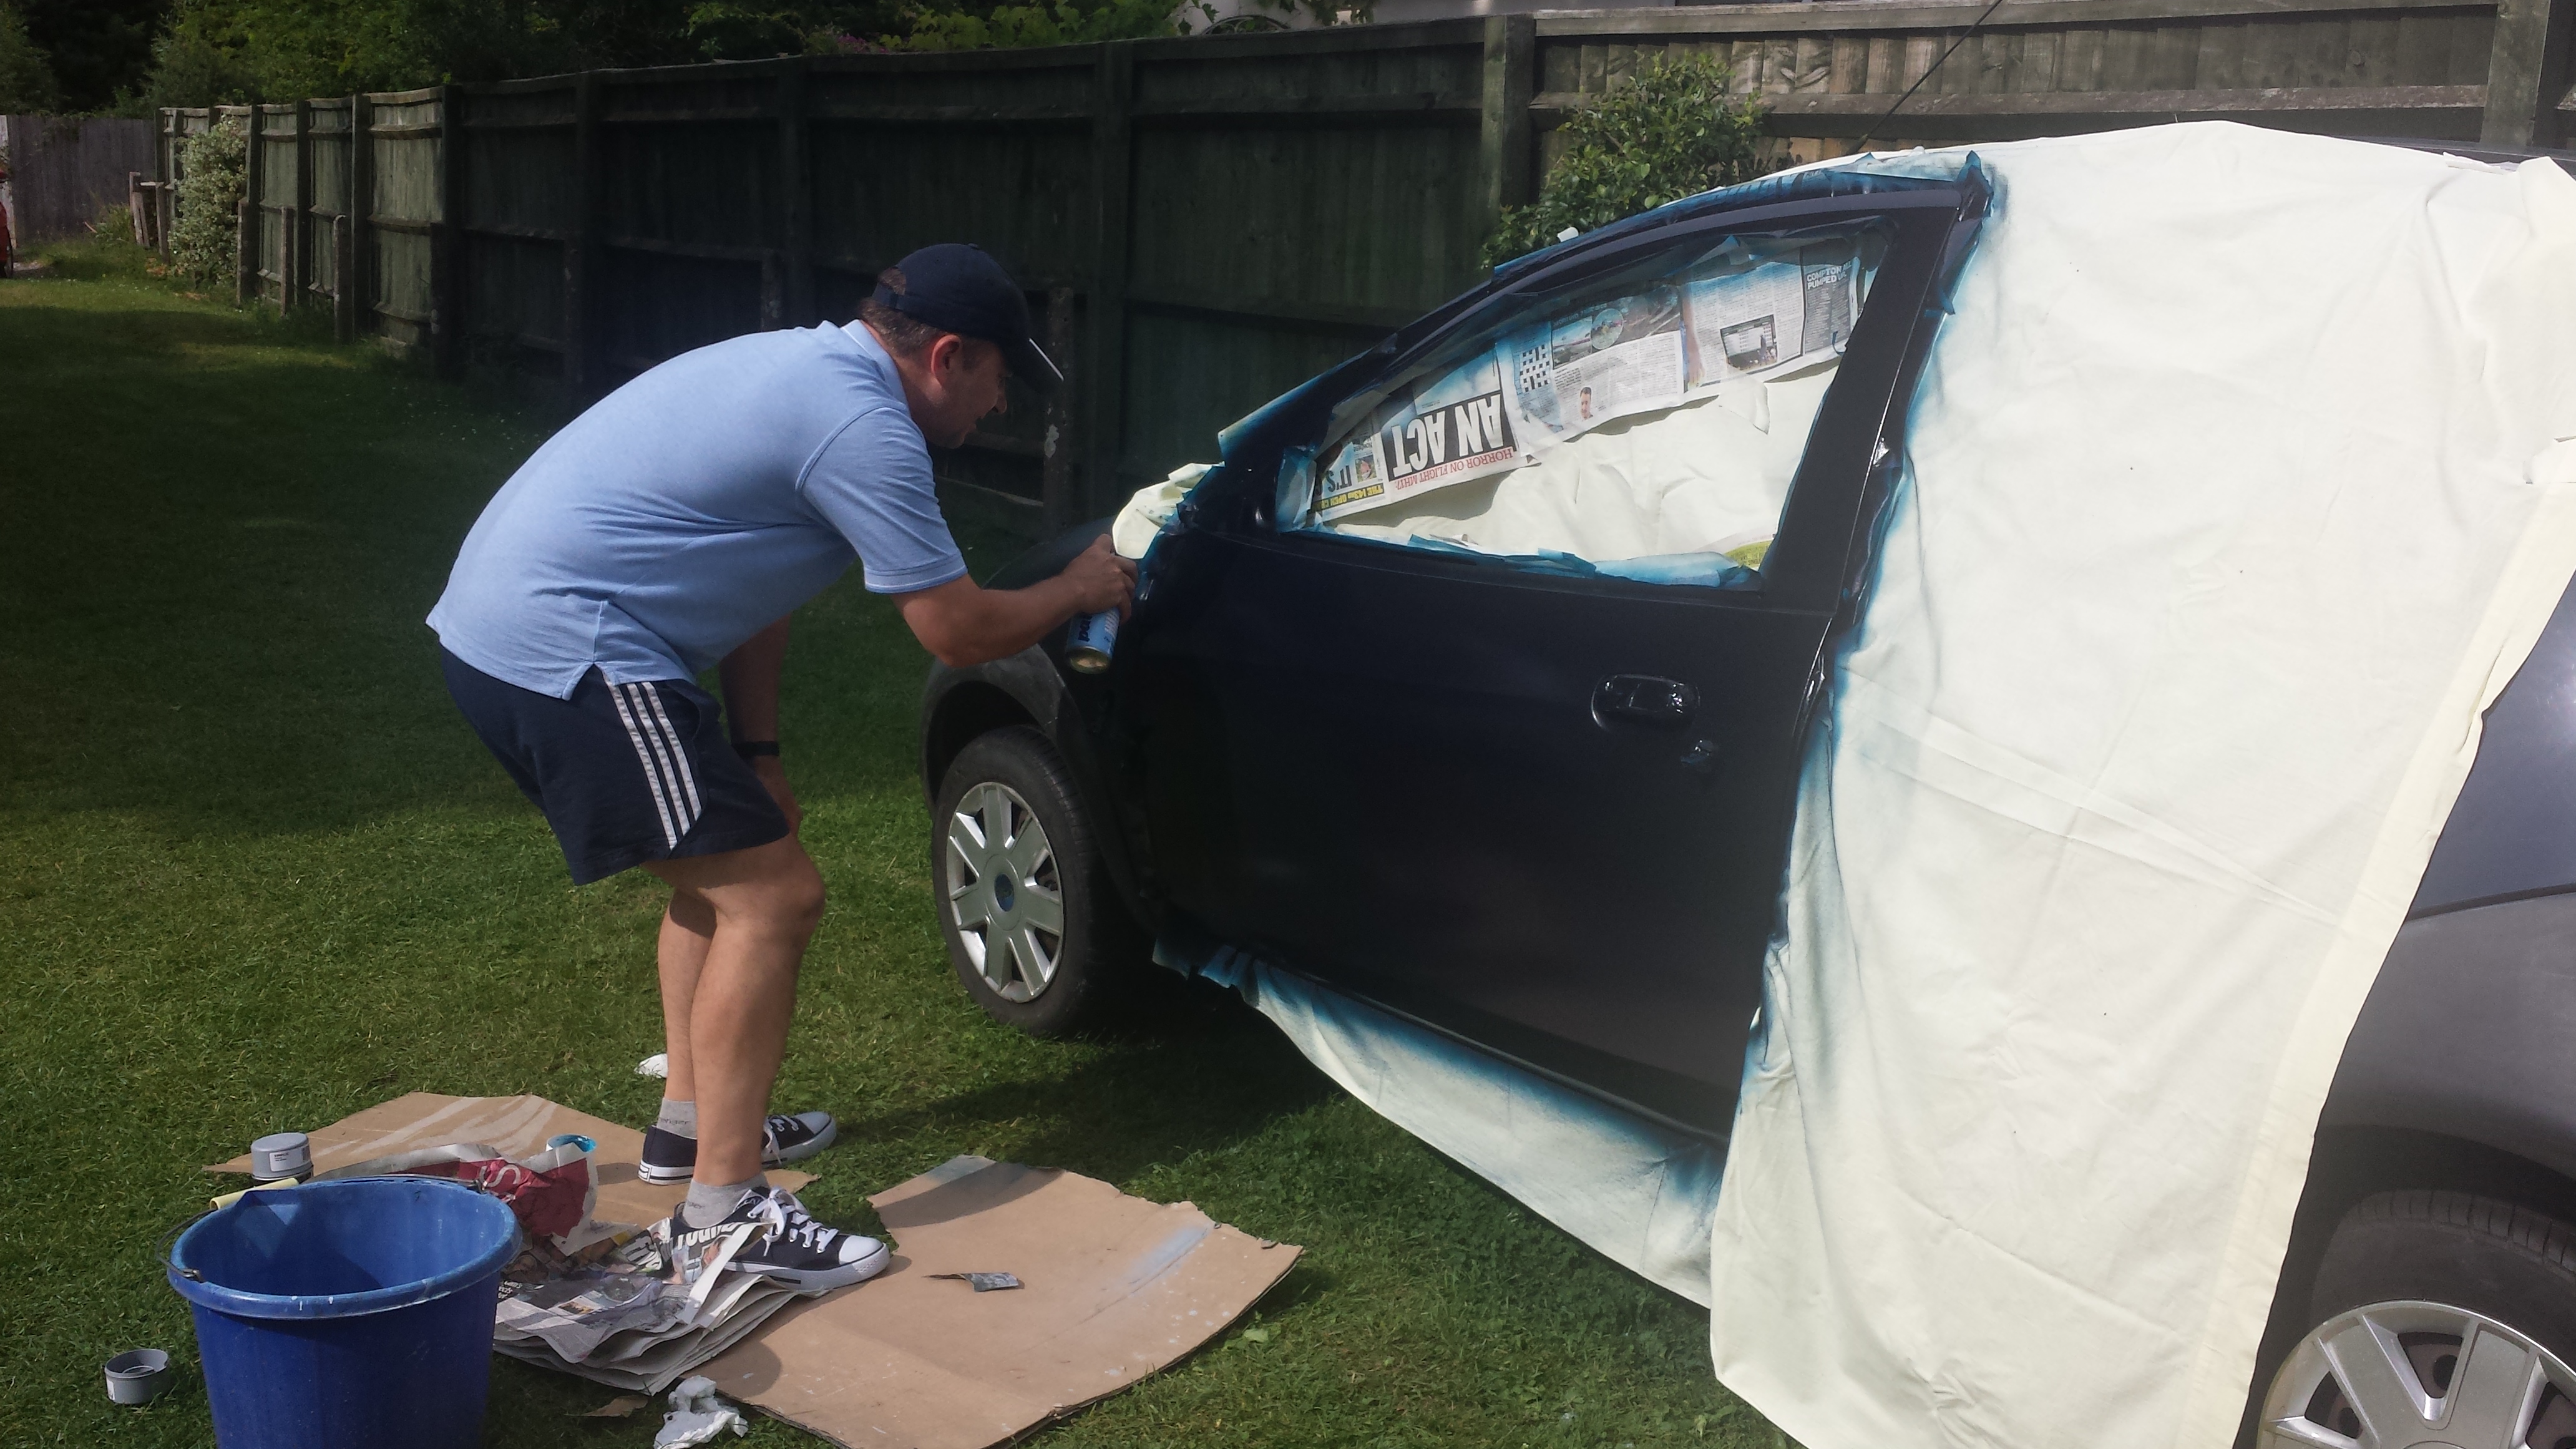
11th July 2014: My uncle starts spraying the new door Deep Navy ready to be fitted on the car.
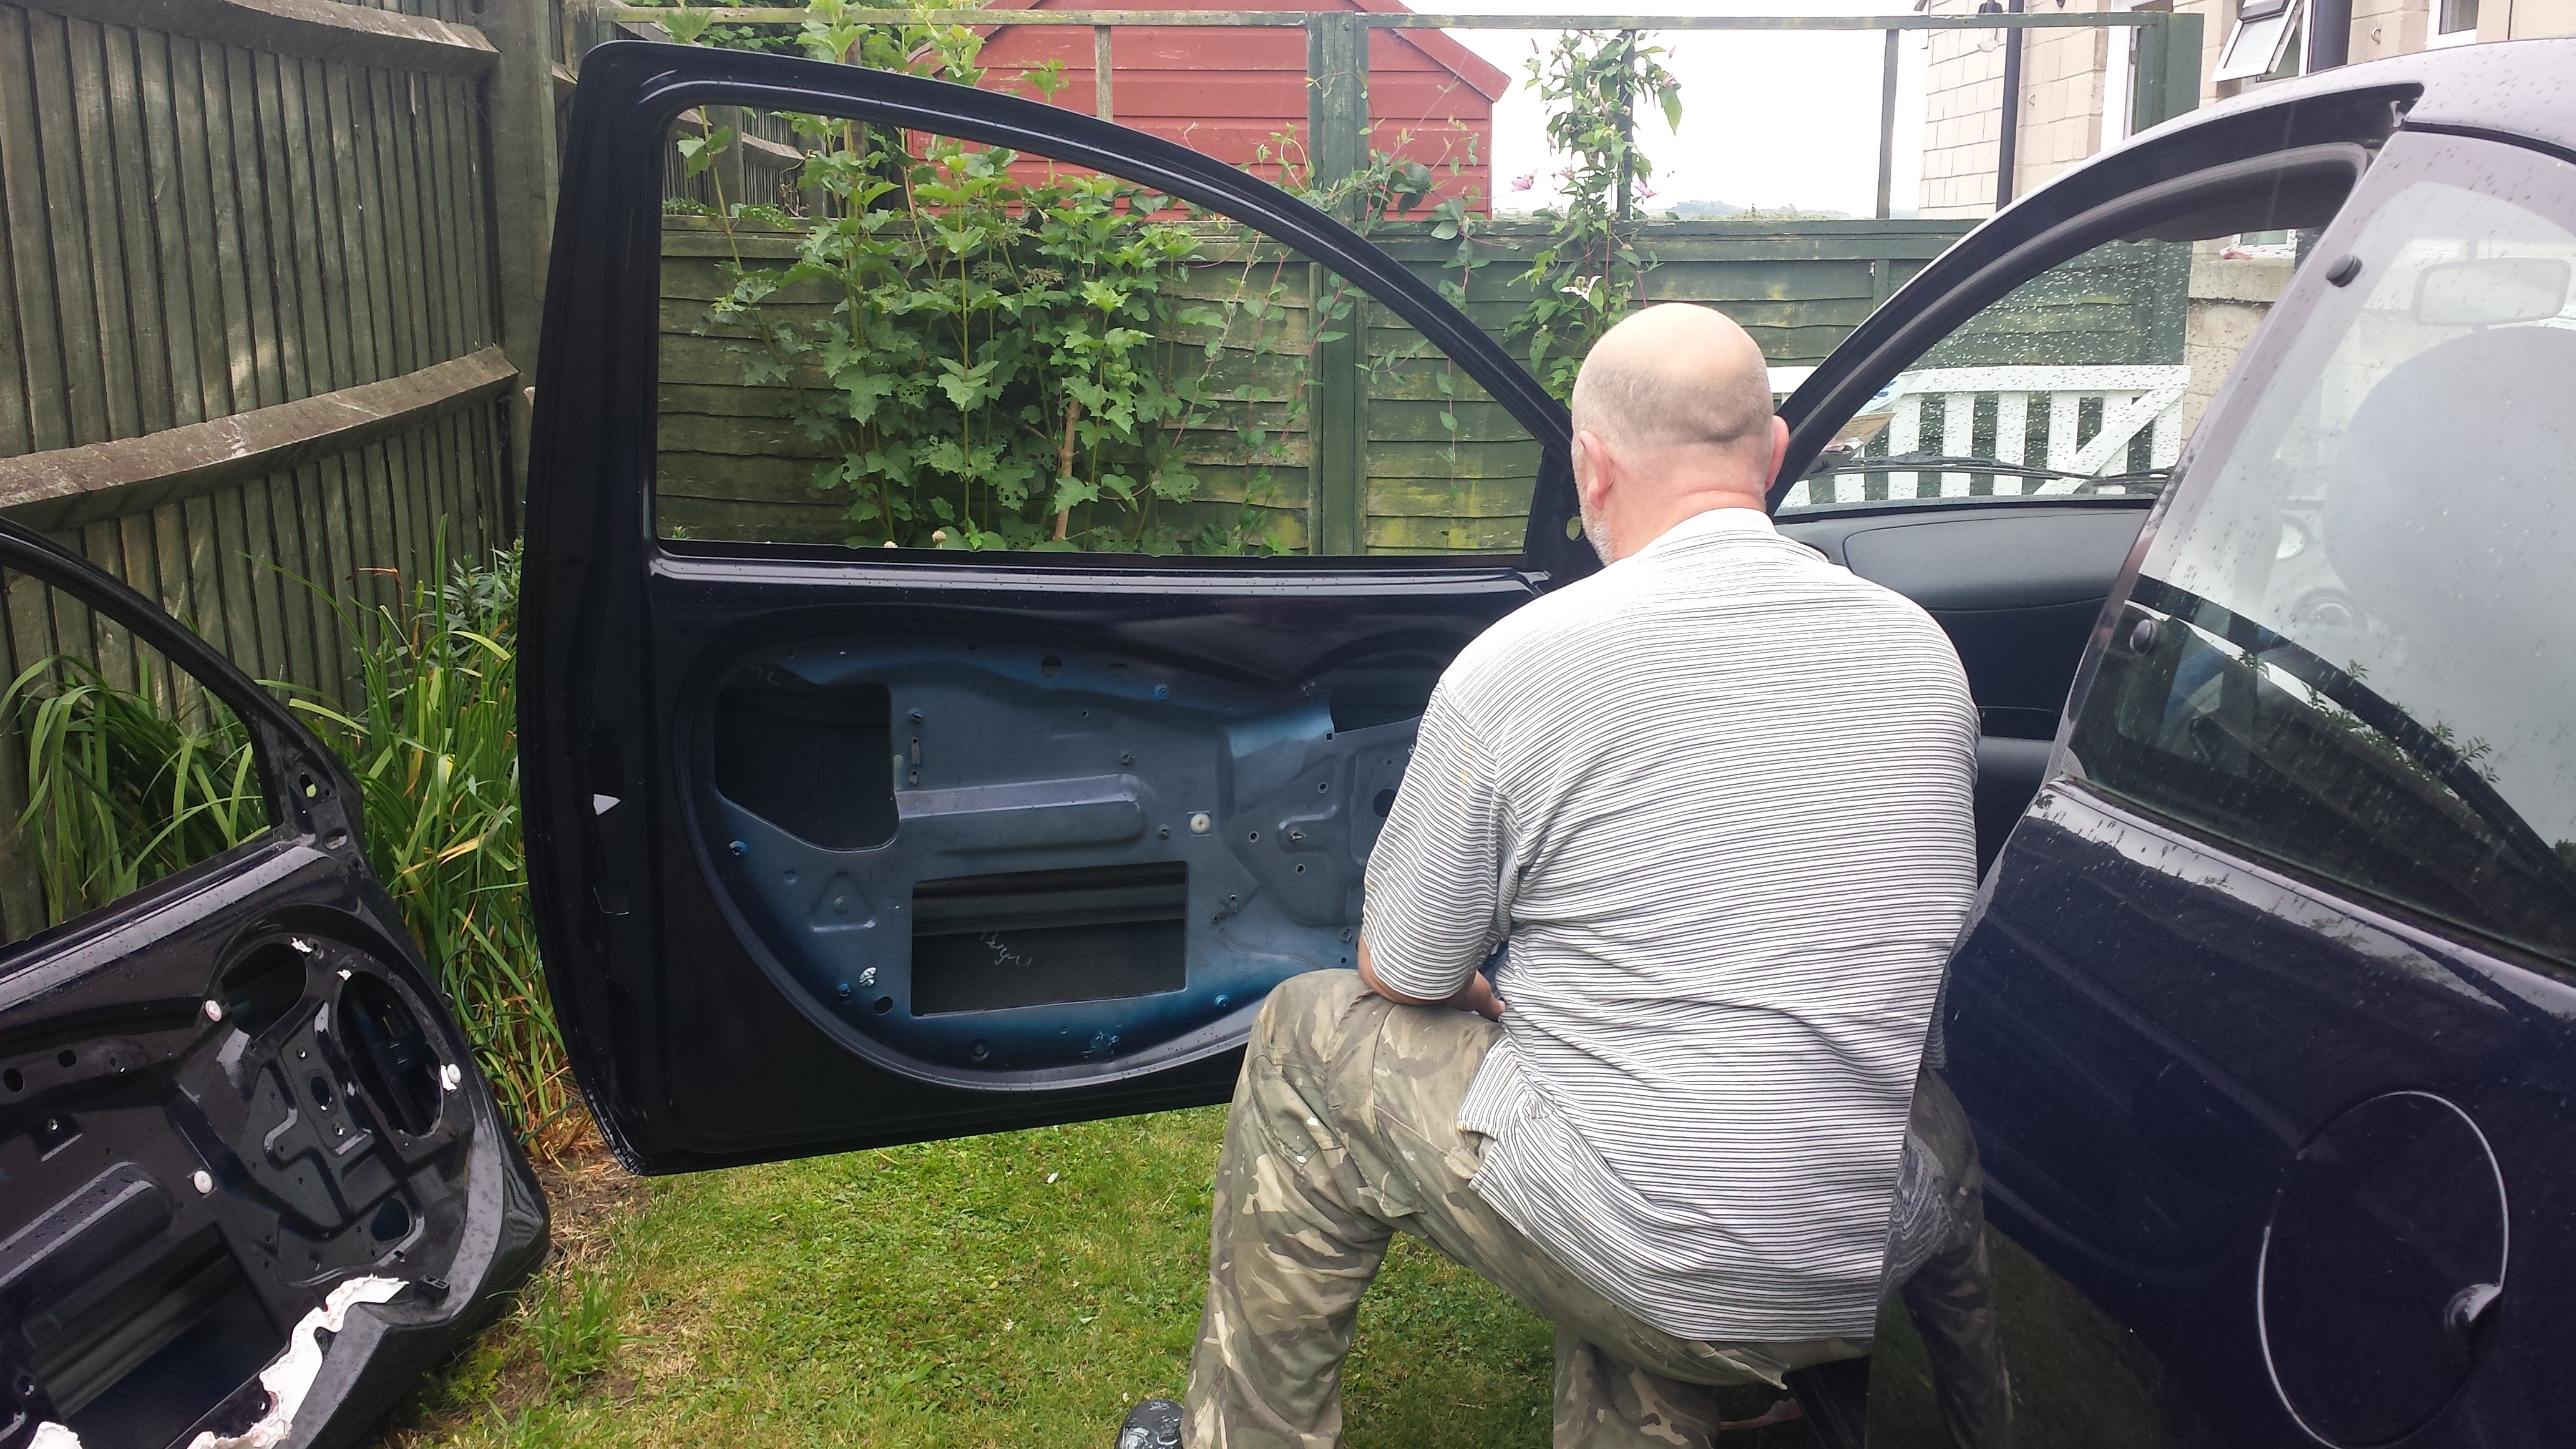
13th July 2014: The car is ready for it’s new door to be bolted on and it’s wing welded.
Five minutes later the new door is on the car!
A few hours later my uncle Adrian welds the wing on, without a mask! We had no goggles so he just had to keep his eyes shut!
With the new wing and door on the passenger side of the car is finally starting to look better!
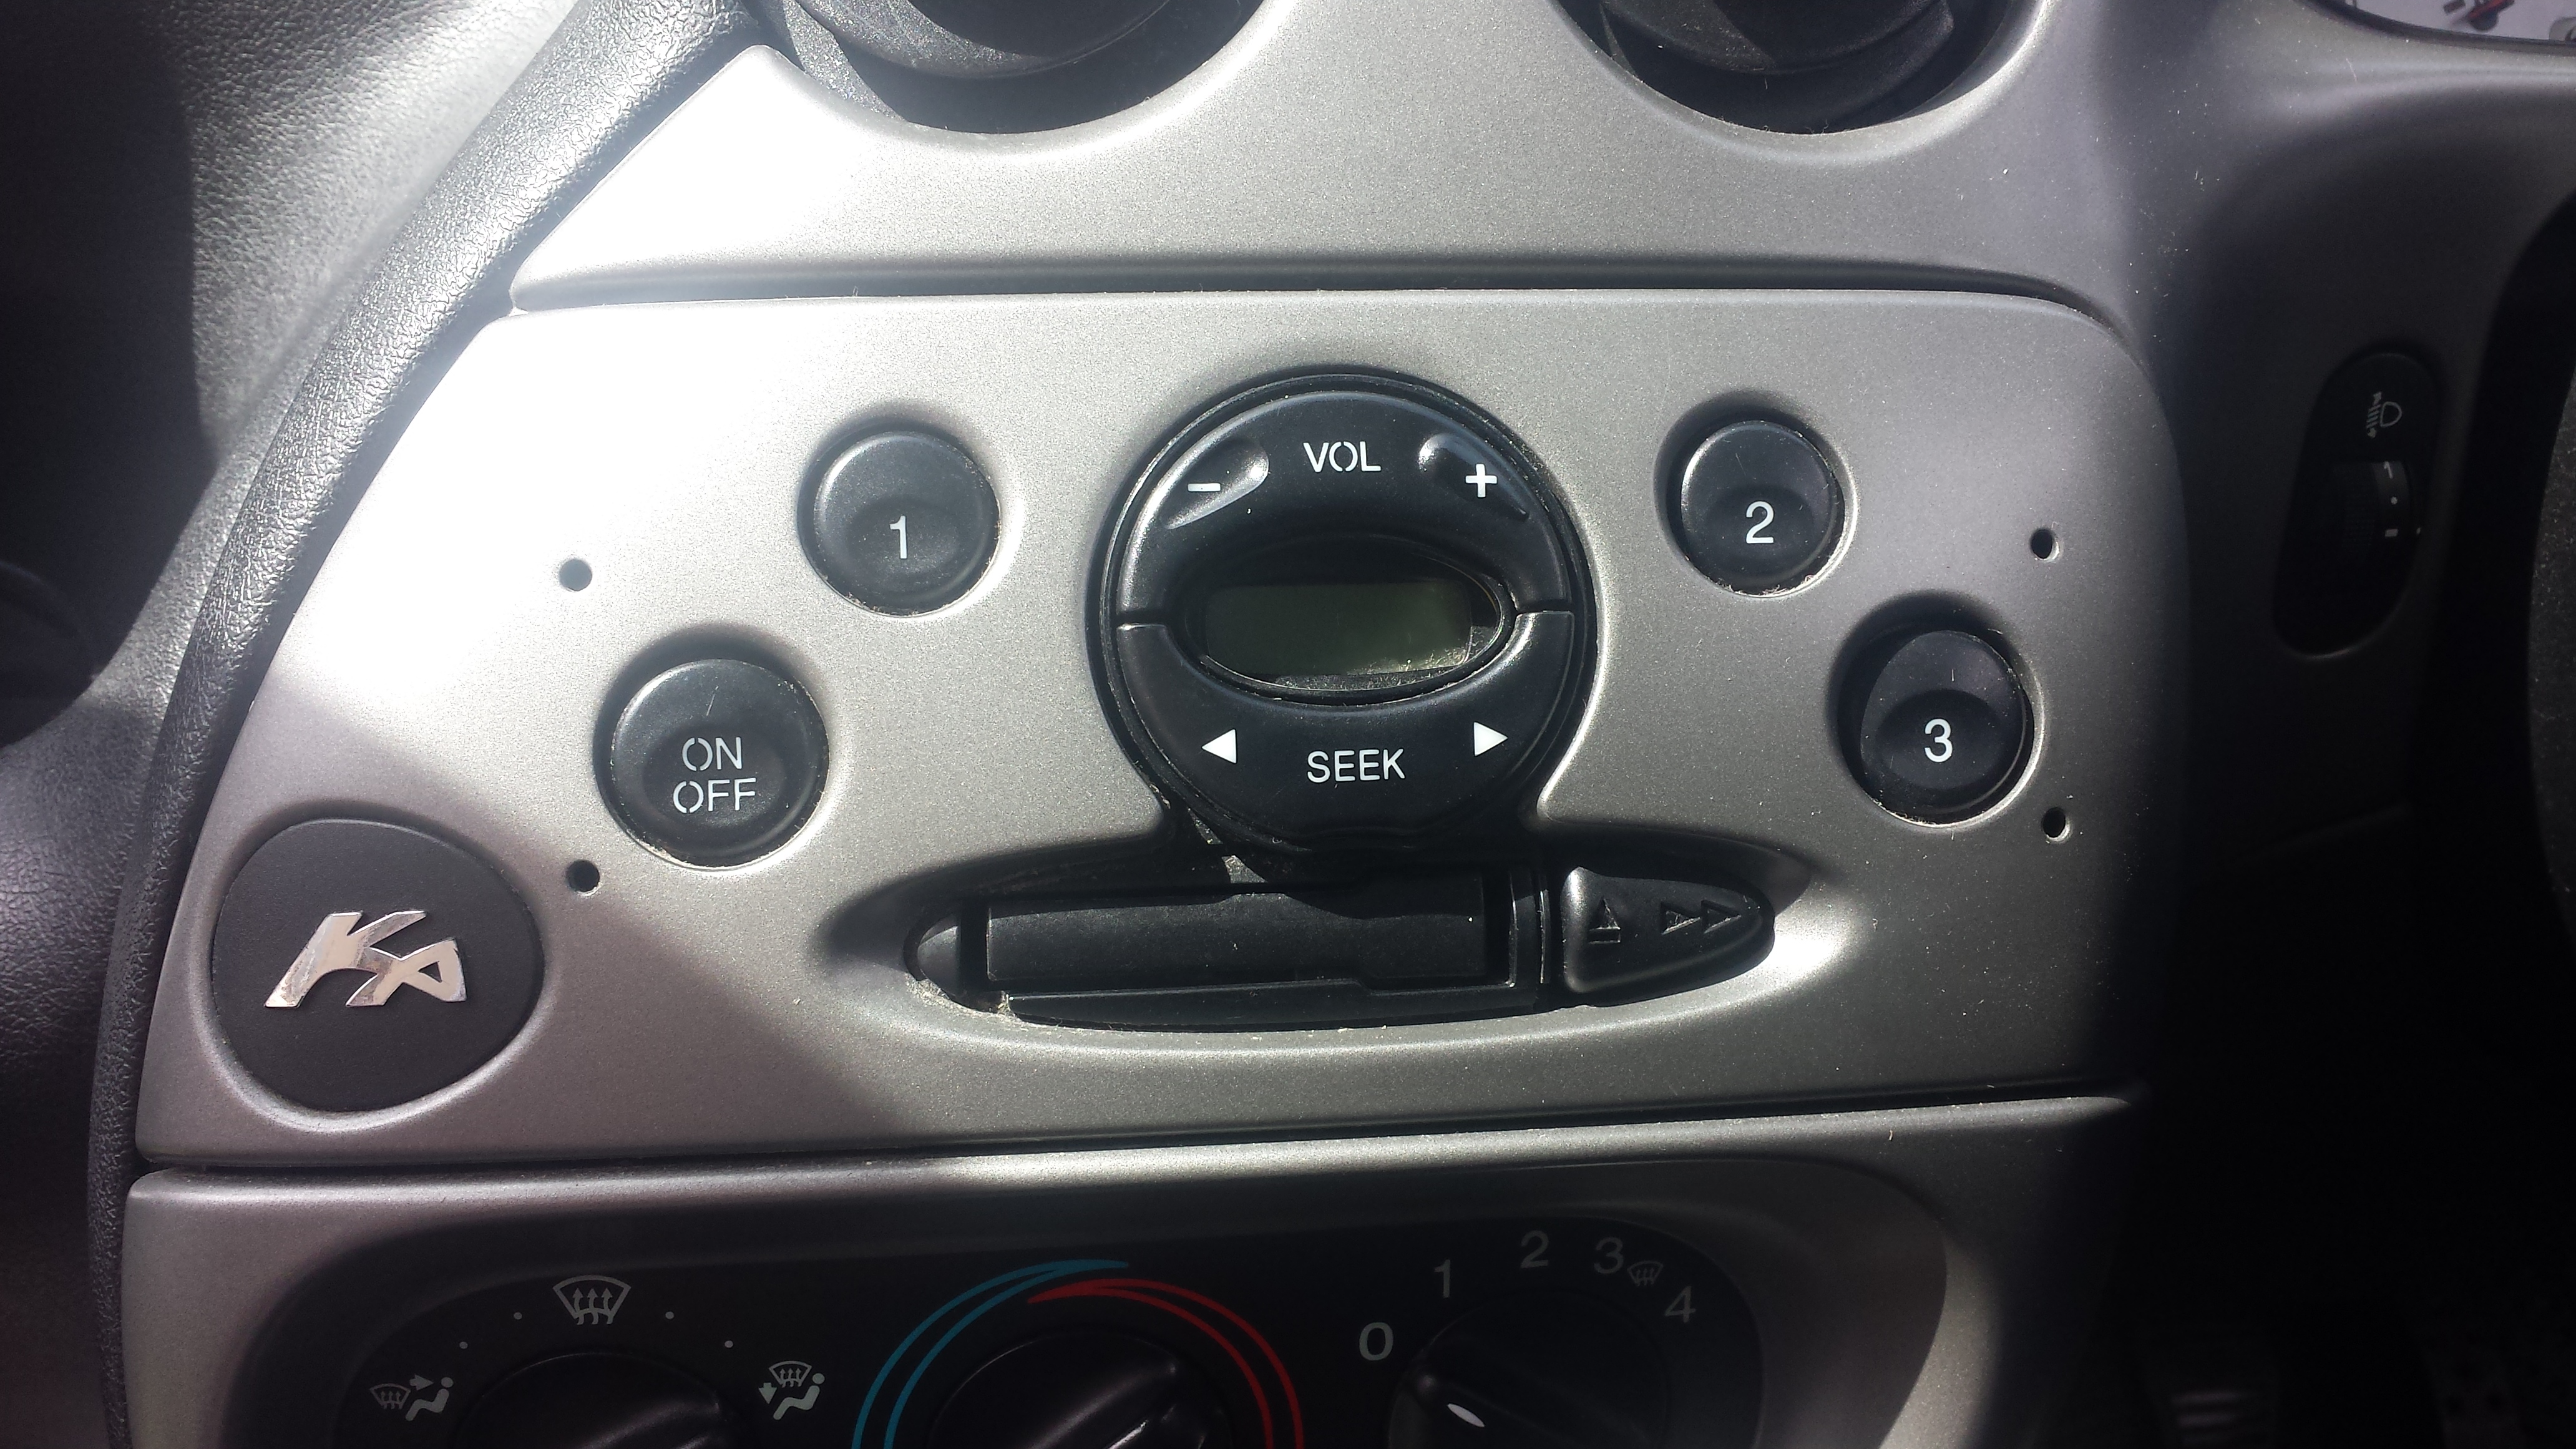
17th July 2014: I removed this disgusting radio, if it’s even worthy of being called one.
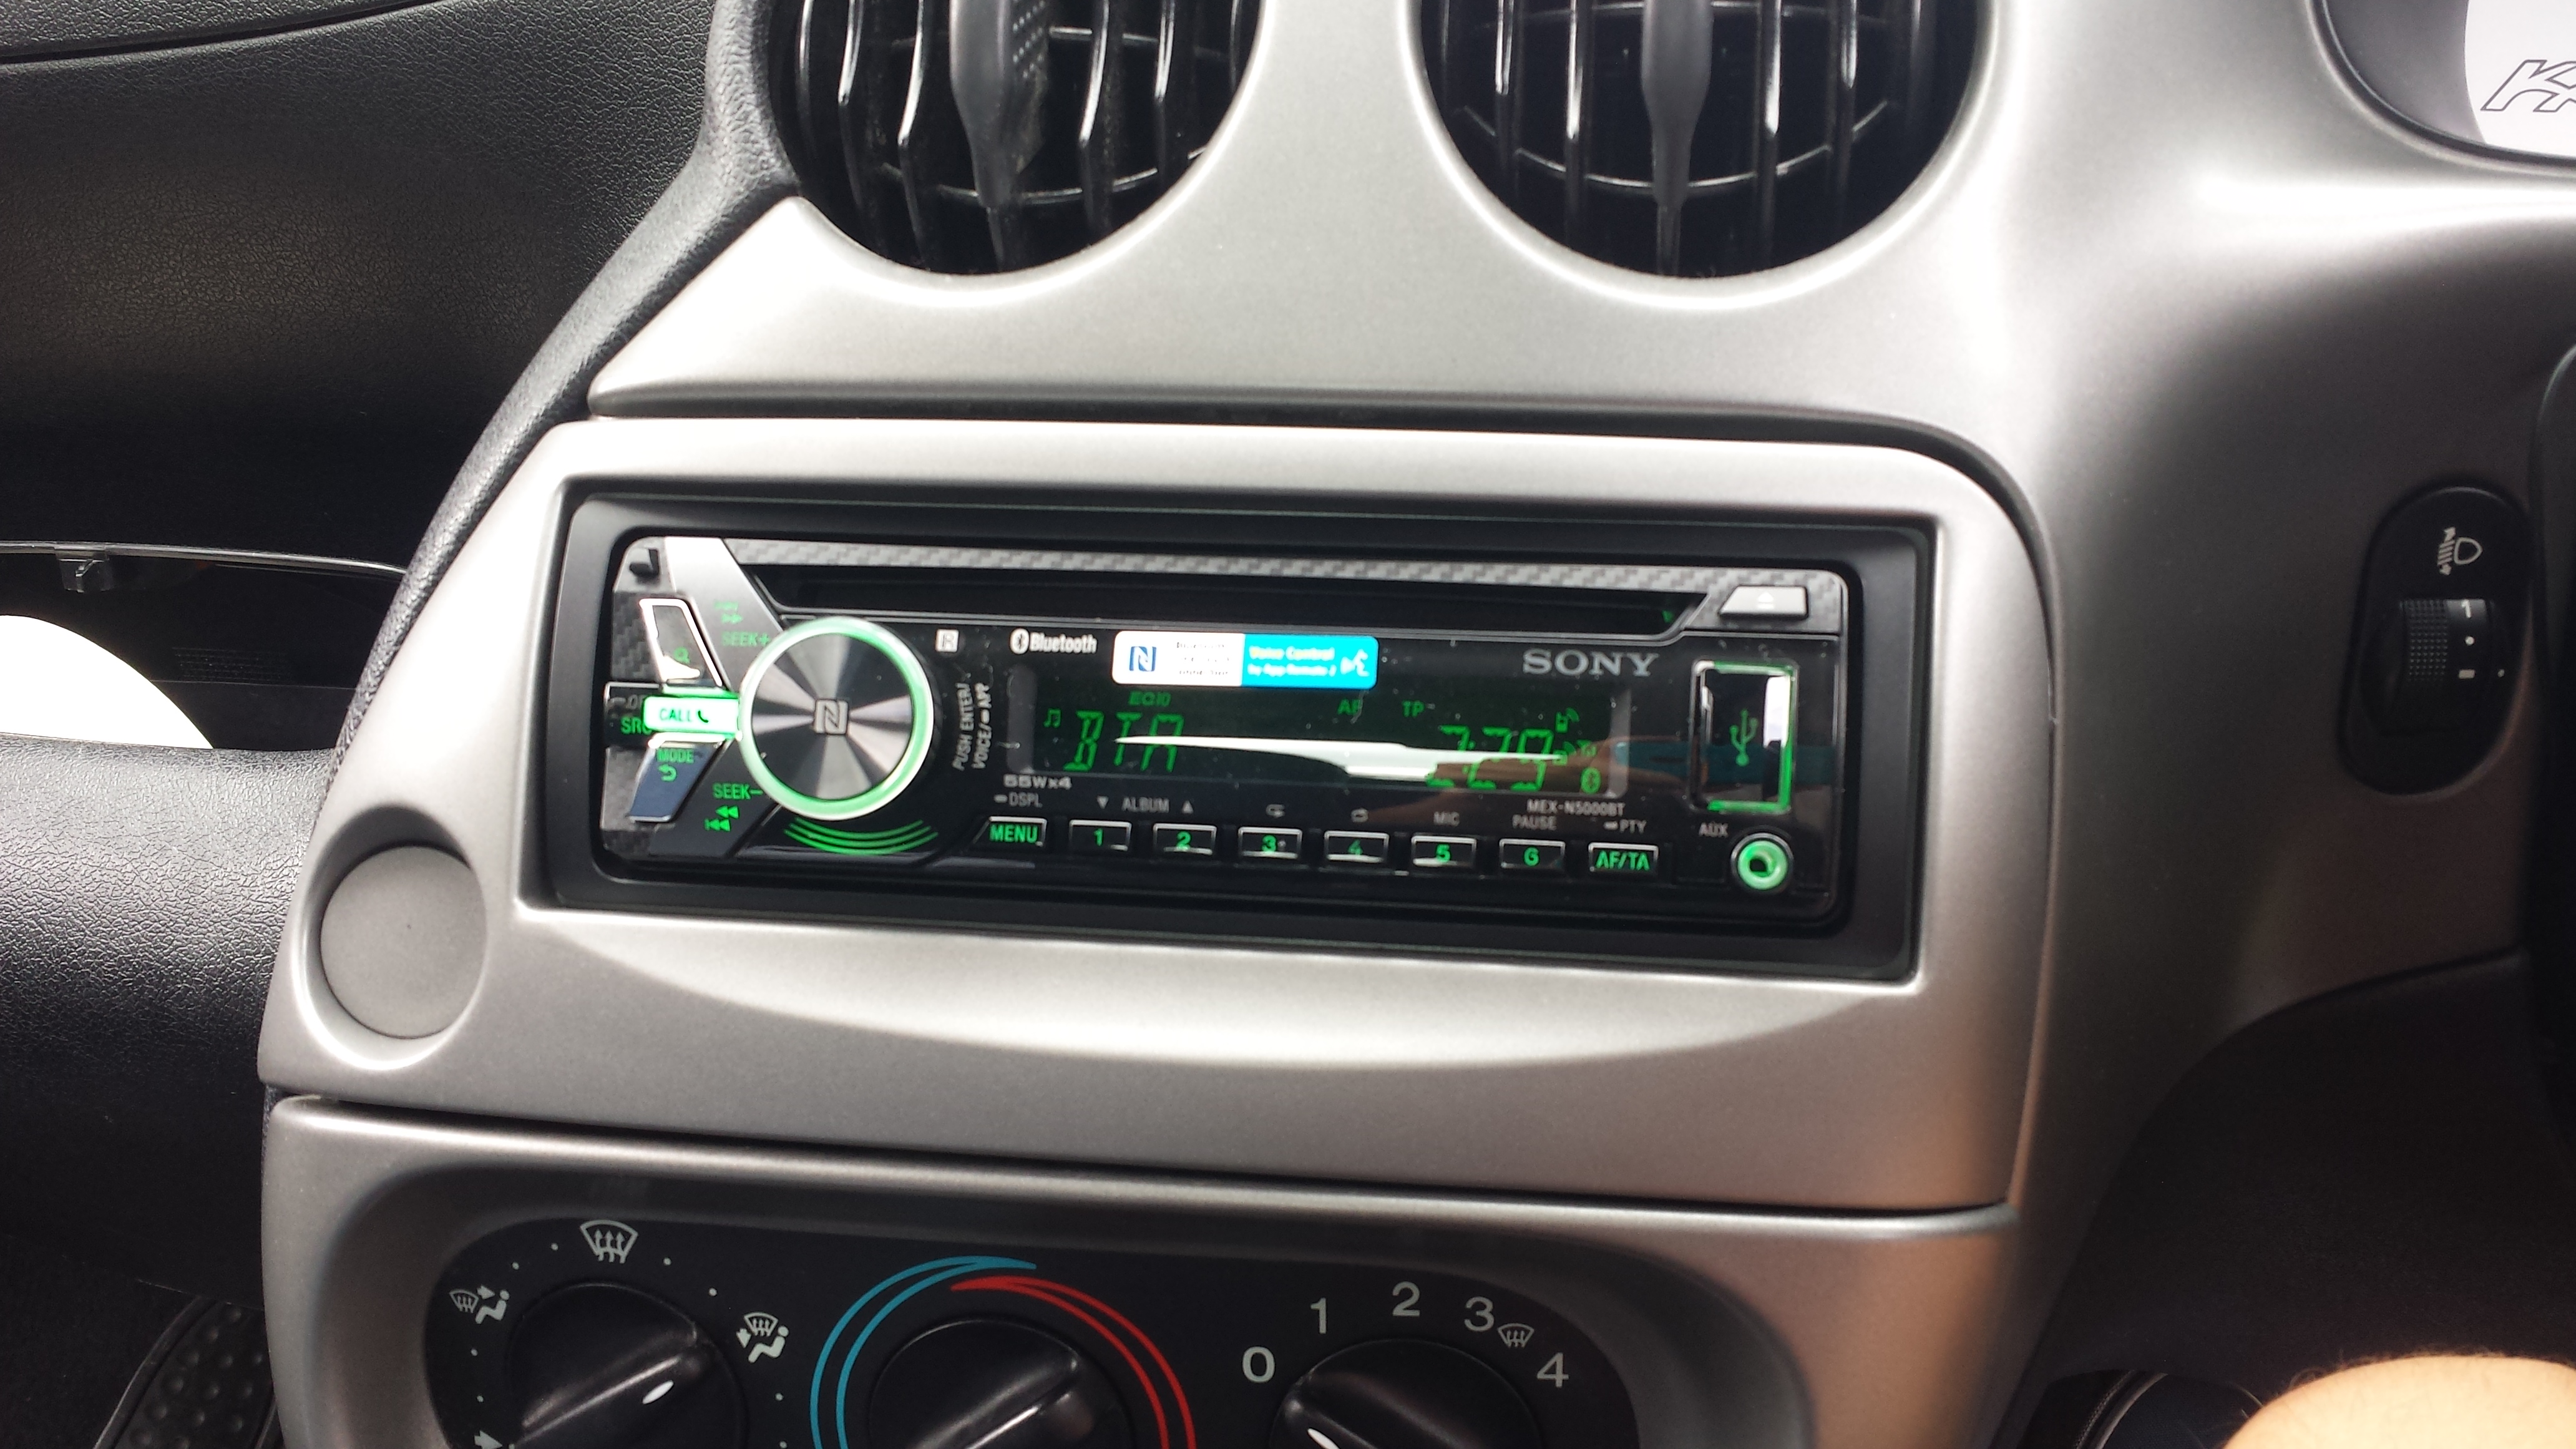
Then I fitted this Sony MEX N5000BT. It features various ways of connecting your phone/iPods! Blutooth, a USB port, and an AUX input! It does also have a CD player for anyone who is old fashioned enough to use one.
19th July 2014: The new door is being sprayed up nicely to match the rest of the car.
27th July 2014: All of the car’s black plastic was faded. I decided to spray all the plastic trim matte black. The first part to be sprayed was the vents near the bottom of the windscreen and top of the bonnet.

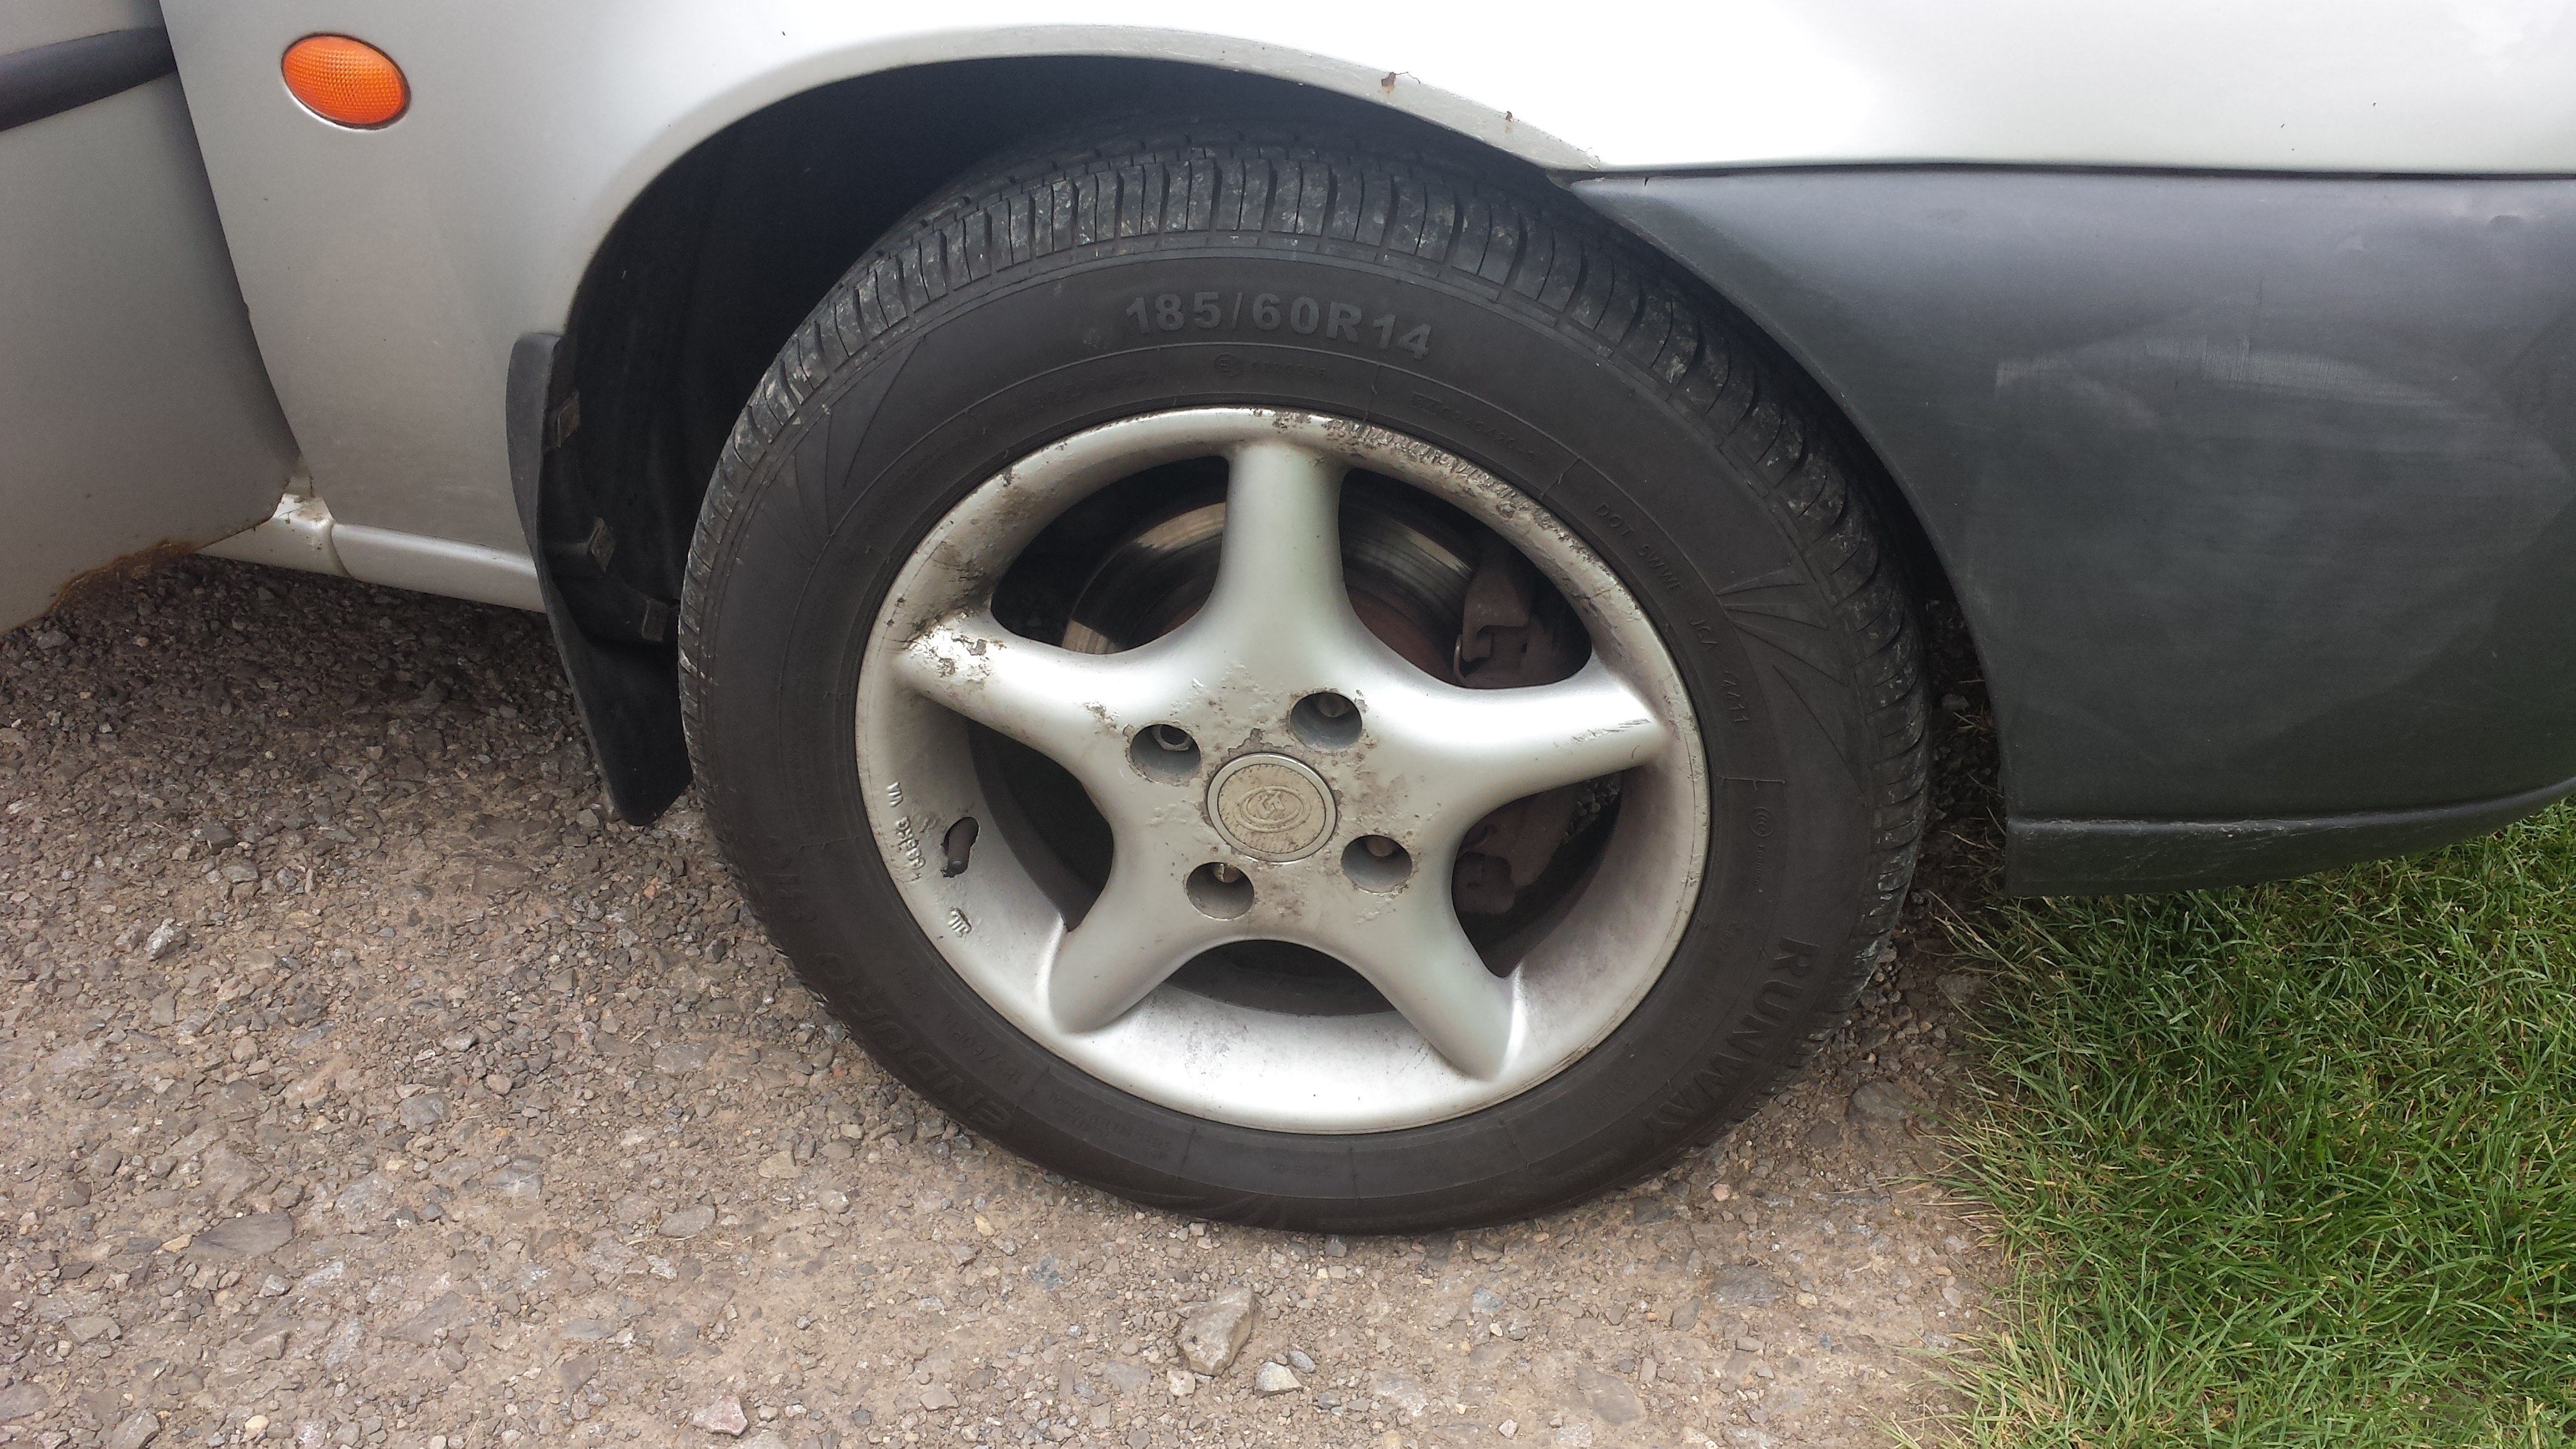
31st July 2014: My uncle was selling his partners old 1997 Ford Fiesta MK4. On the car were these very rough looking alloy wheels but with almost-brand-new tyres. My KA desperately needed some new tyres so I took these alloys, and refurbished them. They are 14 inch rims wrapped with 185/60/R14 tyres.
Each wheel took about a day each to prepare. Here’s three of them finished (one was already done)
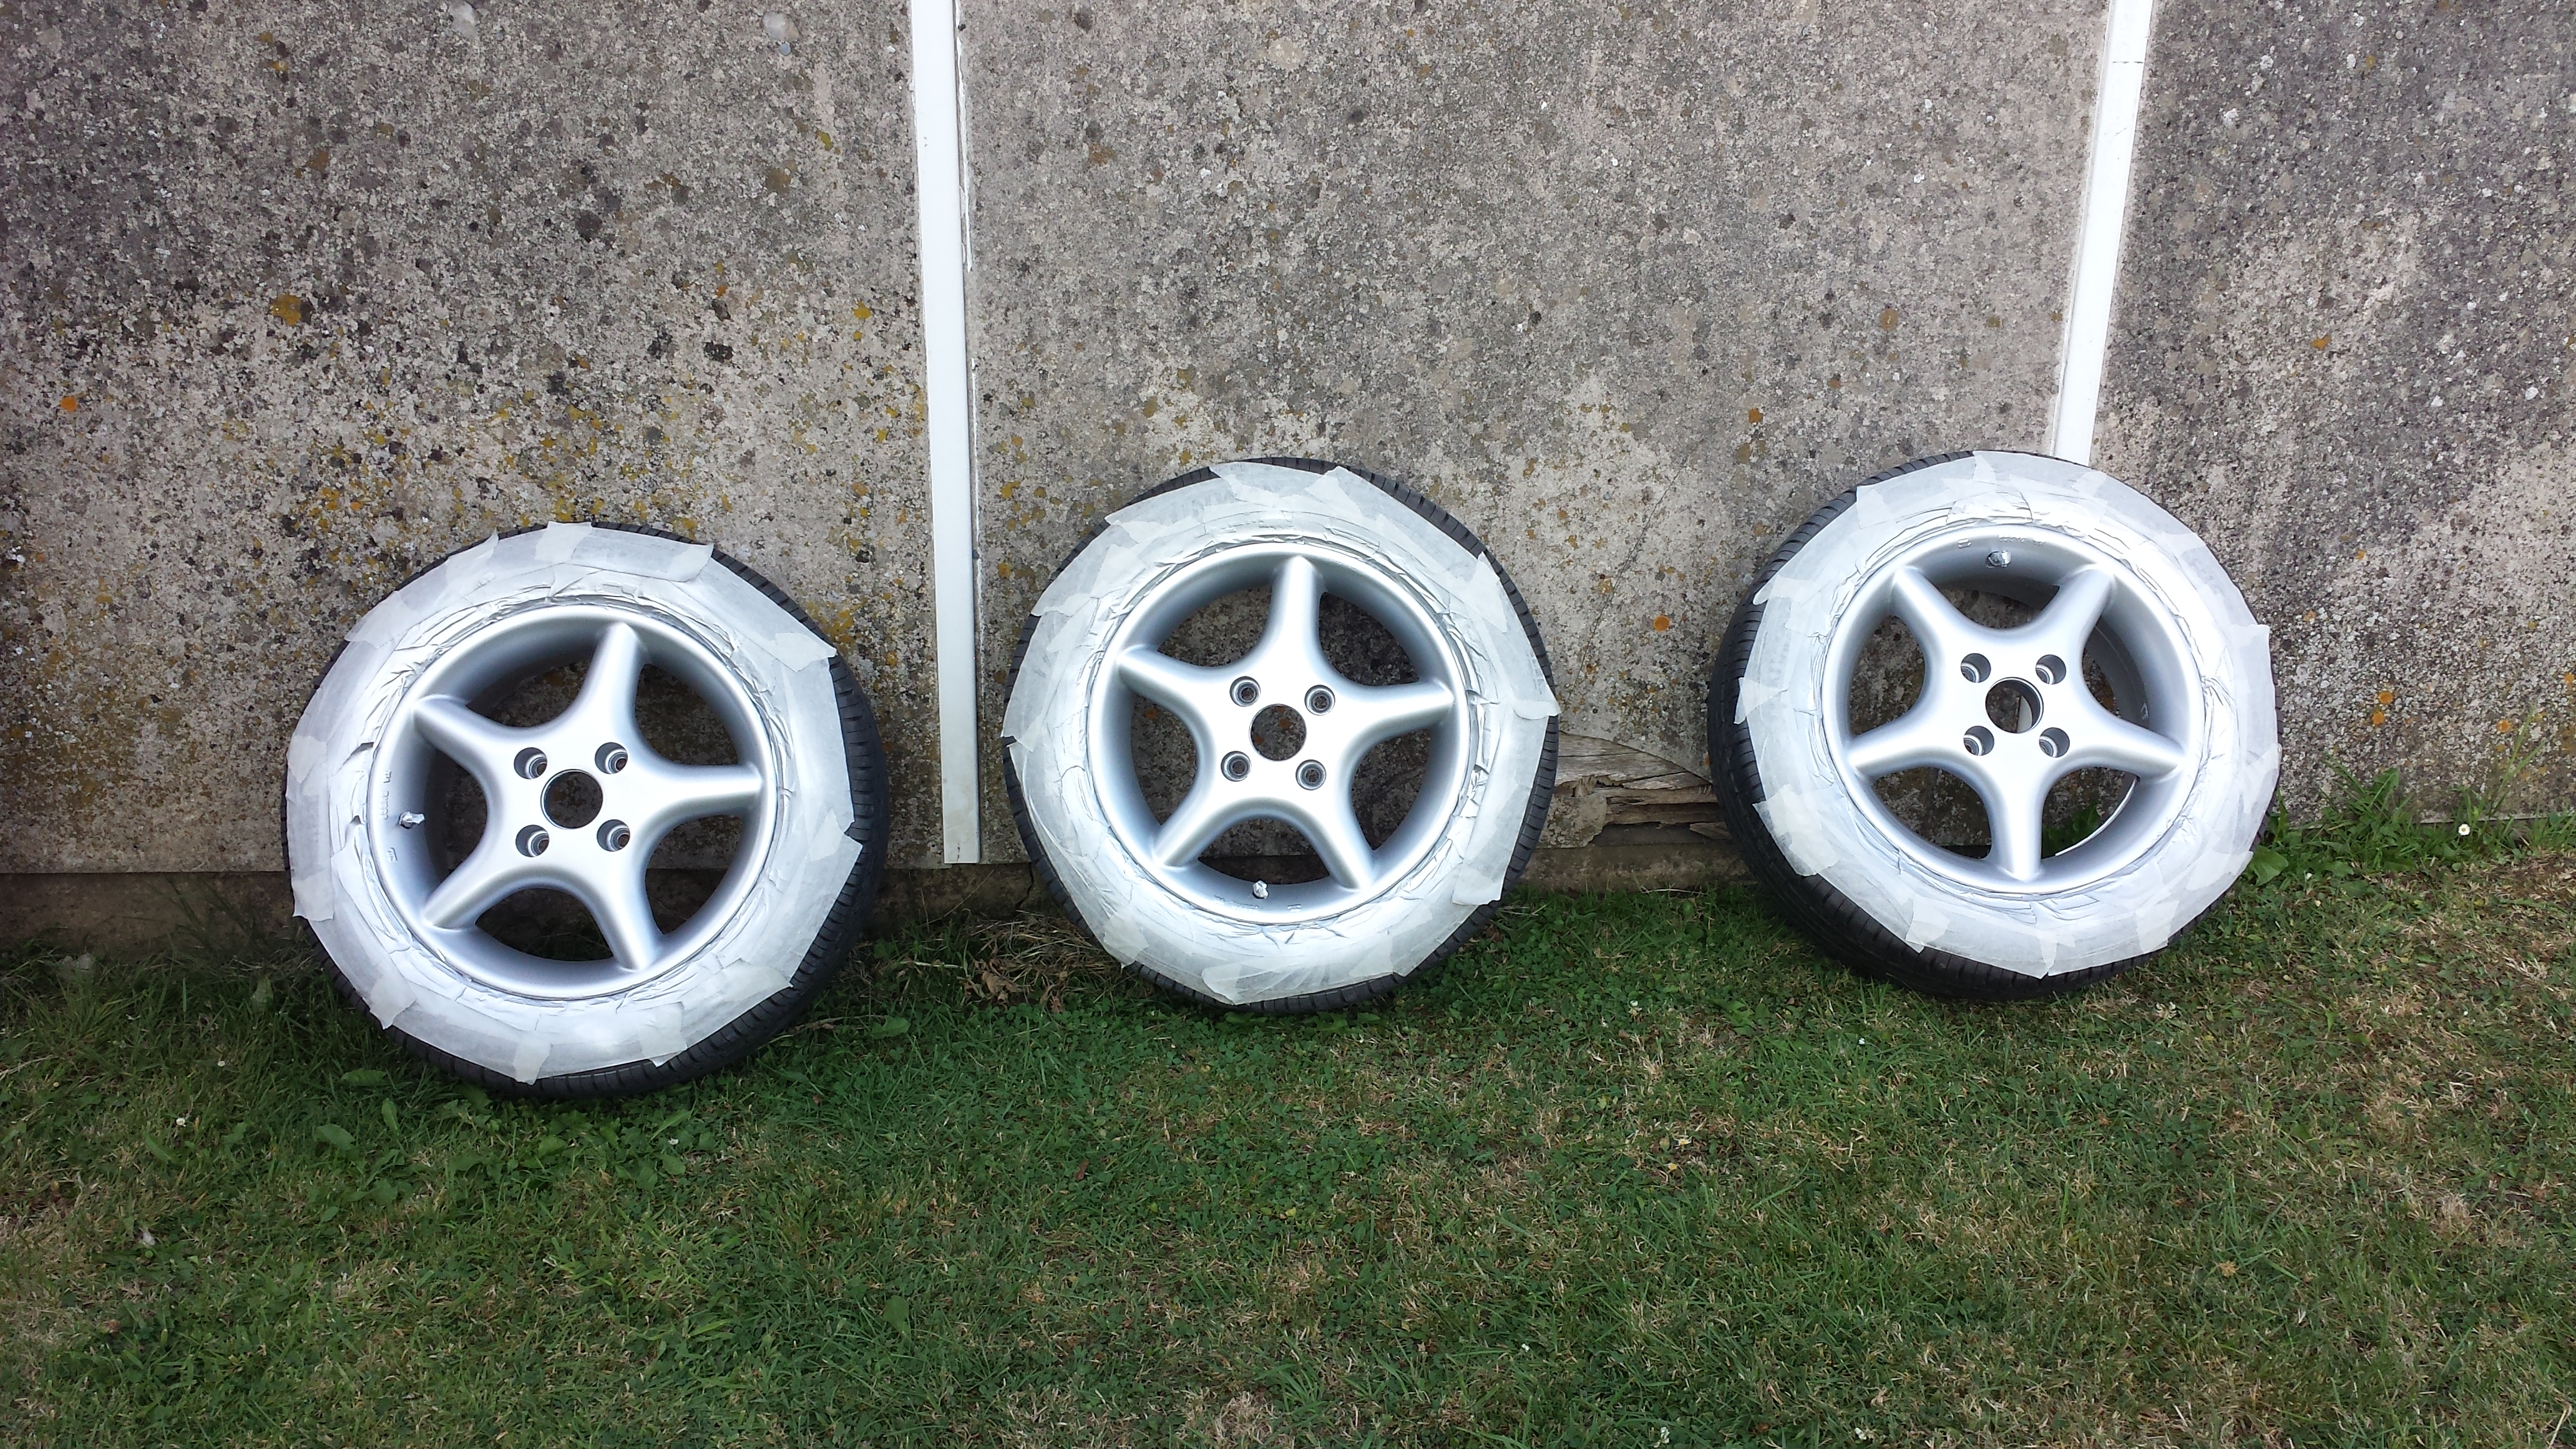
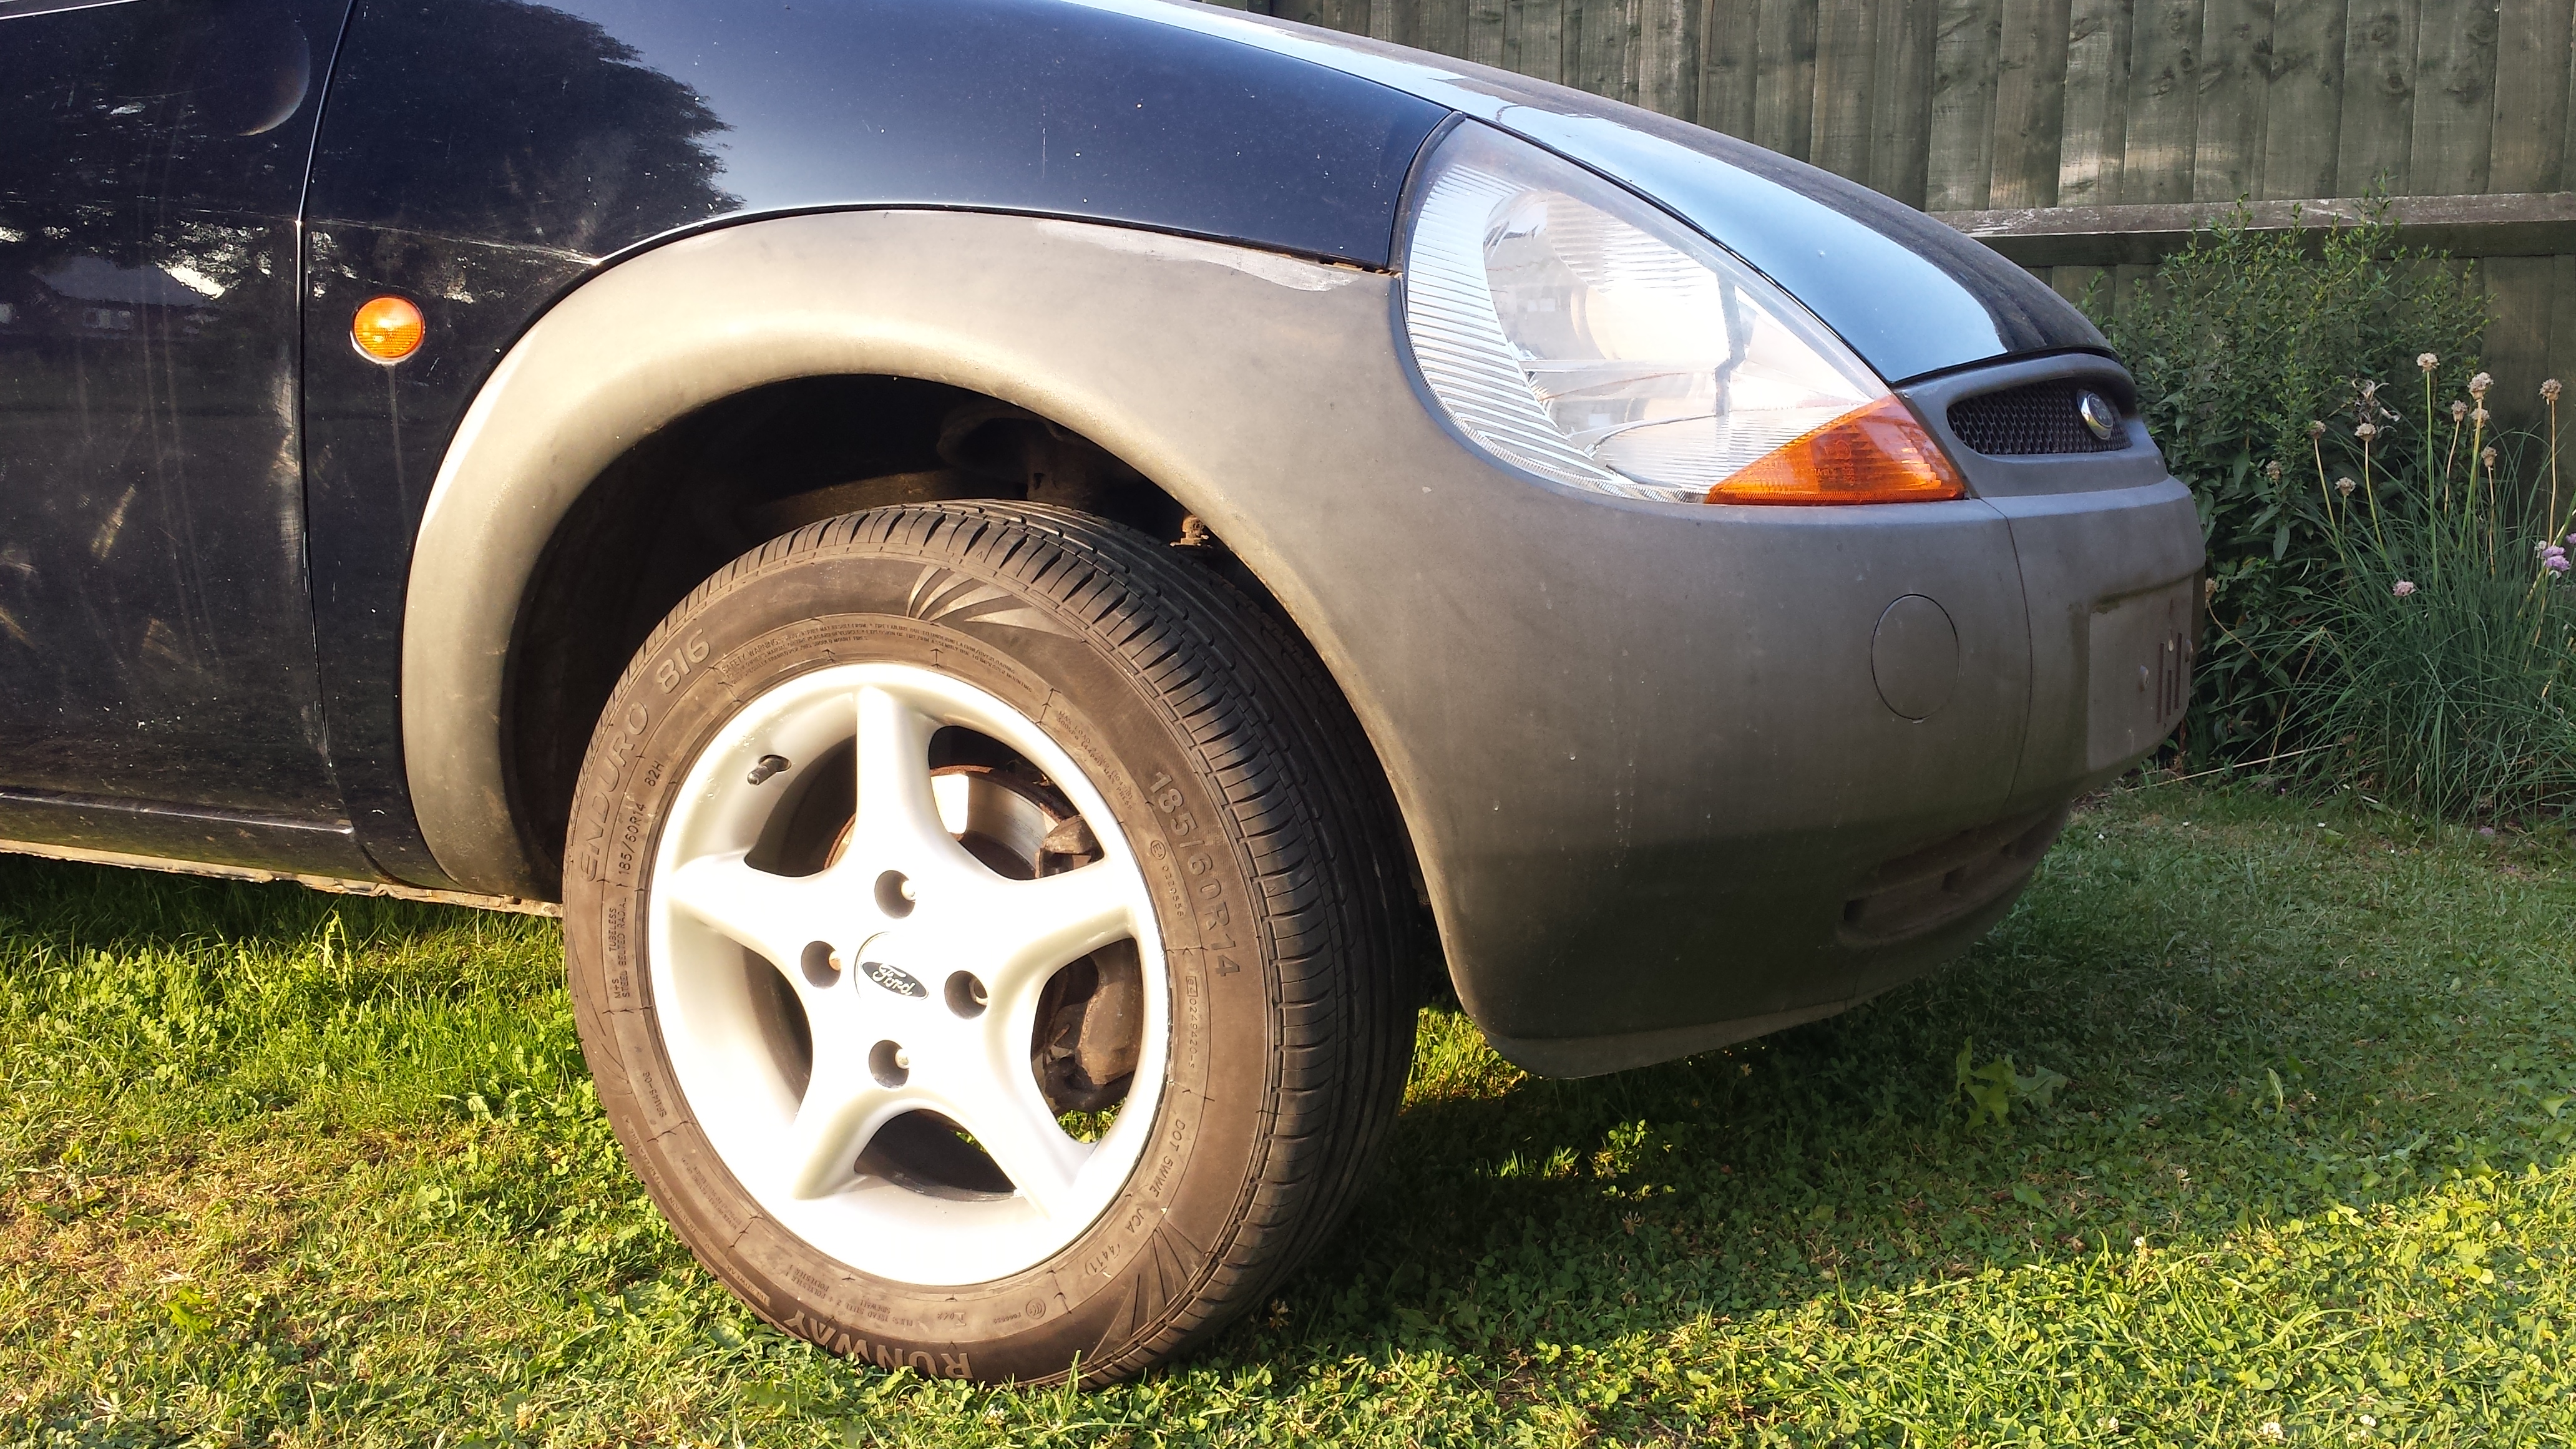
Later the same day one of the wheels is on the car, and looking great! The original center caps were very tired so I bought some new ones. Obviously as these wheels are not Ford ones, the caps did not fit straight away, although all I had to do was sand around the edges and they slotted right in.
August 2014:
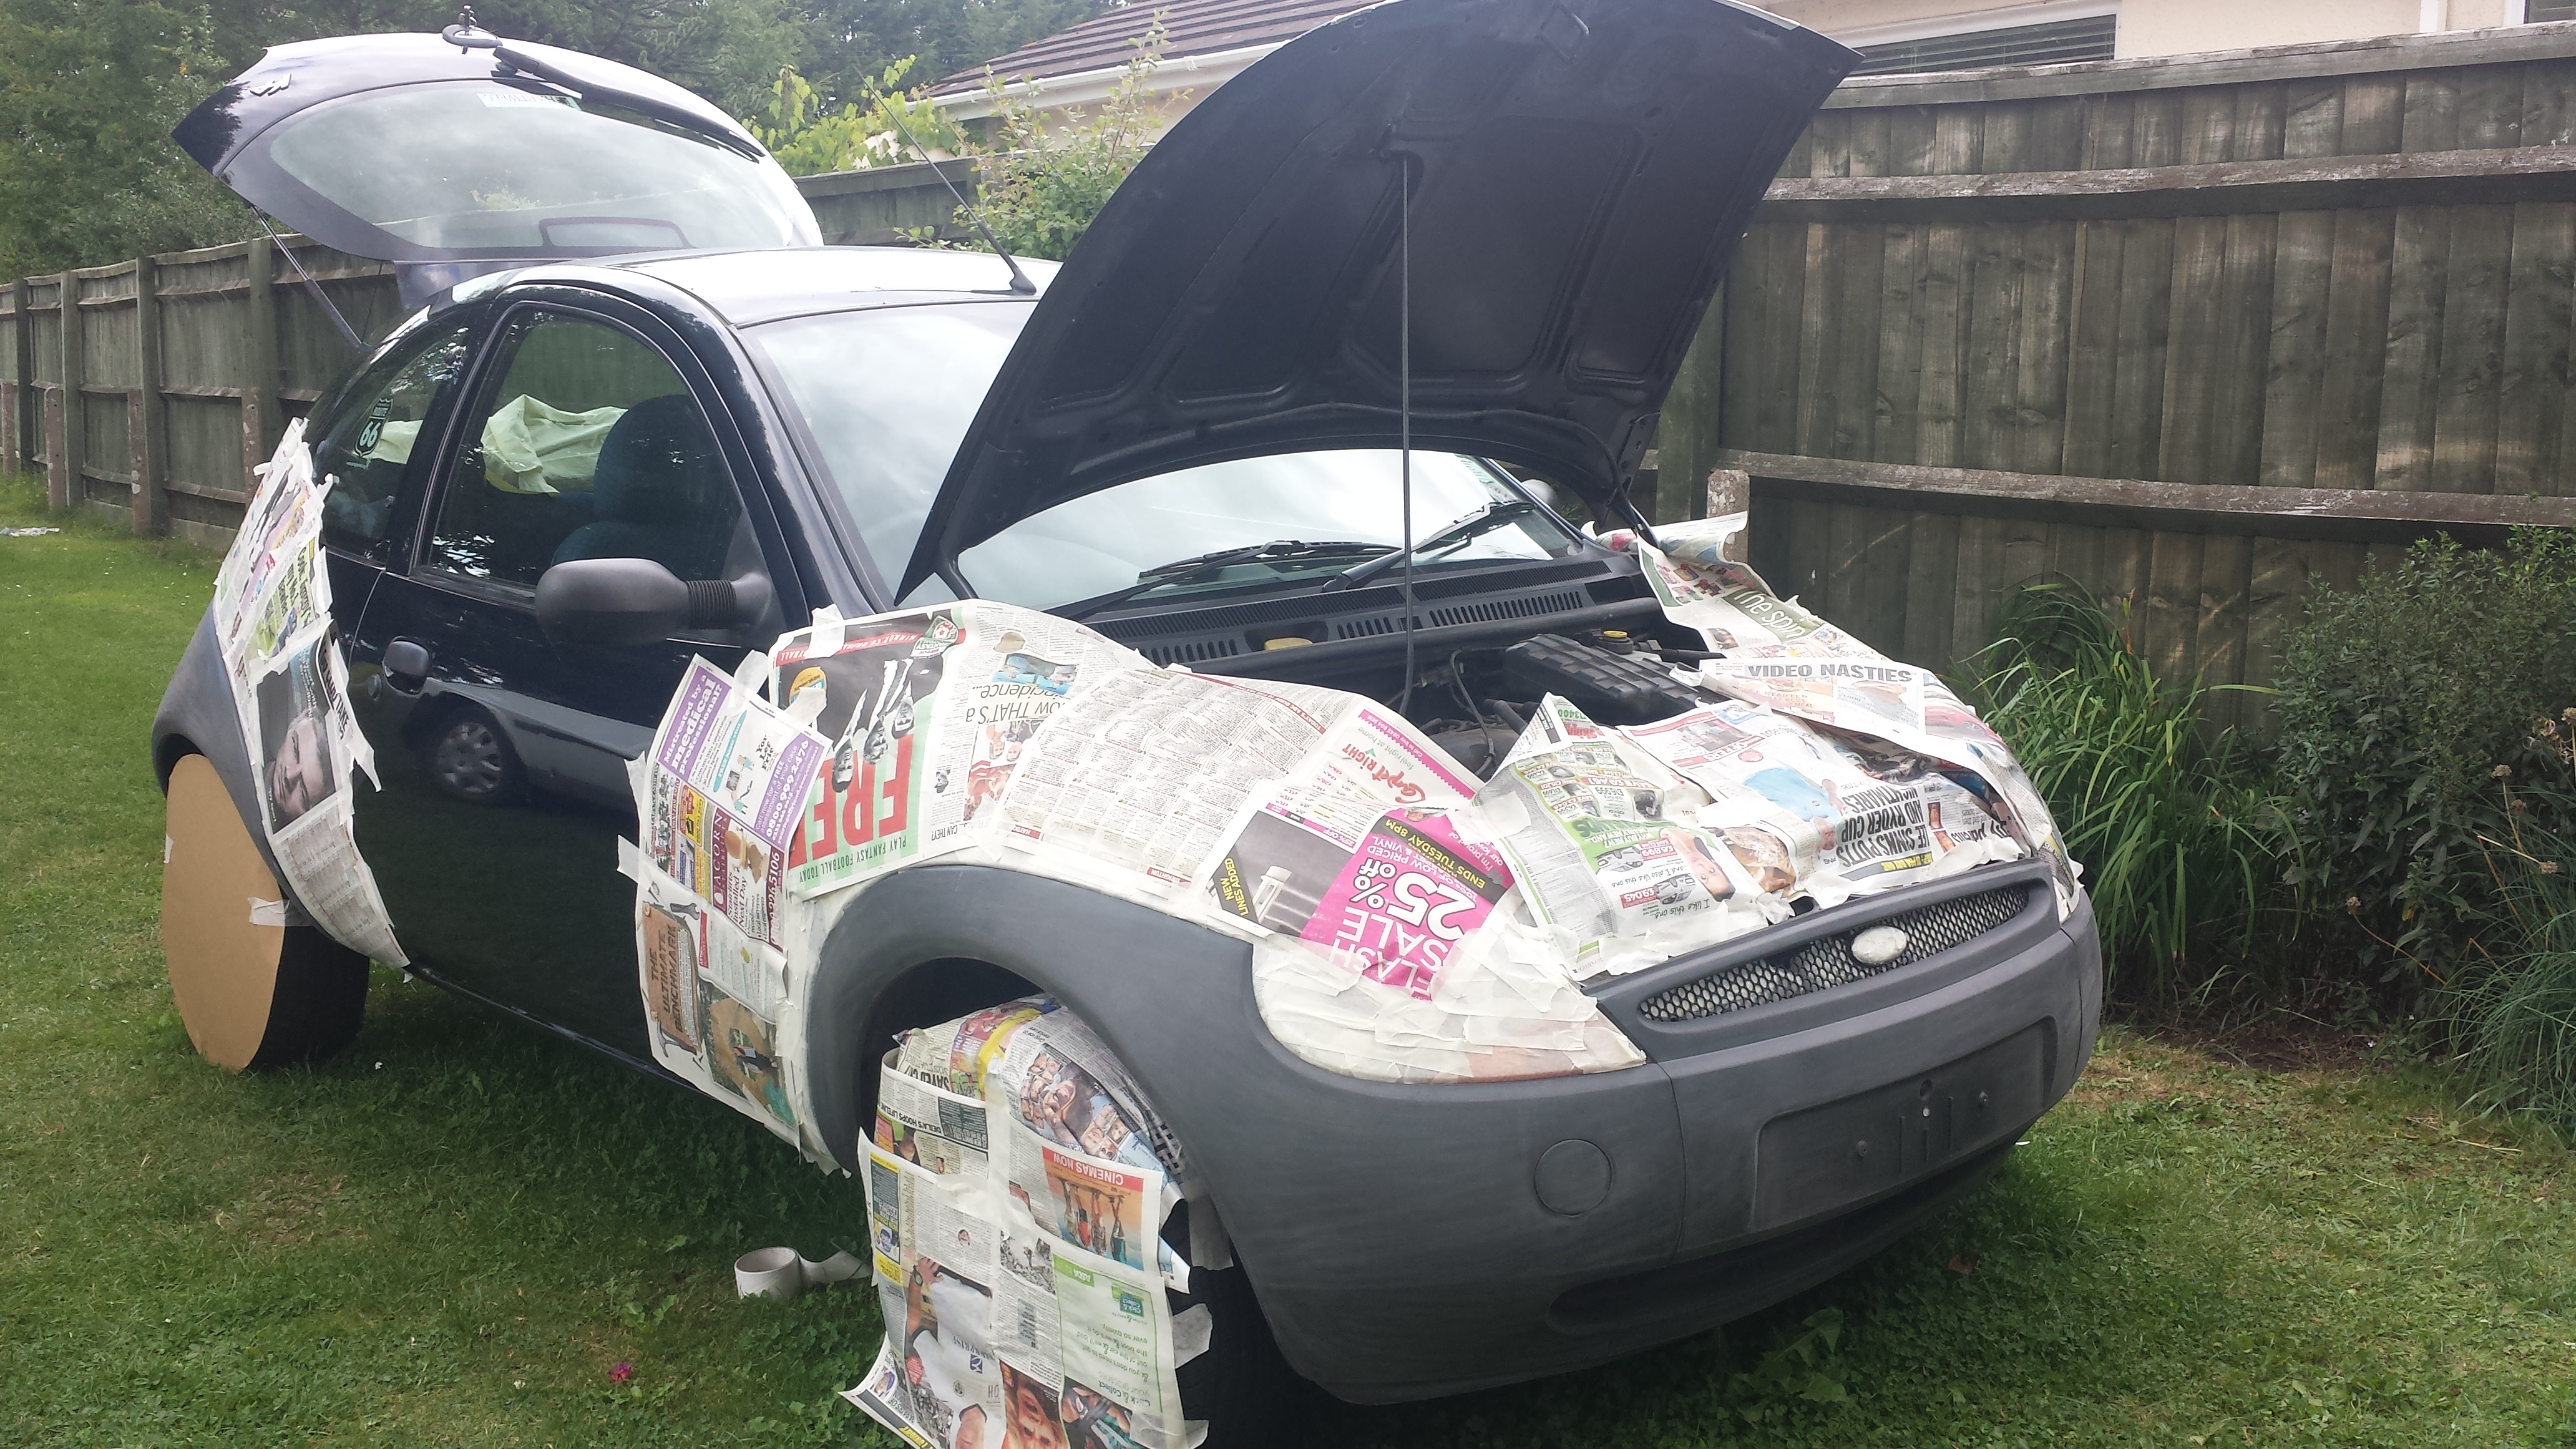
1st August 2014: All four wheels are now on the car and looking great! You can also see I had also started to prepare to bumpers to be sprayed matte black.
9th August 2014: While I was in Paris for a week my uncle sprayed the new wing for me. As soon as I got back I masked up the car, which takes hours to do properly and somehow a blotch of black paint made it onto one of the headlights!
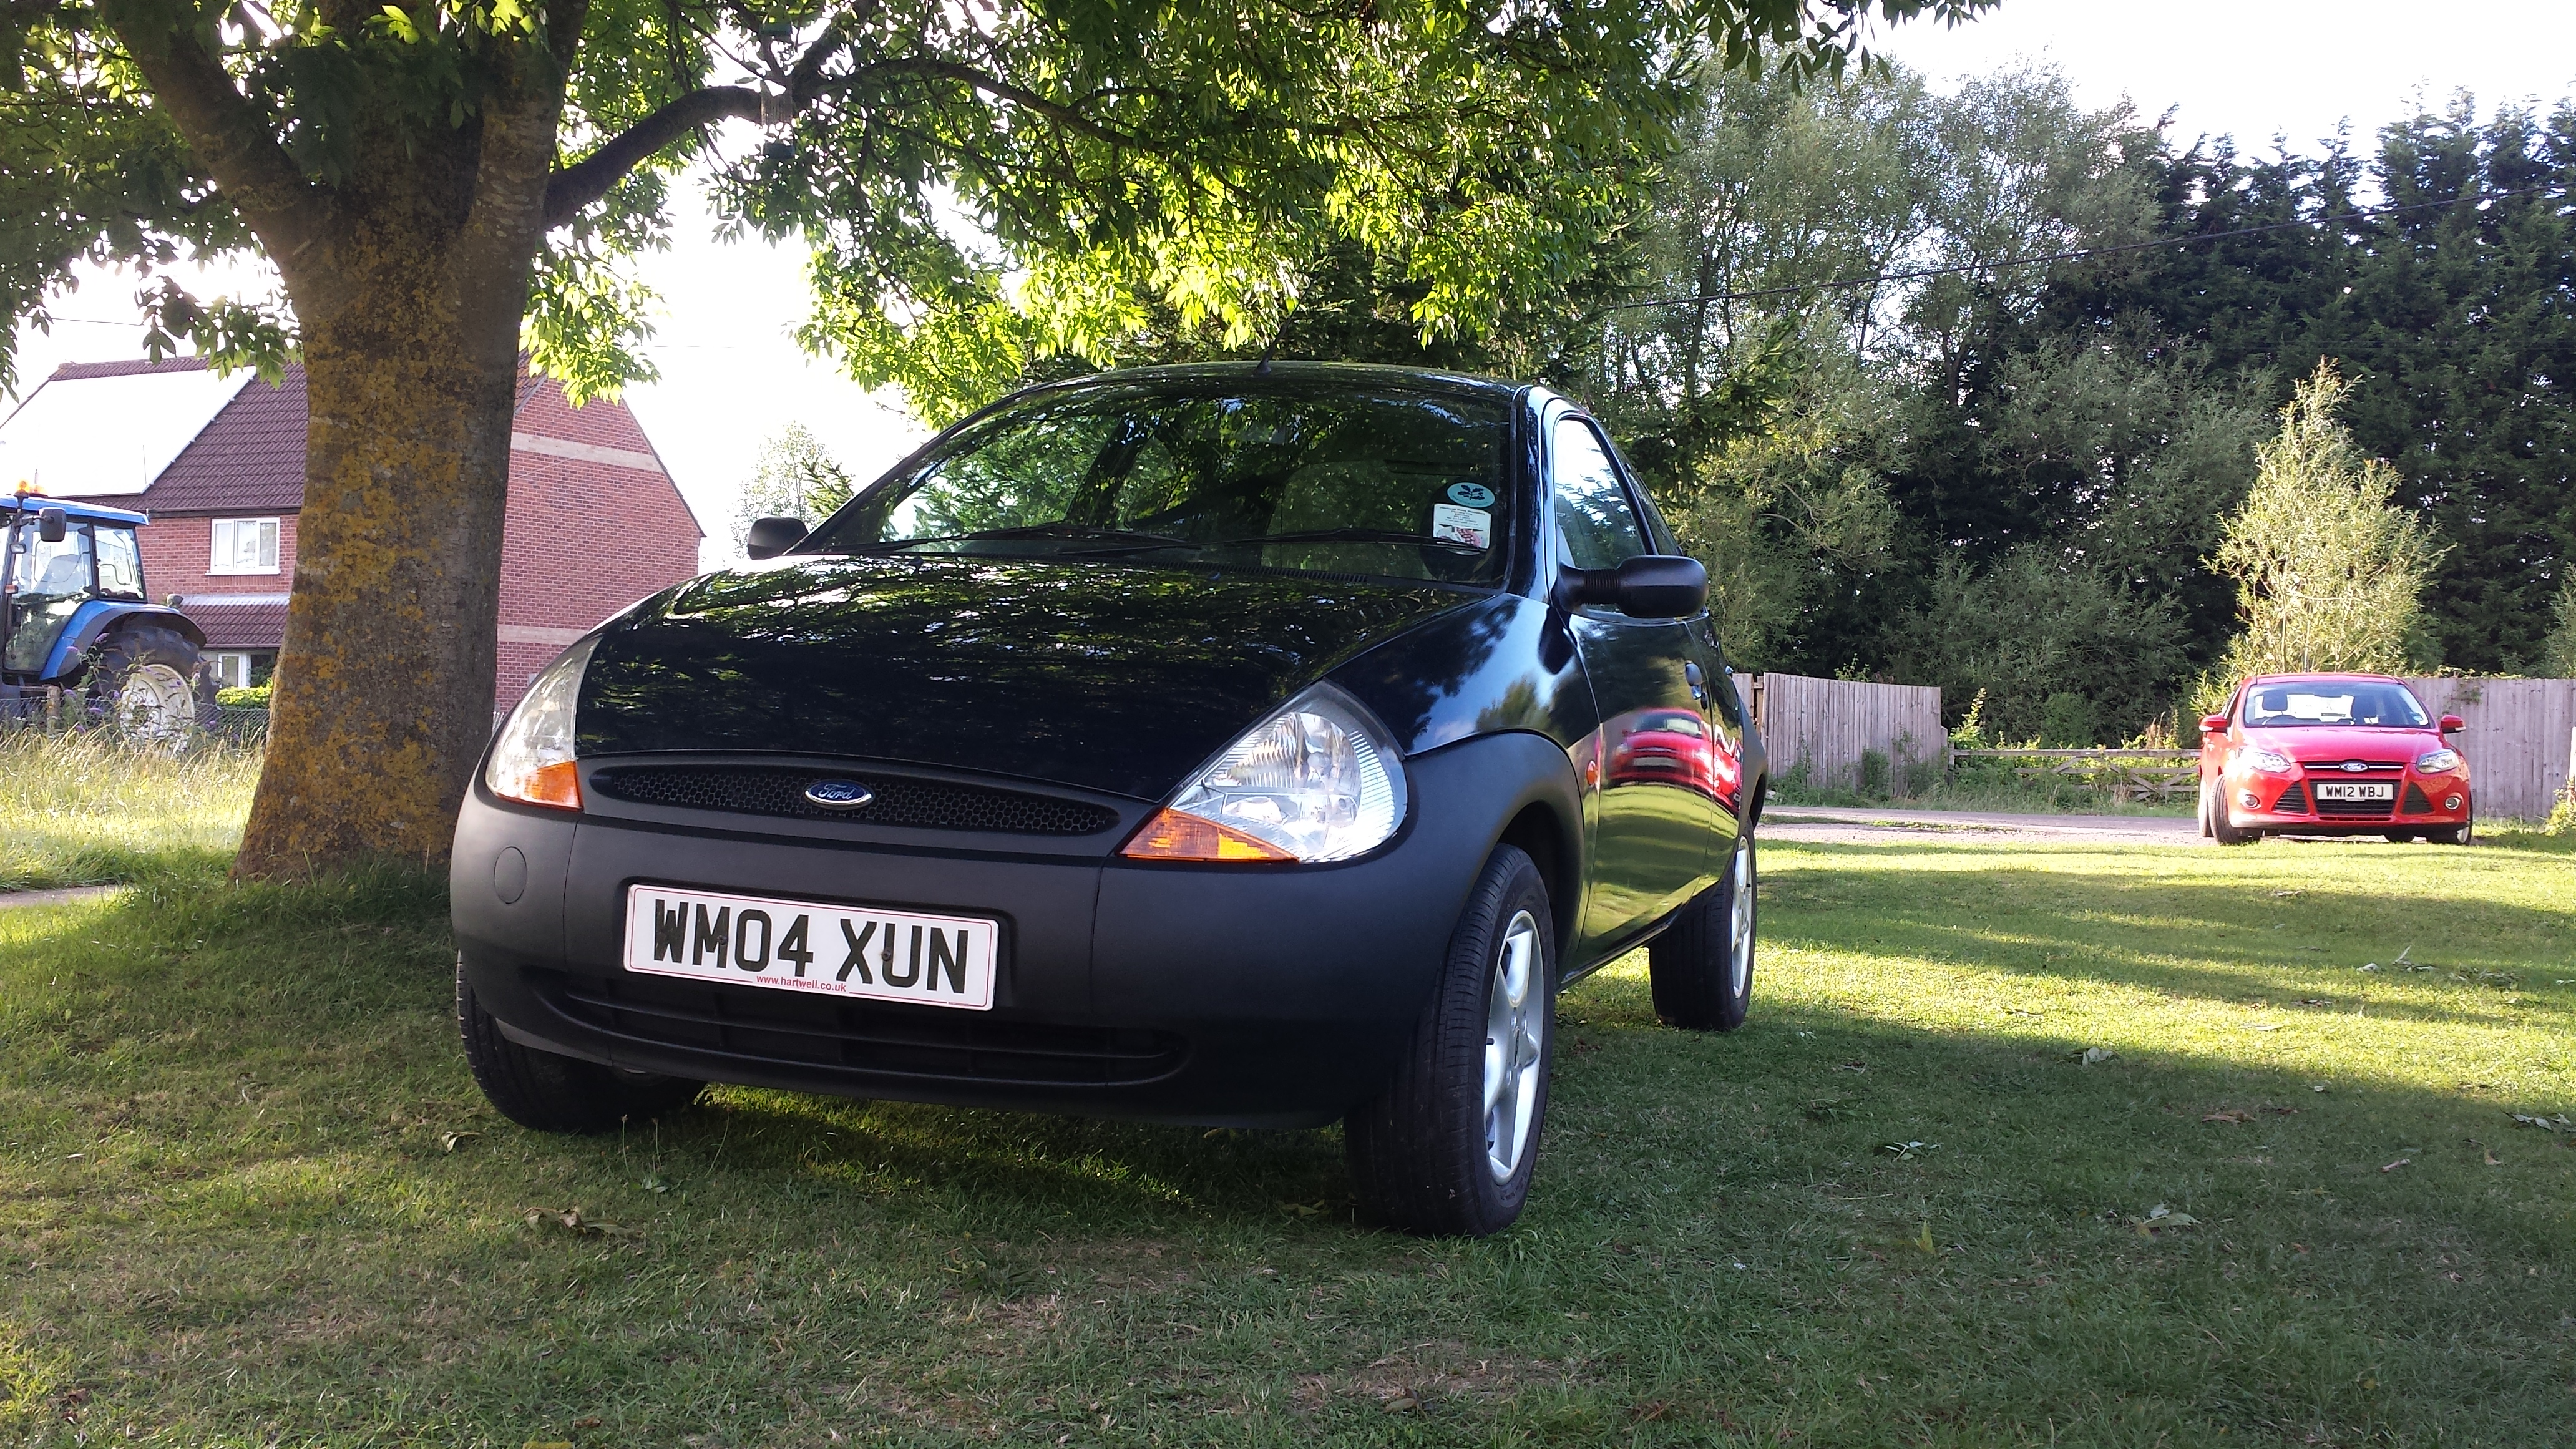
13th August 2014: On her tenth birthday she is finally finished and ready to take for MOT!
A close up of the new side and wheel.
16th August 2014: Unfortunately, she failed her MOT on the coil spring so I got it replaced straight away.
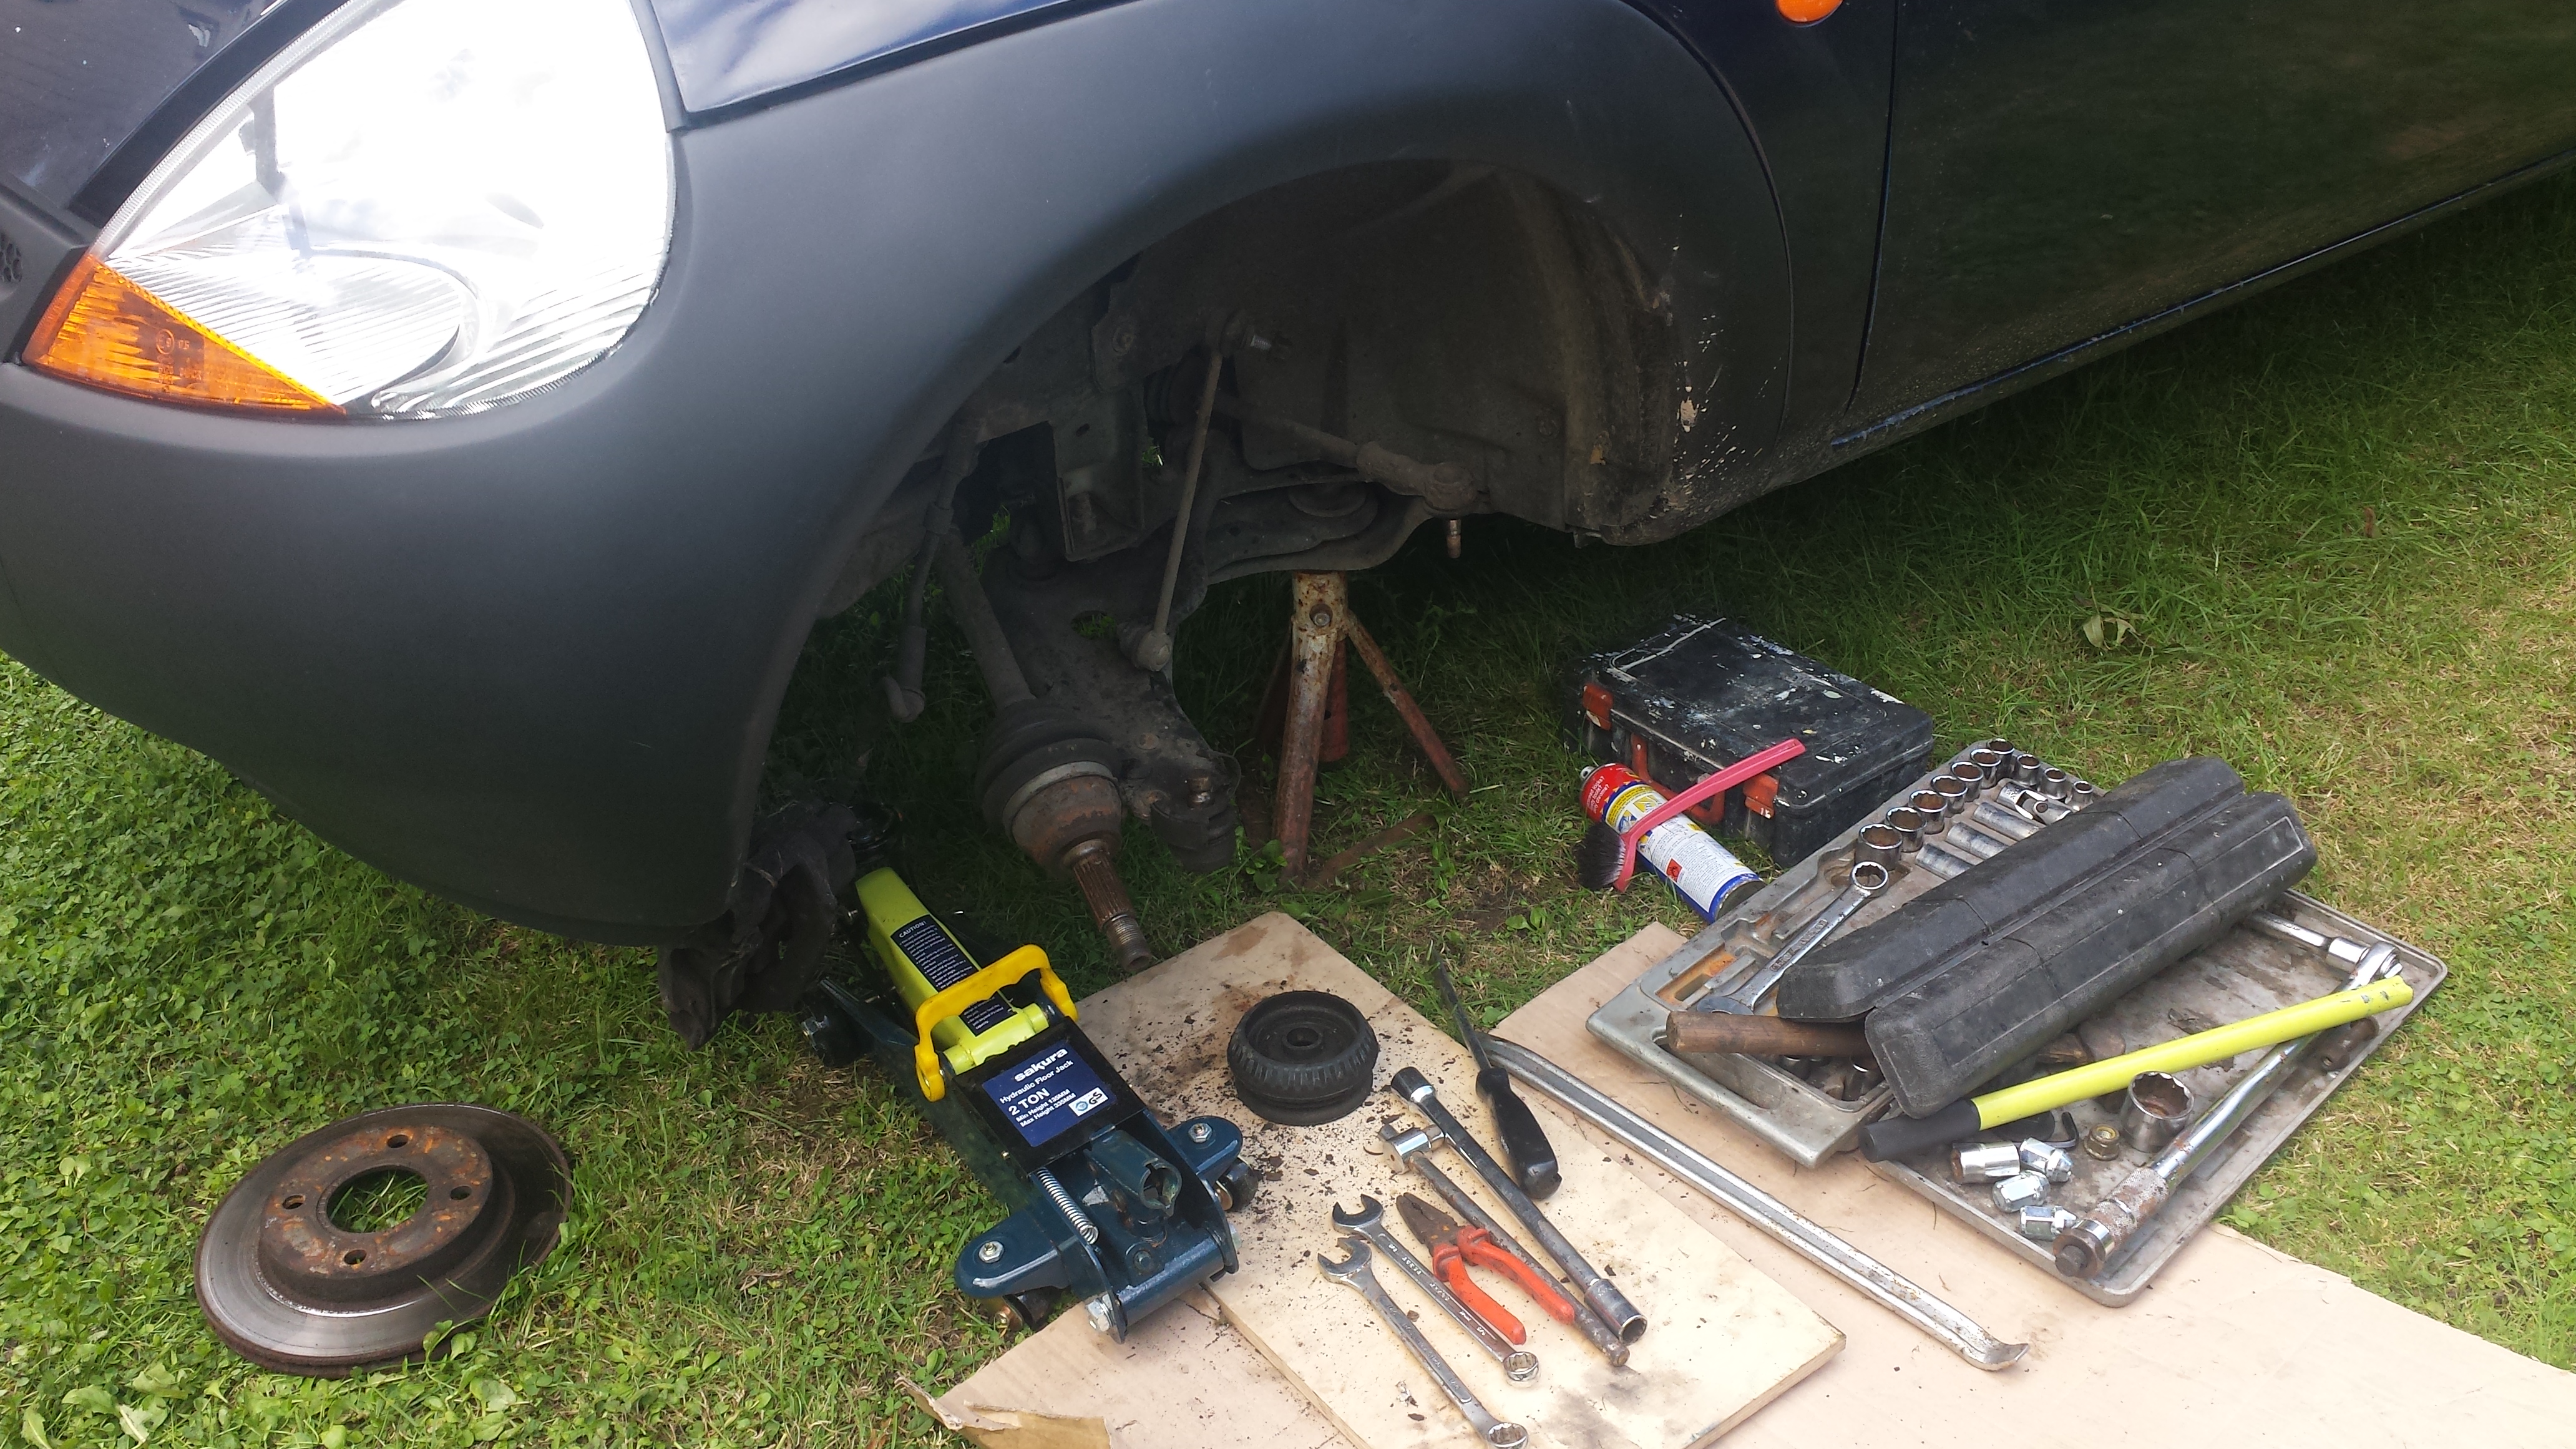
Those brake discs are definitely very worn out!

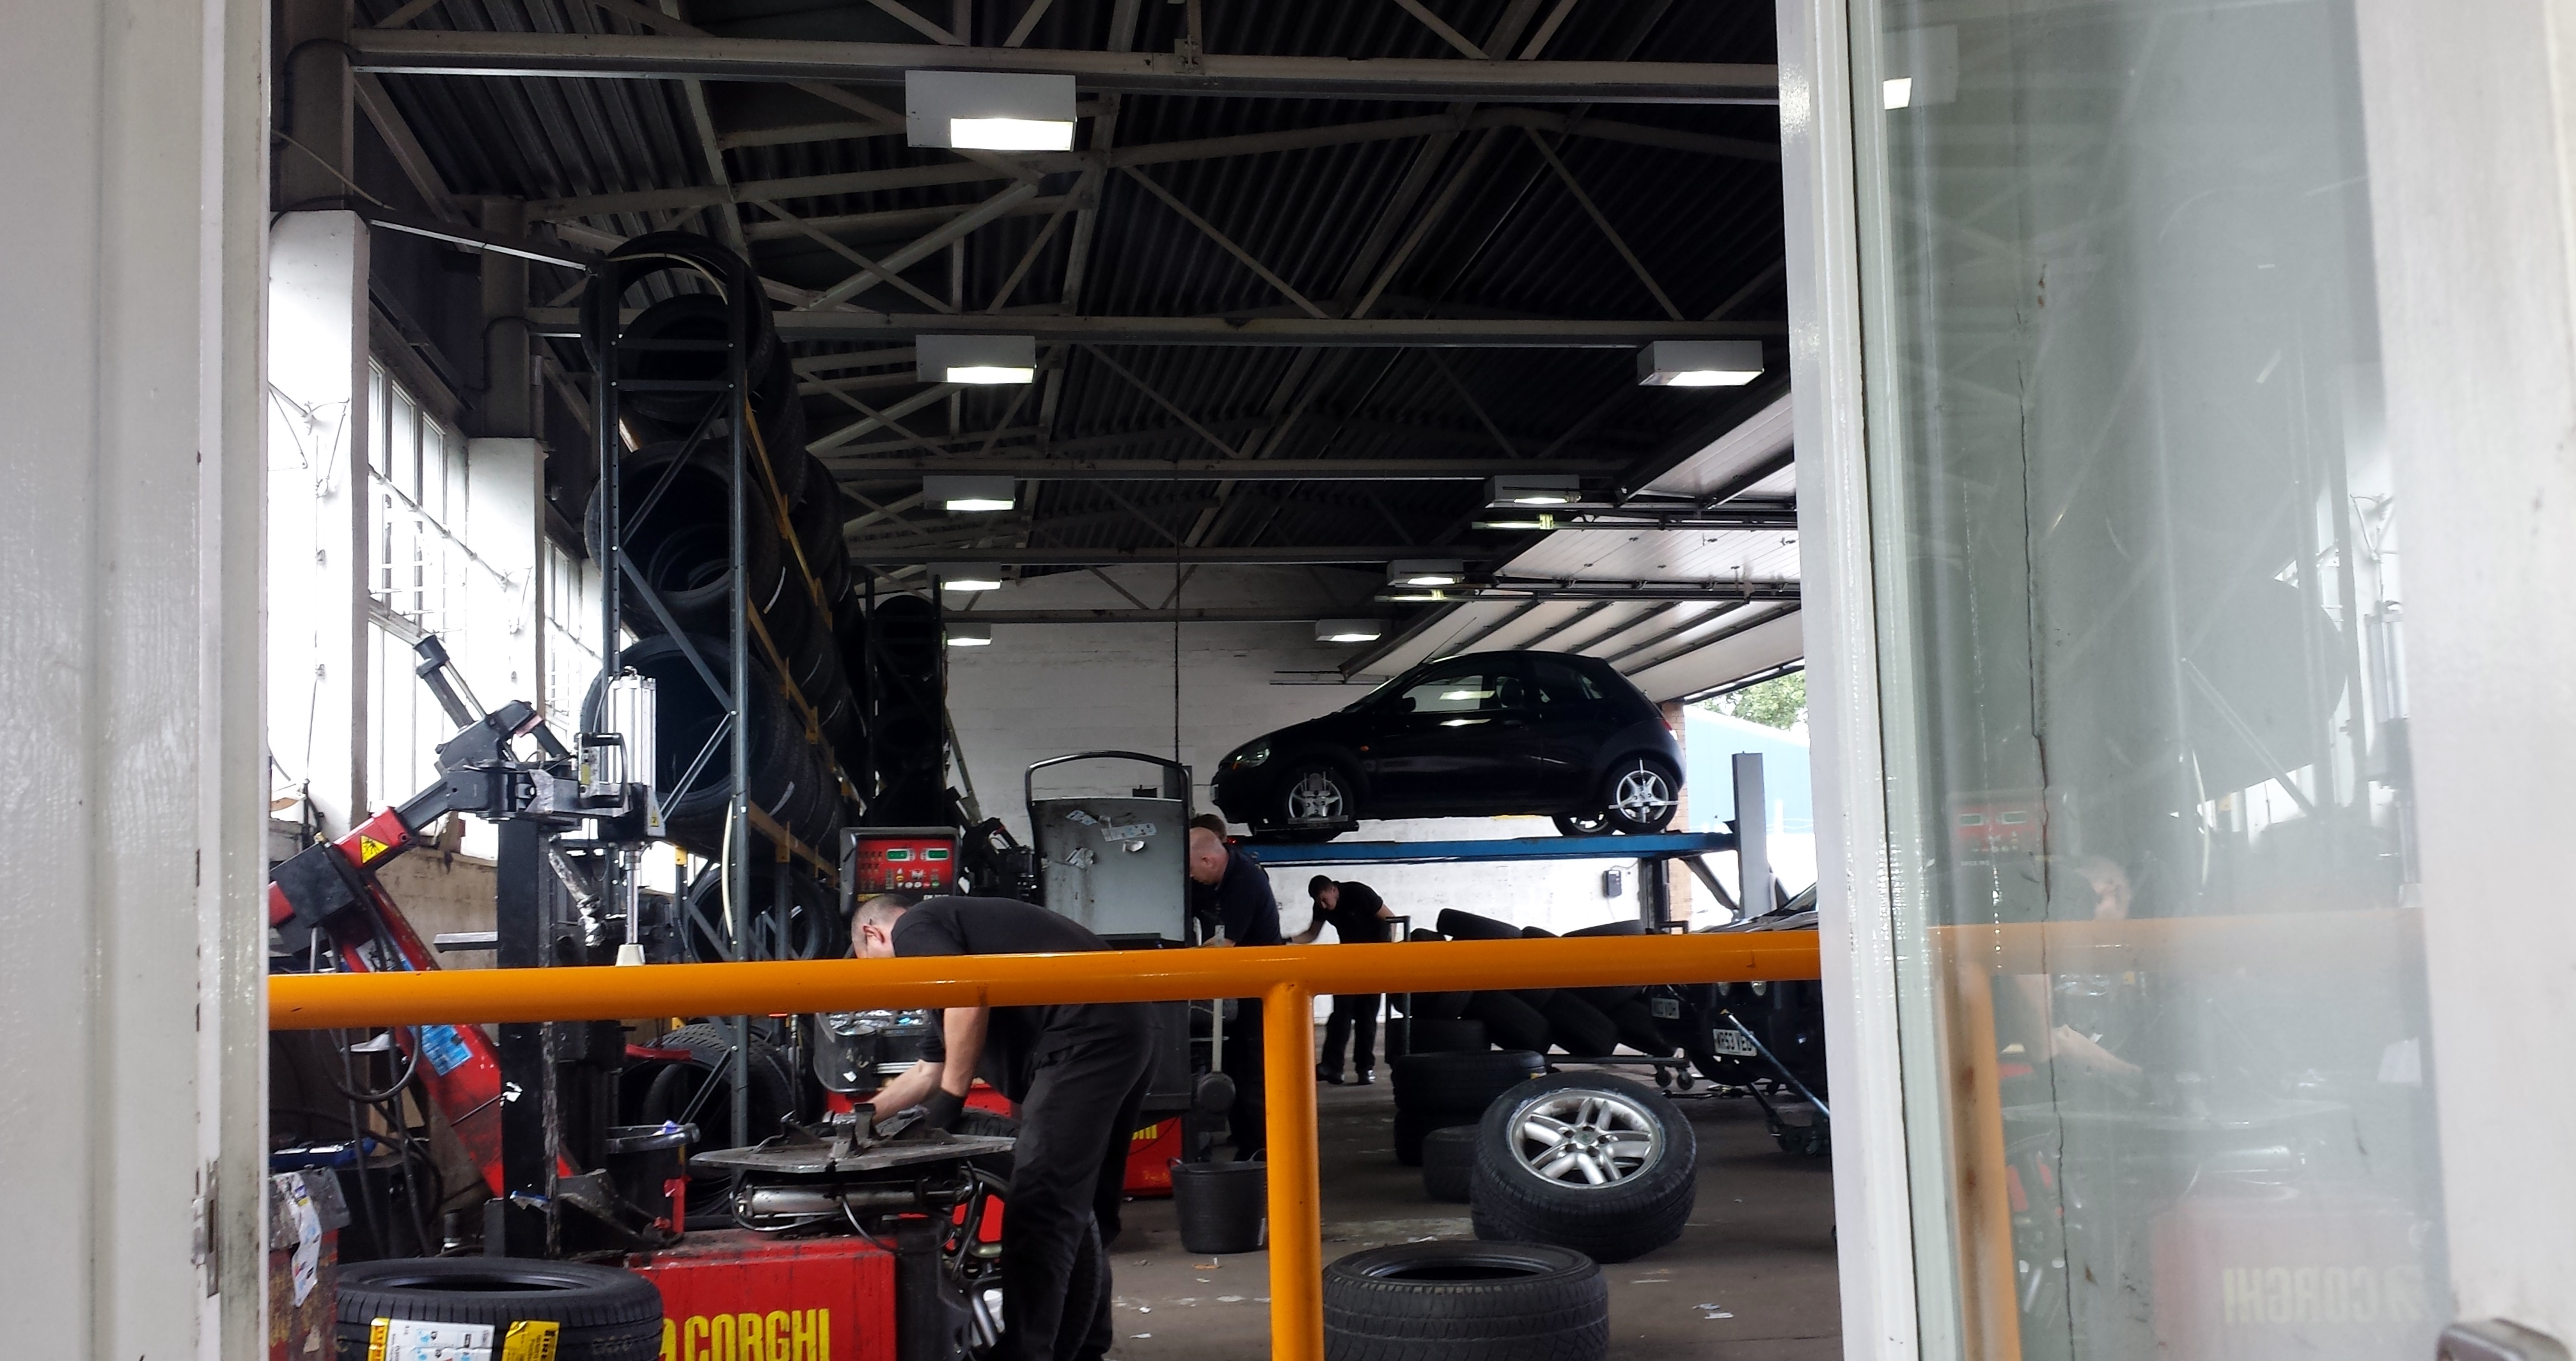
20th August 2014: The tracking was most likely knocked way out when it had the small accident last year. I definitely didn’t want to wear out the new tyres as fast as the old ones did, so I had it’s tracking sorted.
…and finally here she is sat on my driveway today with those classy L plates!

September 2014:
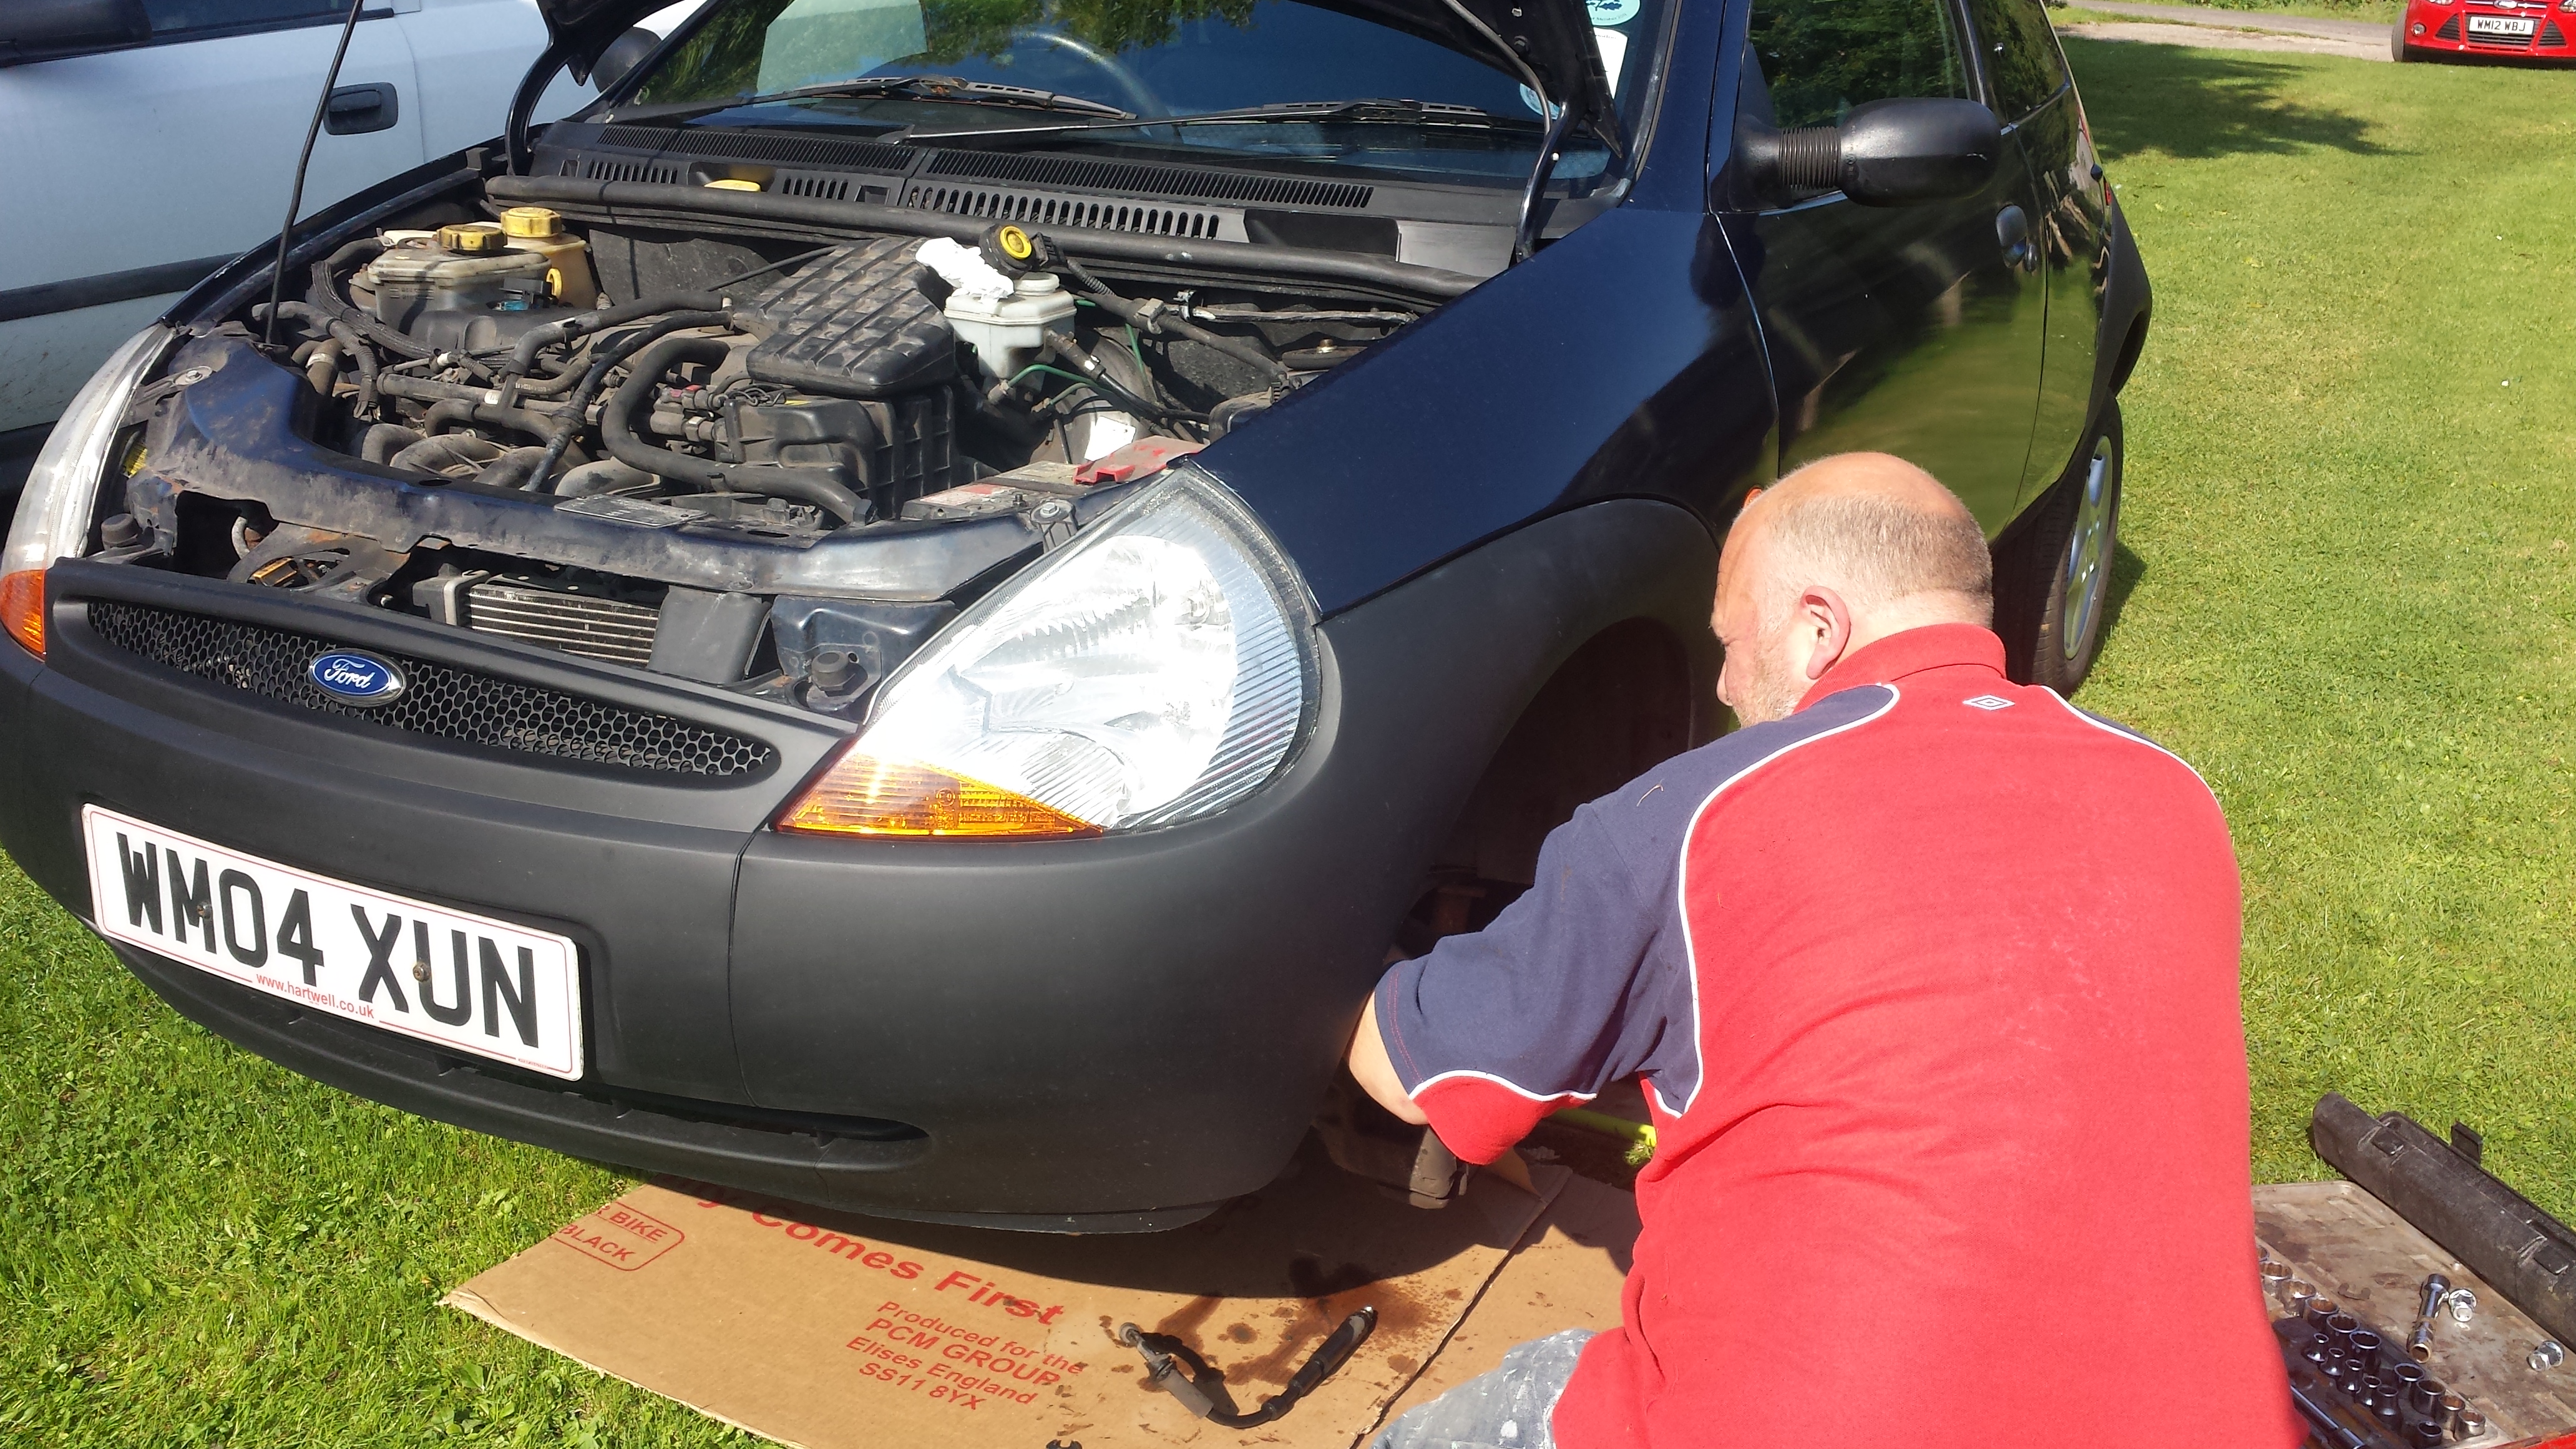
21st September 2014: One of the advisories on the MOT was the two front brake disks, so we replaced the discs, pads and fluid.
February 2015:
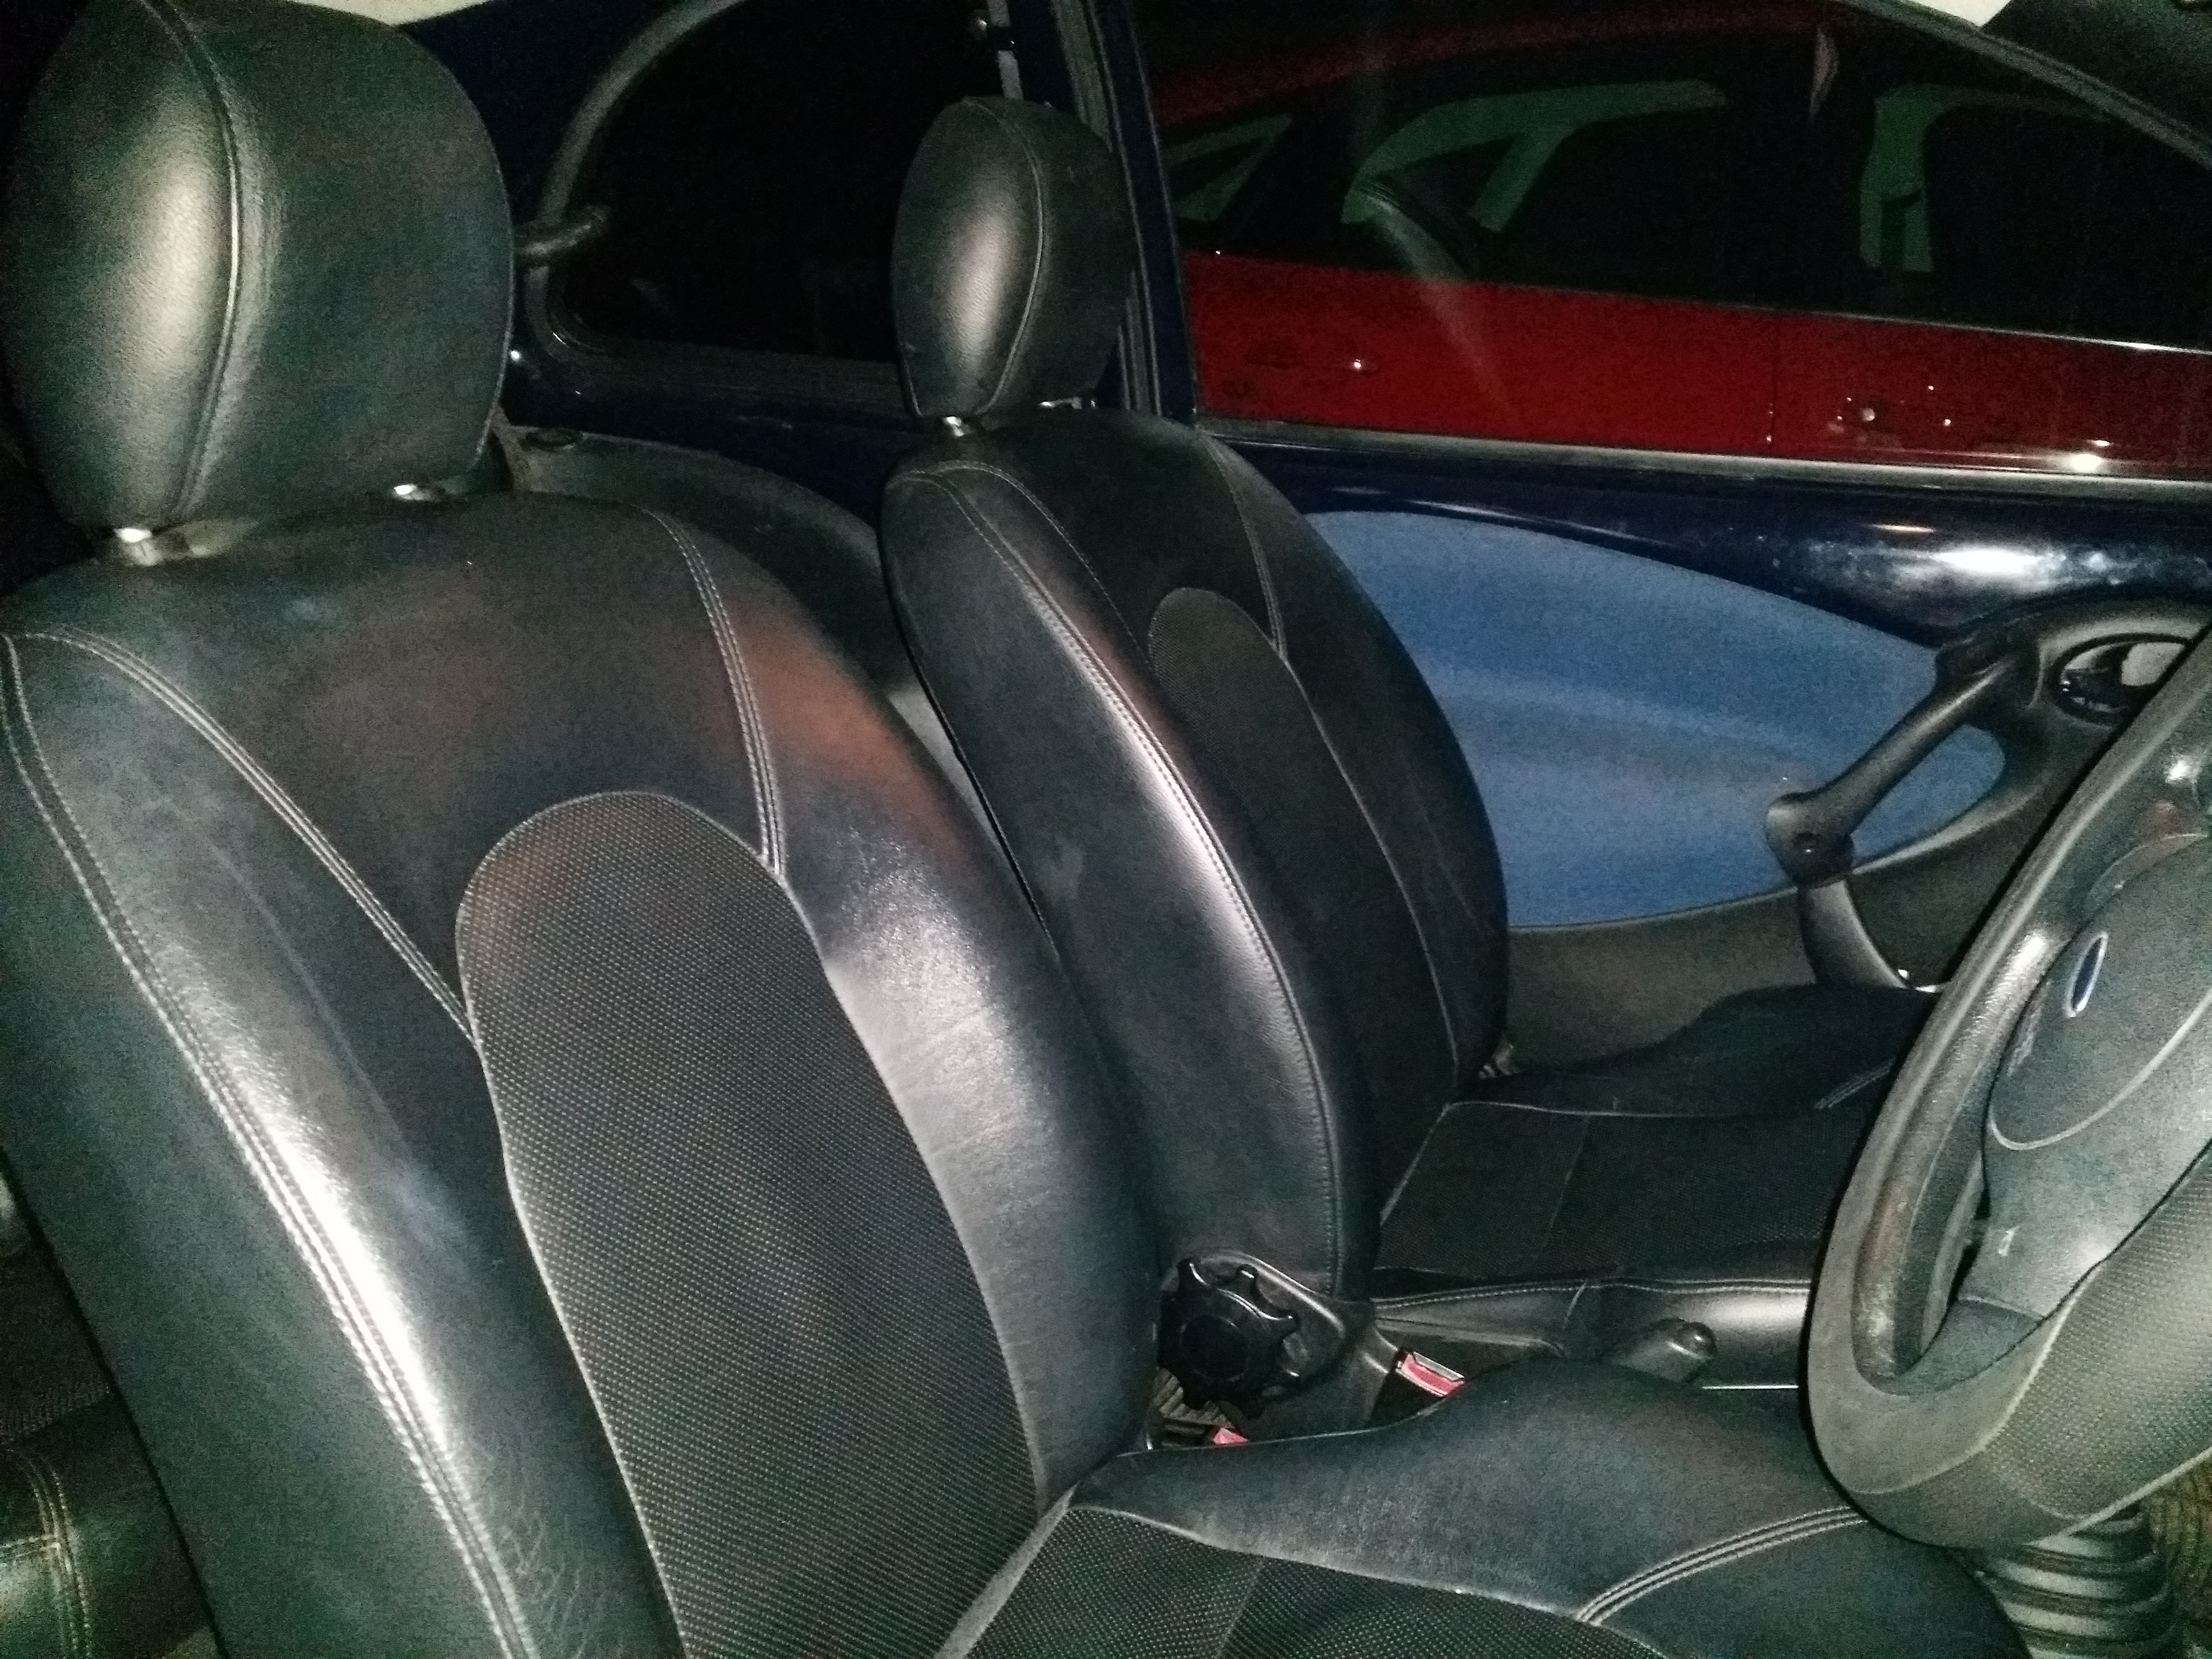
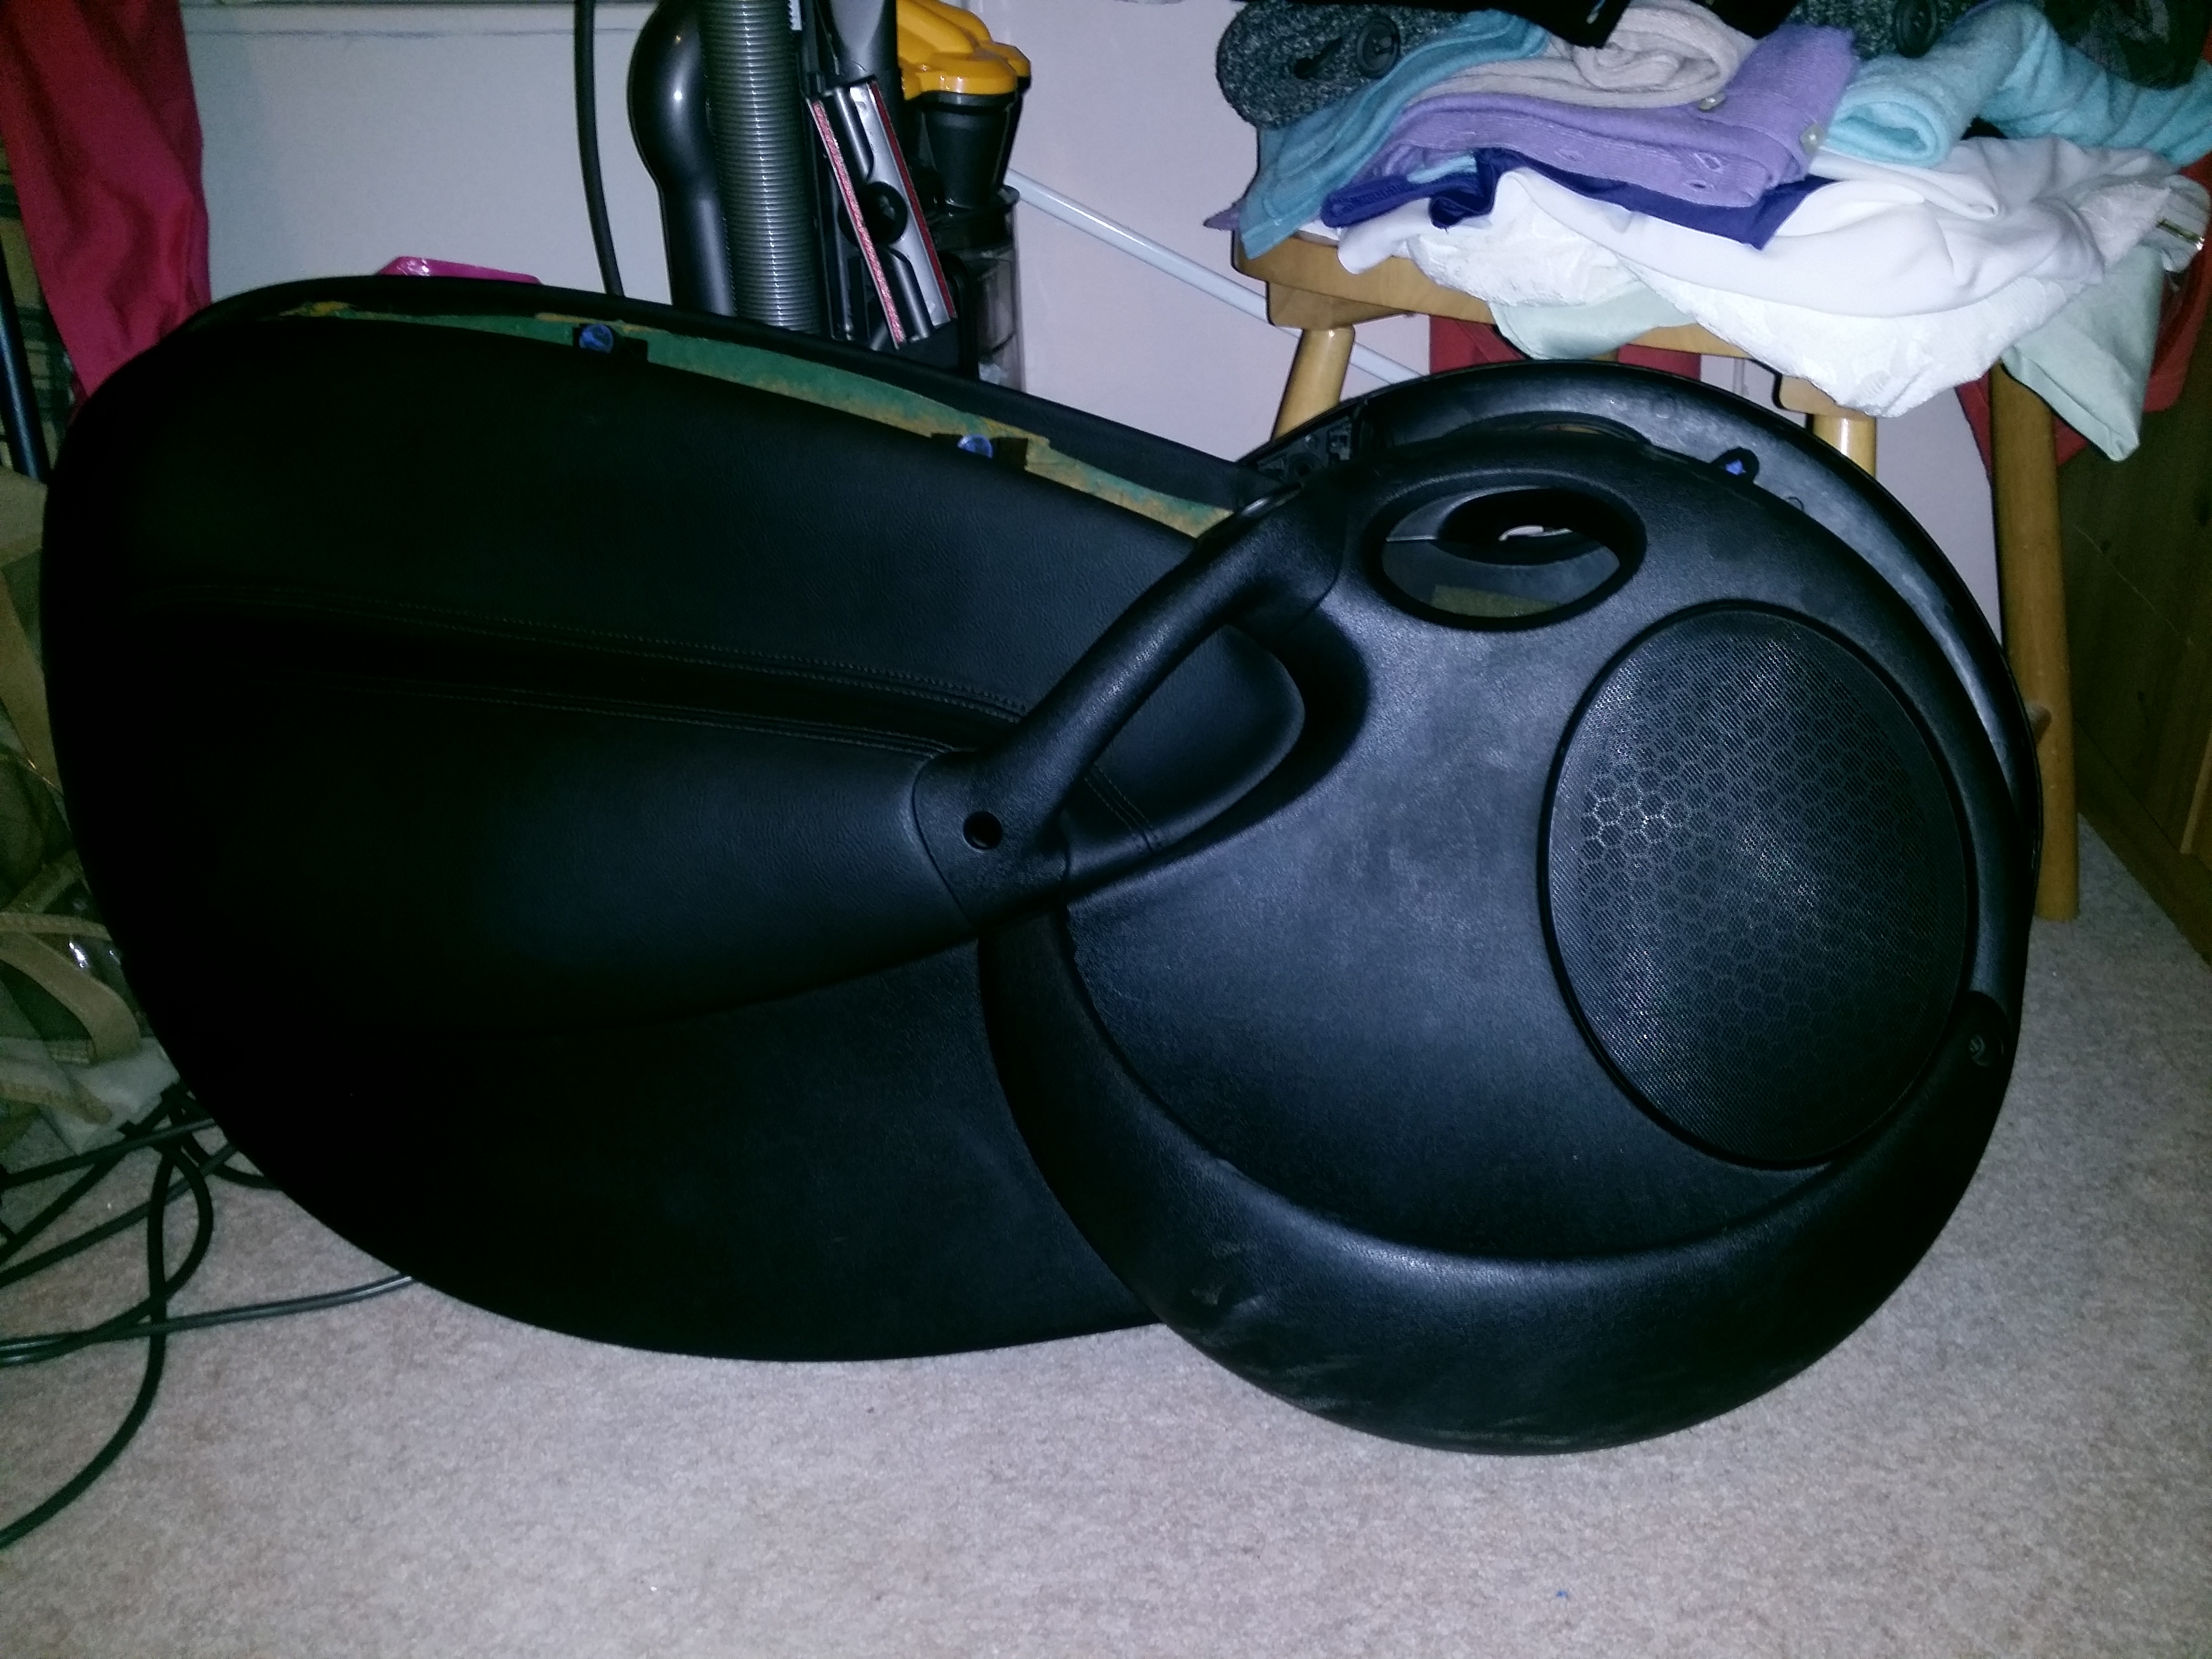
20th February 2015: To greatly improve the interior I bought some leather seats, door cards did come included too. The door cards aren’t fitted yet however as I got some parts for electric windows and central locking. So I’m going to wait until that’s fitted before fitting them.
28th February 2015: I bought a new instrument cluster from eBay, one of the ones with a rev counter from the higher spec’d KA’s
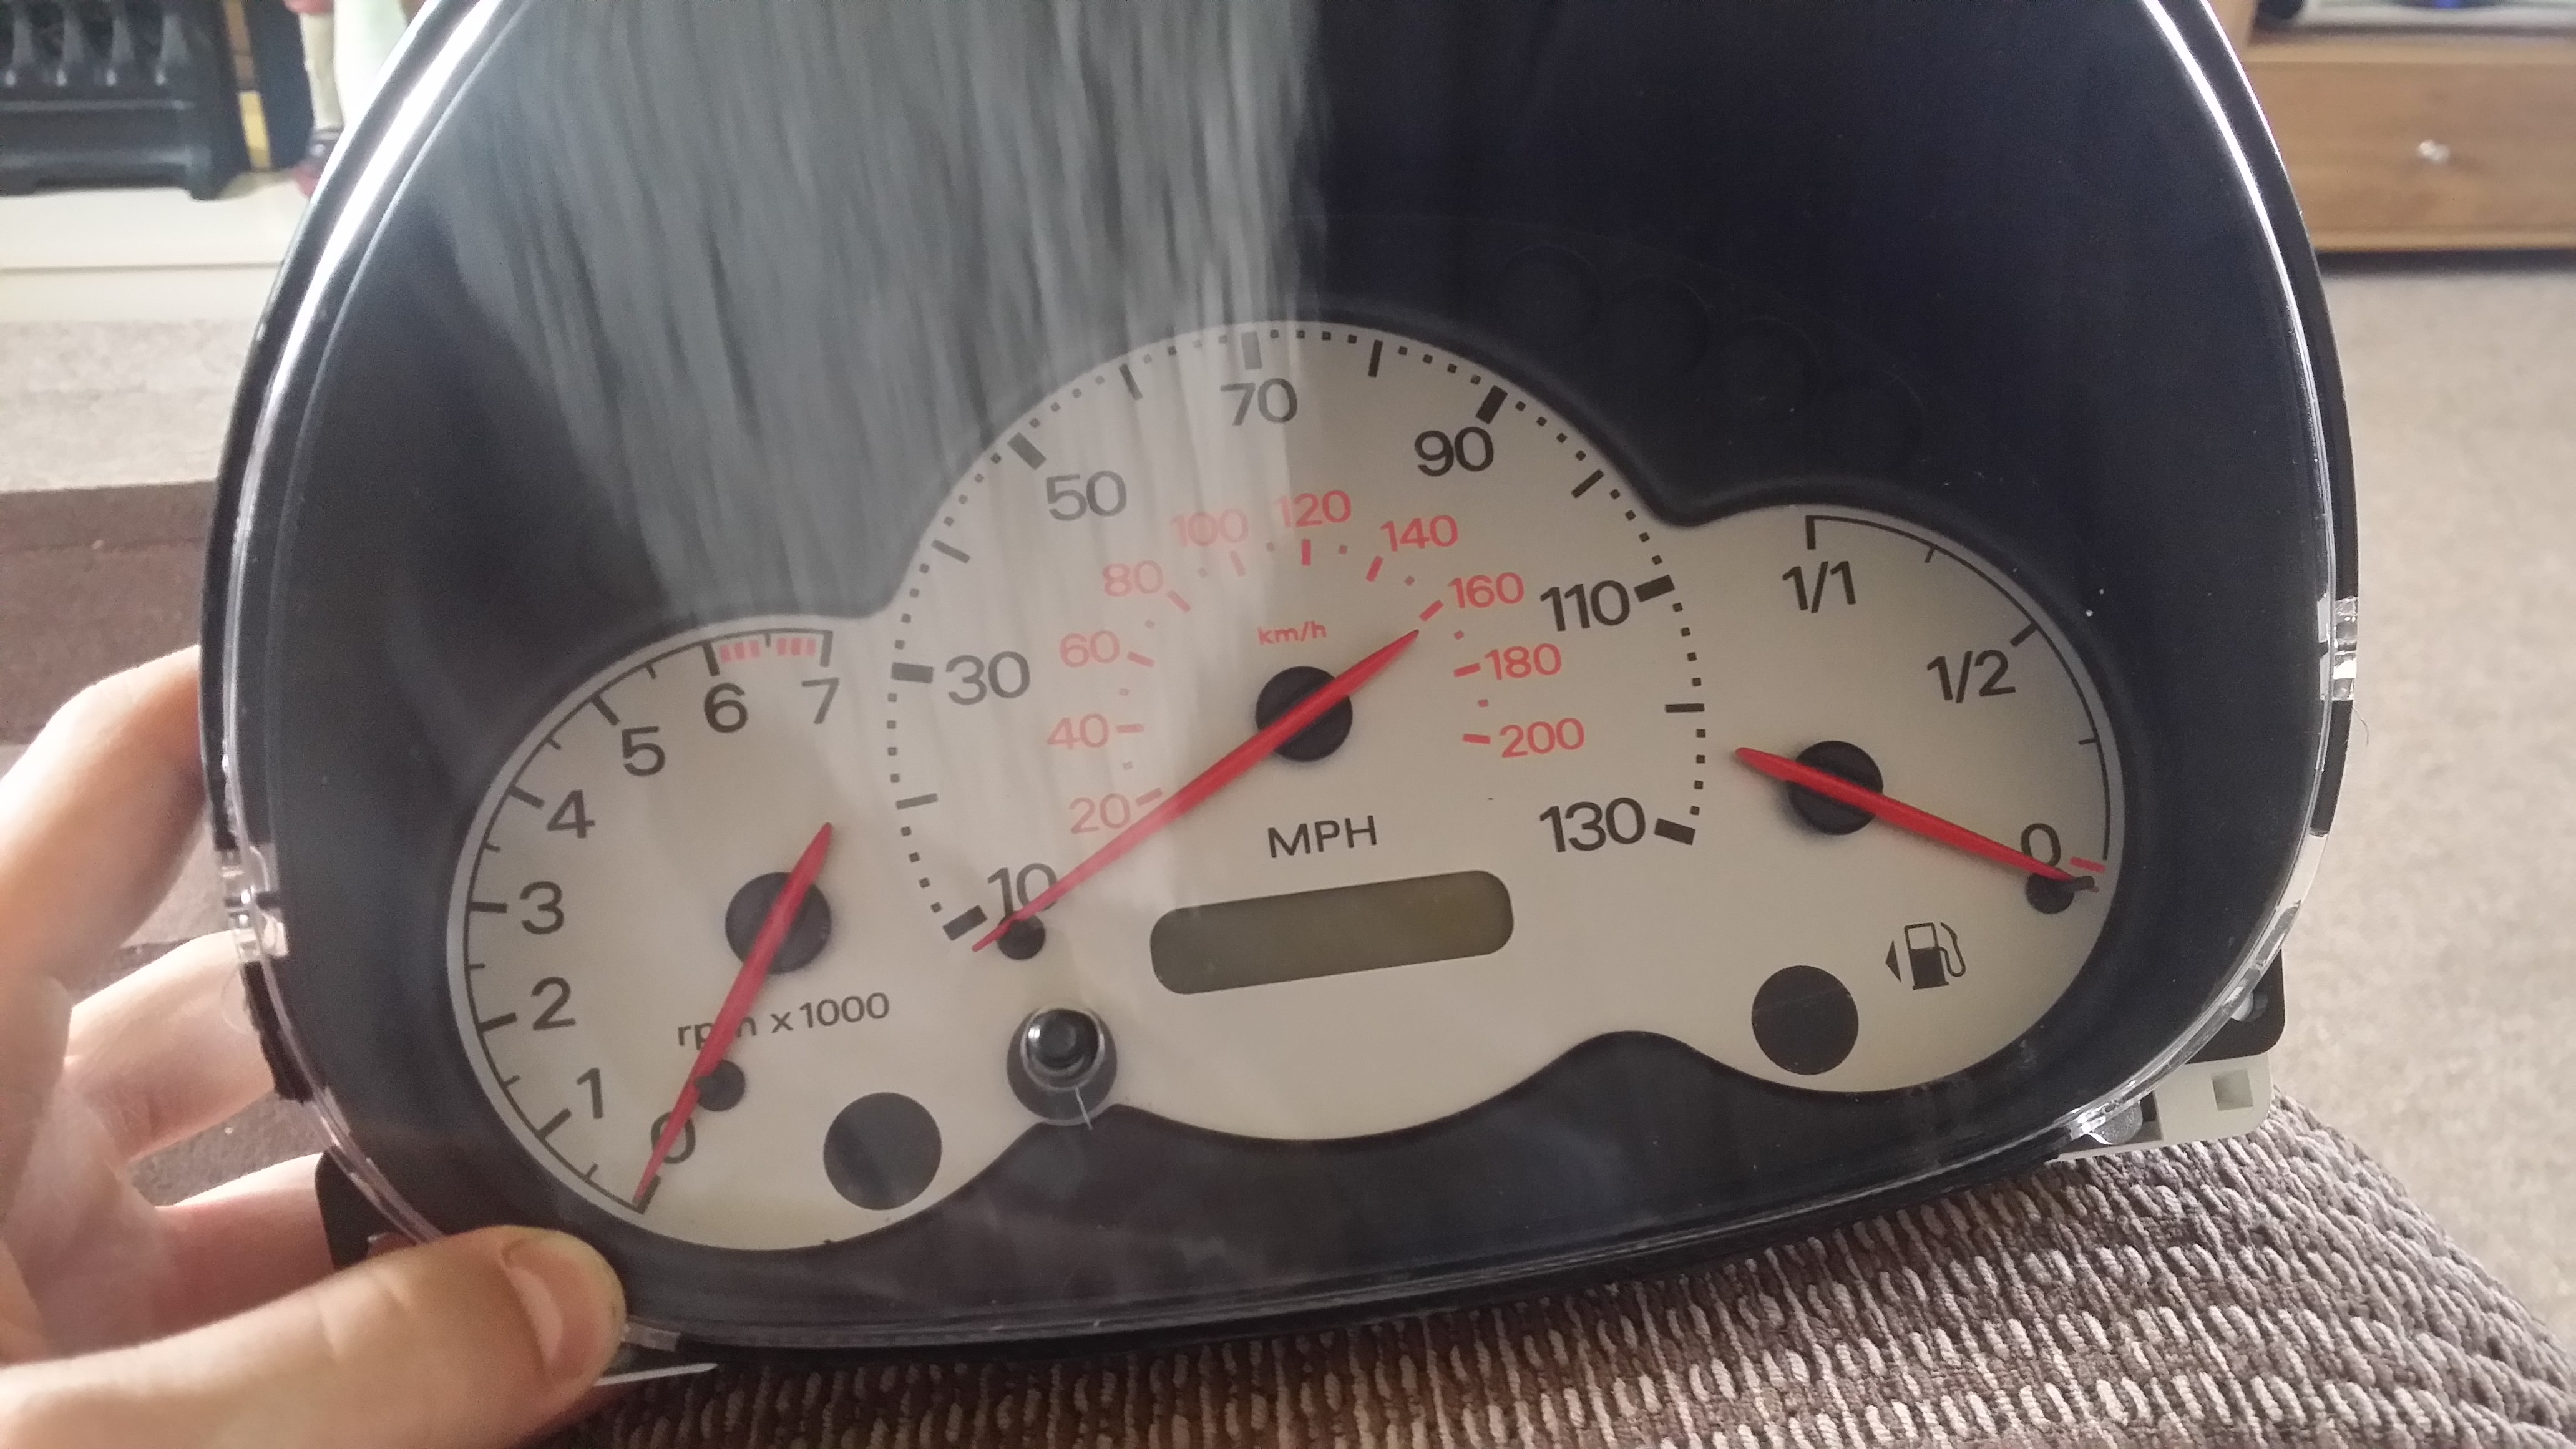
As you can see in the video below, the new set of clocks has a mileage of 66,830. My current clocks areat about 64,200, so I’m going to wait a while to keep it legit.
March 2015:
15th March 2015: My uncle and I connected the wires up between the window motors, switches, and locks. We then connection them directly to the cars battery to make sure everything was in working order before fitting it to the car. Everything works as it should so it’s going into the car next Sunday! (22nd March)
I will put a wiring diagram up for those wanting to add electric windows and central locking to their standard Ka. The motors and locks were salvaged from a rotten 1998 Ka which of course is the same so most things are interchangeable. Mine being the basic model Ka, it had no wires ready for the door looms to plug into which is why it’s being connected to the battery for the locks and ignition for the windows.

17th March 2015:
The KA’s exhaust pipe was starting to be called a “pea shooter”. To make it look better I bought a chrome exhaust tip from Halfords for £15. They are very simple to fit, just two clamps either side holding it onto the original pipe.

Infact, all three of us had pea shooter exhausts so we all got a new tip.

18th March 2015:
The standard KA gear knob look cheap, and felt cheap and spongy. I bought this Richbrook gear knob and leather gaiter on eBay for a total of £35, quite expensive, but definitely worth it. It has made the gear changes feel much more solid and just feels generally better and nicer to look at.

22nd March 2015: As everything from the previous weekend worked, it was time to fit it into the car. This was a bit out of my league so I let my uncle do it.
First we took the passenger door apart, removing the lock, handle, window mechanism and speaker. In this picture you can see the new electric window motor has been bolted on.

Wiring:
Drivers Door Loom:
White/Red – Speakers – Positive
Grey/Red – Speakers – Negative
Black – Negative Earth
Orange/Black – Direct Power Feed – Central Locking
Yellow/Violet – Connect to same on passenger side – Window Switch
Yellow/Black – Connect to same on passenger side – Central Locking
White/Violet (Thin Wire) – Connect to same on passenger side – Central Locking
Violet/Blue – Ignition Feed – Electric Windows
White/Violet (Thick Wire) – Connect to Passenger Side – Window Switch
Passengers Door Loom:
White/Black – Speakers – Positive
Gray/Black – Speakers – Negative
Black – Negative Earth
Orange/Blue – Direct Power Feed – Central Locking
Yellow/Violet – Connect to same on drivers side – Window Switch
Yellow/Blue – Connect to same on drivers side – Central Locking
White/Green (Thin Wire) – Connect to same on drivers side – Central Locking
Violet/White (Thick Wire) – Ignition Feed – Electric Windows
White/Violet (Thick Wire) – Connect to same on drivers side – Window Switch
Some of the wires on the opposite sides are colour coded differently so it can be confusing to which they are. This diagram that I made should help you understand what should connect to what.

Next we routed two cables from the battery to power the central locking and negative for the central locking and electric windows. (Only one in the picture but there is two now!)

Positive and negative wires routed under the dashboard to the drivers side door for the central locking (negative also for electric windows) The postive wire for the central locking was routed up into the fusebox to fit an in-line 20 amp fuse, it then carried on to the door and was soldered onto the Orange/Black wire. Negative was of course connected the the black wire in the door.

Power for the electric windows must only be on when the ignition is on. On a Ford the accessory wire is normally yellow. By powering the electric windows from here, they will only be able to operate when the ignition is on. This wire can then be routed into the fusebox to fit an in-line 30 amp fuse, and then connected to the Violet/Blue wire in the drivers door loom. If you follow all of the diagrams and instructions I have told you, then you should have working keyed central locking and electric windows.

23rd March 2015: The wiring took about 6 hours to do so I didn’t have enough time to fit the door panels in the same day. On the day after, I put some sound insulation on the inside of the door. (You can also see the new speakers which sound really good for £24) I did fit this sparingly as I wanted enough for the drivers side. On the drivers side I completely covered the door in it.

With the new leather door panel fitted and electric window switch

24th March 2015: I still had the left the drivers door card off to fit the remote central locking kit. It is fairly simple to fit. In the kit there are eight wires that you need to connect up to the car.

It is a universal kit from eBay costing £22, most of these kits have roughly the same wiring.
From the Remote Central Locking Unit:
Orange – Not needed
White – Close – Connect to White/Violet wire from drivers door loom
Yellow – Connect to constant power
Orange/Black – Not needed
White/Black – Open – Connect to Yellow/Black wire of drivers door loom
Yellow/Black – Connect to constant power
Black – Connect to negative power
Red – Connect to constant power
Brown x2 – Connect to Blue and Blue/Red wires under steering column cover – indicators left and right.

There is no need to cut any wires, they can be tapped into using scotch locks.
This is very simple to install, if you have connect up all the right wires, you should now have remote central locking.
26th March 2015:
A picture of the interior with everything back together, looking great!

April 2015:
5th April 2015: I have had a bit of carpet in the passenger foot well which was loose for a long time, ever since my mum bought the car four years ago. I was never quite sure how it was meant to be held in until the drivers side had to come off so we could get the the door cables. It turned out the carpet was stapled to a card, and on the passenger side, those staples had come loose.

This clip simply hooks into the same place around the door as the door rubber does.

It’s then all held in and covered up by the door rubber.

9th April 2015: Ever since I fitted alloy wheels to my KA, I have had people telling me (including myself) how rough my rear brake drums look. I have been meaning to paint them ever since I put the wheels on, so today I finally did it.
To do the job, I used Halfords Very High Temperature Engine Enamel in matte black and a Harris 1/2″ brush.

First, I removed the driver’s side rear wheel, exposing the brake drum. This is what it looked like, pretty rough eh?

I then used a wire brush to remove the bulk of the rust, after most of it had gone, I used a combination of the wire brush and sandpaper to get the remaining bits off.

After spending about 30 minutes sanding, this was as good as mine was going to get. Once as much as you can get off, is off, then it’s ready to paint.

After painting the drums with about two coats, they should look like this:


A huge improvement!
20th April 2015:
I bought a spoiler from eBay for £50, it came in an orangey red colour.

After being sprayed and fitted to the boot. The spoiler has clips which hook onto the glass. You also use glue all around the rest of the spoiler. I used Tiger Seal.

27th April 2015:
I took a trip to J. Jones Motor Spares in Devizes and got myself some body coloured bumpers in silver for £50, new drivers side headlight for £10, and everything needed to fit an electric boot release for £5.
Here’s the shiny new headlight (actually 15 years old from an X reg Ka) Looks much better without the cloudiness.

28th April 2015:
The boot release is a simple two wire solenoid which unlocks the boot at a press of the dash button.
This is how it should look after fitting the solenoid into the boot lid and connecting up the rods from the lock to it. Also, the earth wire bolts onto the same bold as the wiper motor earth.
The hardest bit is getting the single wire from the boot lid, into the car, then once it’s in the car, you need to get it from the back to the drivers footwell. This wasn’t too hard as I pulled the head-liner back slightly and pushed the cable in. It then went down the A pillar and into the drivers footwell.

29th April 2015:
I had to make another trip to the scrap yard to get the loom for the button, I was originally planning on just wiring it up to the remote central locking module, that didn’t work so it had to be done through the dash mounted button.
Later the same day, after work, I went to see my good friend Ben who drilled and dremeled out a hole in my dashboard to make a hole for the button.

On the button there is five wires, two for the switch, one for remote central locking, and the last two for the illumination. I haven’t wired up the illumination wired yet.

May 2015:
25th May 2015:
I finally reached 66,830 miles on my standard speedometer, so it was time to fit the new one.

First, remove your radio.

Next, remove the two screws holding the heater control panel on.

Then remove the screw behind the heater control panel.

Then there’s a screw where the radio would be.

The last screws are the ones above the speedometer.

The last thing to do is remove the headlight adjuster switch

The dash covering the speedo will then fall off, then remove the four screws around the speedo and unplug it, then it’s just the reverse to put it back together.


June 2015:
5th June 2015:
I thought it was time for some more bass. So I popped down to Halfords and picked up a 750W Edge sub for £90.f
Fitting a sub is very straight-forward. 12v live straight to the battery down one side of the car, Audio down the other side to the back of the radio, and the remote wire also to the back of the radio. Fitted it in a couple of hours. Most of the time taken is pulling up the carpets and the back seats.
Still enough room left over for my tool box as well!

September 2015:
13th September 2015:
I bought some collection style bumpers in April. I was planning on doing them Deep Navy so they would be colour coded.

They were in very rough shape

Also removed the grille from my old front bumper, sanded that down and sprayed it silver.

In the end i painted them matt black, mainly because it’s cheap and easy.

Front bumper is very easy to remove.

Back one is mostly riveted on so it’s a bit more of a pain to get off. Also I found a bit of rust so I sorted that out.
There it is all put back together.

Looking clean after a bath.

14th September 2014:
I was getting tired of the standard washer jets spraying up and over the car so I fitted some mist type ones from a MK1 Focus. They work very well.

28th September 2015:
I haven’t got any photos, but I bought 30 sheets of Silent Coat and coated both layers of both doors, boot lit, and boot floor. There is definitely a difference and the doors sound a lot nicer when they shut, especially when the window is down.
30th September 2015:
A terrible photo, but I fitted some Osram Night Breakers, definitely improves the vision when night driving and are also much whiter than standard bulbs.

October 2015:
9th October 2015:
I bought a boot carpet set from a higher spec model. It just looks better but also gives the opportunity of wiring up a light.


13th October 2015:
After fitting the carpet with the light built in, I went over to see my good friend Ben to get a light wired up.
We fitted a plunger switch in place of the rubber bung just above the light, which the earth went to, and then a live straight to the battery.

Here it is in action with a 20 SMD LED fitted. Very bright and makes a massive difference. No more using your phone as a torch when looking for your shopping!

December 2015:
2nd December 2015:
I fitted some footwell lights, these are very easy to fit, like and earth simply solders onto the interior ceiling light so they go on and off with the doors and the ceiling switch. The LED’s are in fact white not blue.

I also fitted some brighter LED’s to the front sidelights and rear number plate lights, the same ones as used inside.
